


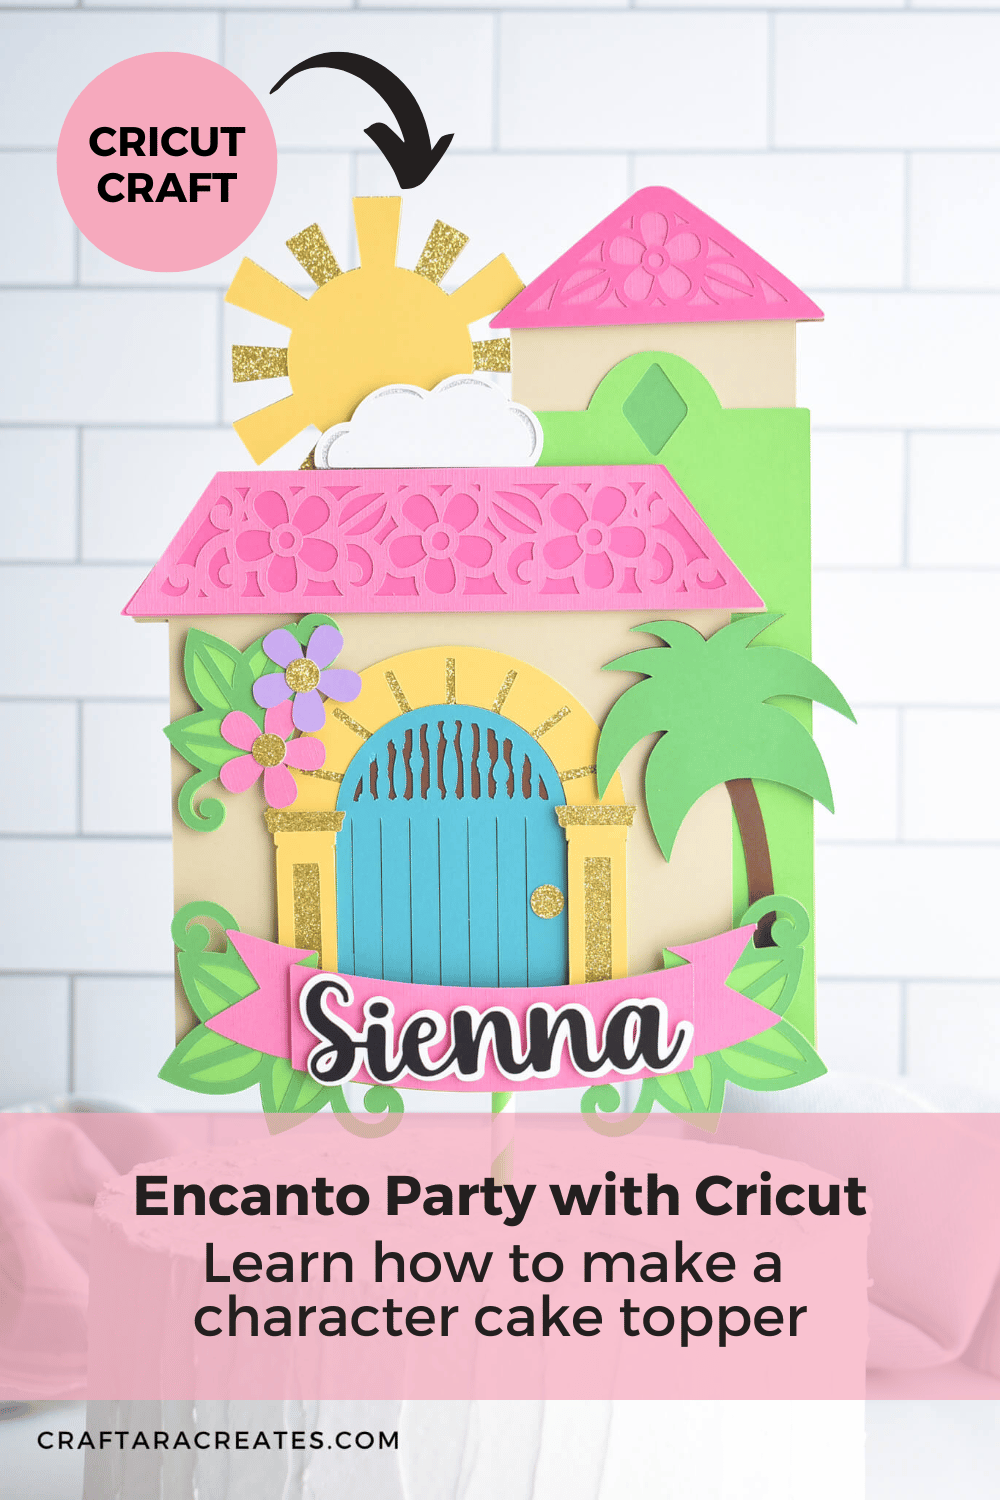
DIY an Encanto Cake Topper with your Cricut machine
Welcome to your tutorial on how to make a beautiful floral fiesta style cake topper with your Cricut machine! With Cricut, you can create the perfect cake topper to match any birthday party theme.
To get started, you’ll need to have access to the Casita cake topper cut file. This cut file is a predesigned SVG file that contains the shapes and layers you’ll need to create the Encanto cake topper.
Follow along as I show you how to create an Encanto cake topper with Cricut. Learn how to find a character image and I’ll show you my secret to get a perfect cut using the Cricut Print Then Cut feature. I will show you step by step how to assemble each section of the layered papercraft Casita cake topper.

This post may contain affiliate links, which means I’ll receive a commission if you purchase through my links, at no extra cost to you. Please read my full disclosure for more information.
Where can I find the cut file?
You will find the Casita Cake Topper cut file in my cut file shop. Alternatively, you can use the search bar at the top of the page to search for the cut file by name. Once you’ve found the cut file, you can add it to your cart and proceed to checkout to purchase it. The cut file will be delivered to you in the form of an SVG file, which you can then use with your Cricut machine to create the cake topper.
The Casita Cake Topper cut file comes with a printable assembly guide and commercial license.
How to make a character cake topper with Cricut
Once you have the cut file, open it in Cricut Design Space. You’ll see all of the pieces of the cake topper on your screen, ready to be cut.
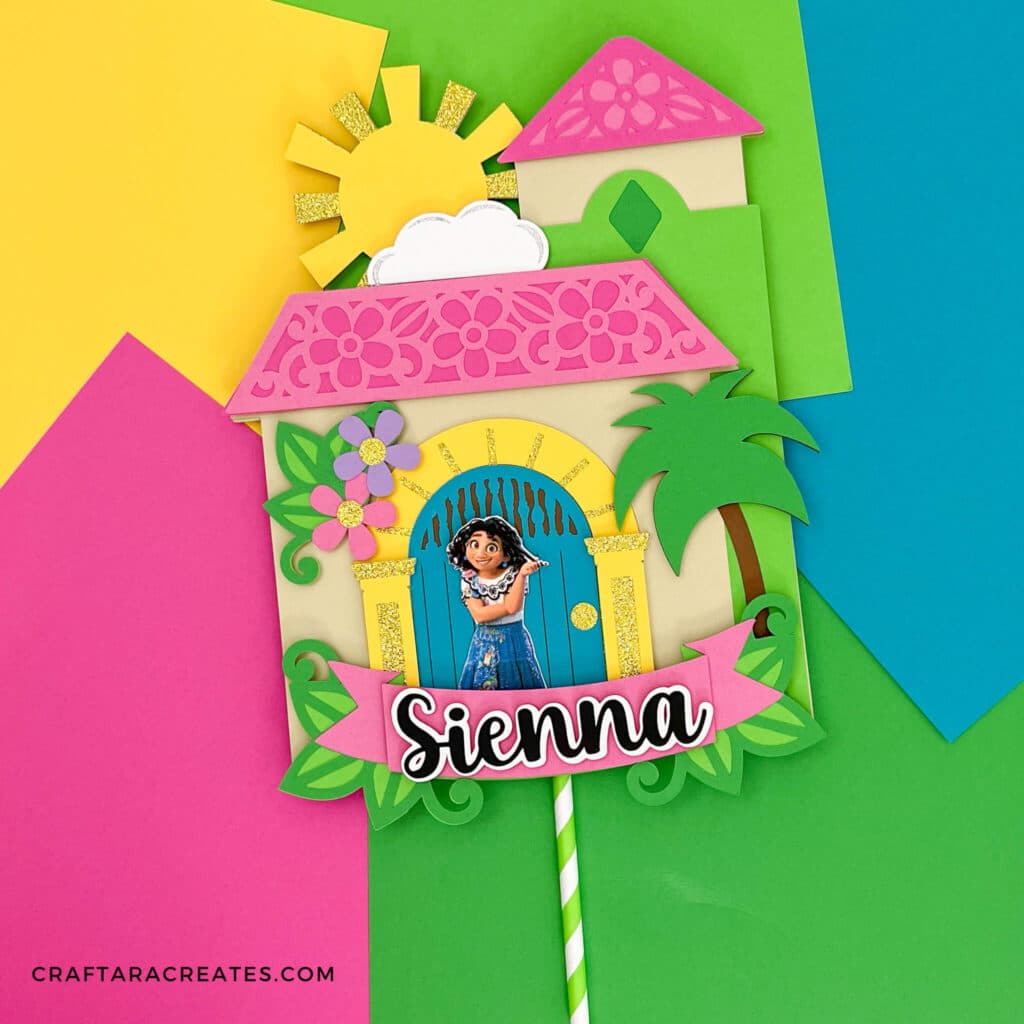
But before we get to the cutting, let’s talk about how to add a character image to the cake topper. This is a fun way to personalize the cake topper and make it even more special. Your birthday girl or boy will be so excited to find their favorite character on their Encanto birthday cake!
To add a character, you’ll need to find a clear image of the character you want to use, with no background. You can do this by searching for the character on Google.
Once you have your character image, upload it into Cricut Design Space and select “Print then Cut Image.” This feature allows you to print an image onto paper or cardstock and then have your Cricut machine cut out the shape of the image. It’s a great way to add detailed and complex designs to your projects.
Now it’s time to reveal my secret to getting a perfect cut every time: make sure you use the “offset” tool before cutting.
This tool adds a small border around the edges of your design, which helps the Cricut machine read the cut lines and make a clean cut.
Simply select the character image and then choose a tiny offset value – you should barely see the offset at all. Select both the printable image and offset and “flatten” to combine them into one print then cut image.
What machine do you need to make a character cake topper?
To make a Character cake topper with Cricut, you need to use the Print Then Cut feature. Print to your home printer directly from Cricut Design Space. Then load the printed sheet the cricut machine and cut out the image with precision.
The Cricut machine reads the registration mark around the printed image to determine where to make the cuts.
Keep in mind that not all Cricut machines have the Print Then Cut feature.
Print Then Cut can be used with Cricut Explore Air 2 or 3 and the Cricut Maker or Maker 3 models. The Cricut Joy can Cut and Draw only.
Click here to learn how to calibrate your cricut machine to improve the accurate of cuts.
Materials and Tools needed to make a character cake topper
- Casita Cake Topper cut file
- Cricut machine
- Cricut machine mat
- Inkjet printer for print then cut
- White cardstock to print on
- Cardstock in multiple colors
- Brayer
- Paper craft glue
- Hot glue gun
- Thin foam strips
- Foam tabs
- Striped straw
Why do I need an inkjet printer to make a character cake topper?
Cricut Print then Cut projects require a printer. The printer is used to print a design onto paper or cardstock, which is then fed into a Cricut cutting machine to cut out the shape of the design. Cricut recommends a home inkjet printer (see this article).
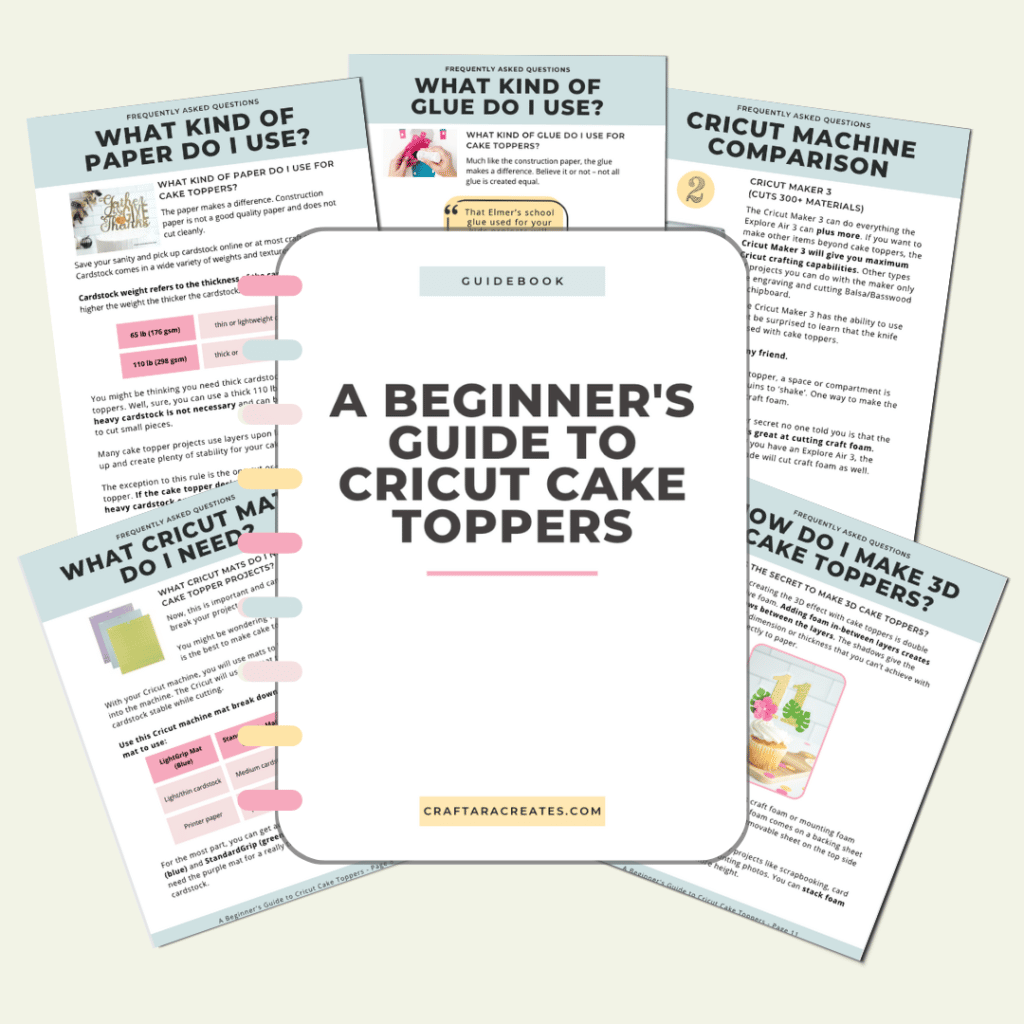
GRAB MY FREE beginner's guide to cricut cake toppers

How to find a good image of a character
The best kind of images to find on Google for Cricut Print then Cut projects are ones that are clear and have no background. This will make it easier to remove the background of the image in Cricut Design Space, if needed.
It’s also helpful to find images that are high quality and have a high resolution, as this will result in a better quality print. It’s also a good idea to search for images that are in a .png format. The .png format supports transparent backgrounds.
How to use print then cut to make an character cake topper
- Open Cricut Design Space and start a new project.
- Upload the SVG file into Cricut Design Space by clicking the “upload” button on the left side of the screen and then selecting the file.
- Click on the cake topper design and then click “Add to Canvas.”
- Check the size of the cake topper to make sure it is 7.5 inches wide.
- Go to Google and search for an image of the character you want to add to the cake topper. Save the image to your computer.
- Upload the character image into Cricut Design Space by clicking “upload” and selecting the image file. Choose “complex” as the image type and click “continue.”
- Use the “background remove” tool (for Cricut Access subscribers) to remove the background of the image if needed. Preview the cut image to make sure the background is removed.
- Select “Print then Cut Image” and upload the image.
- Add the character image to the canvas and adjust the size and placement on the cake topper. NOTE: The maximum image size for Print Then Cut is 9.25″ x 6.75″
- Use the text tool to add a name to the banner on the front of the cake topper. My favorite font is Pinky Latte Script
- Use the “offset” tool to add a small offset to the text and then flatten the text and offset.
- Arrange the text on the banner and adjust the size as needed.
- Prepare the printer with cardstock paper and print the project.
- Cut the project using a Cricut Maker, Maker 3, Explore Air 2, or Explore Air 3.
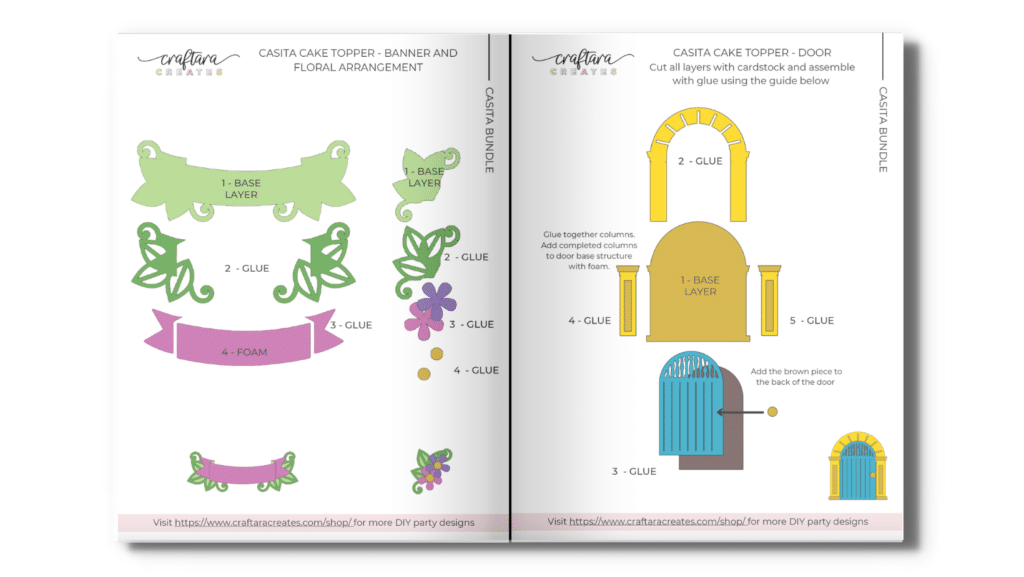
- Follow along with the printable project guide or watch the video to learn how to assemble the Casita Cake Topper.
Was this tutorial helpful?
Did you find this information on how to make a character cake topper with Cricut helpful? If so, please pin this idea and let me know your thoughts in the comments below.