


Are you making these mistakes with your Cricut Mug Press? Check this guide to identify 10 mistakes and how to avoid them.
This post may contain affiliate links, which means I’ll receive a commission if you purchase through my links, at no extra cost to you. Please read my full disclosure for more information.
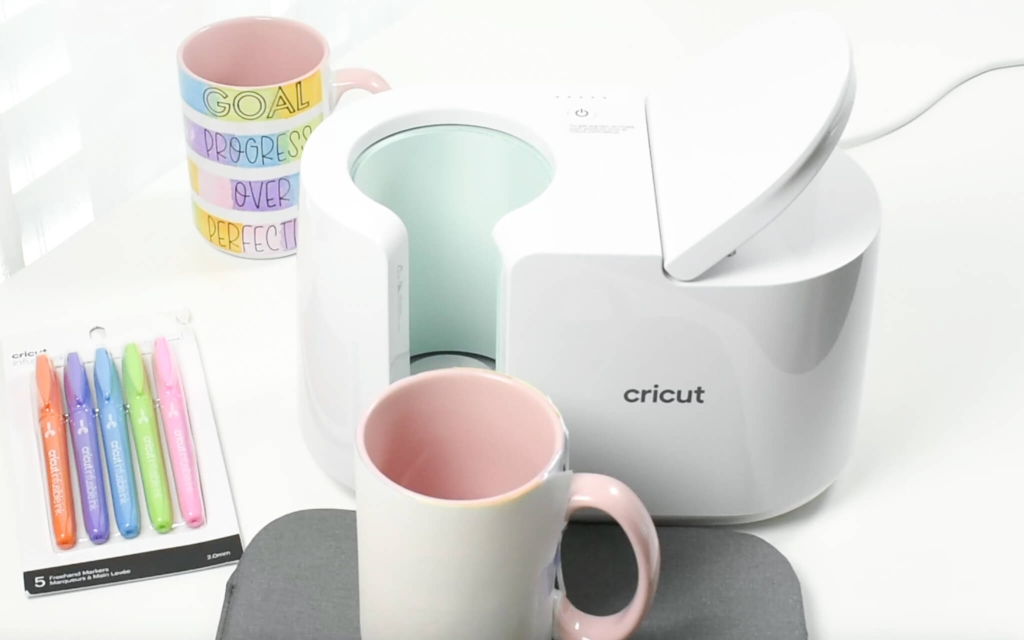
I am enjoying making fun and easy DIY mugs at home with the Cricut Mug Press. While the mug press is a breeze to use, I did come across a few transfer problems that can be avoided. The downside to the Cricut Mug press (or any mug press using permanent transfers) is that there is no undo button to try again. The transfer is permanent and any imperfections cannot be erased.
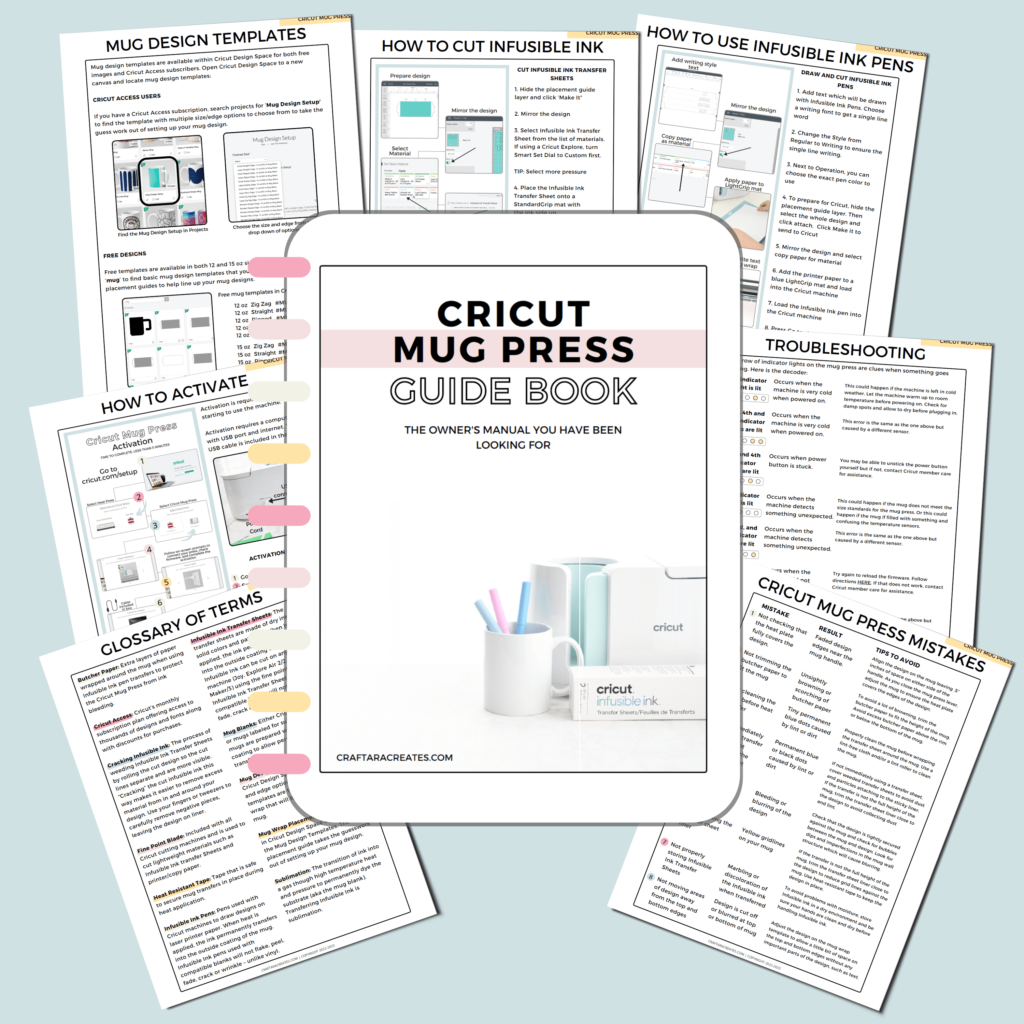
GRAB MY FREE CRICUT MUG PRESS GUIDE
This 13 page, printer friendly quick reference guide is the owner’s manual you wished came with the machine.
Continue reading to learn 10 Cricut Mug Press mistakes and tips to avoid them.
Cricut Mug Press Mistakes: What not to do
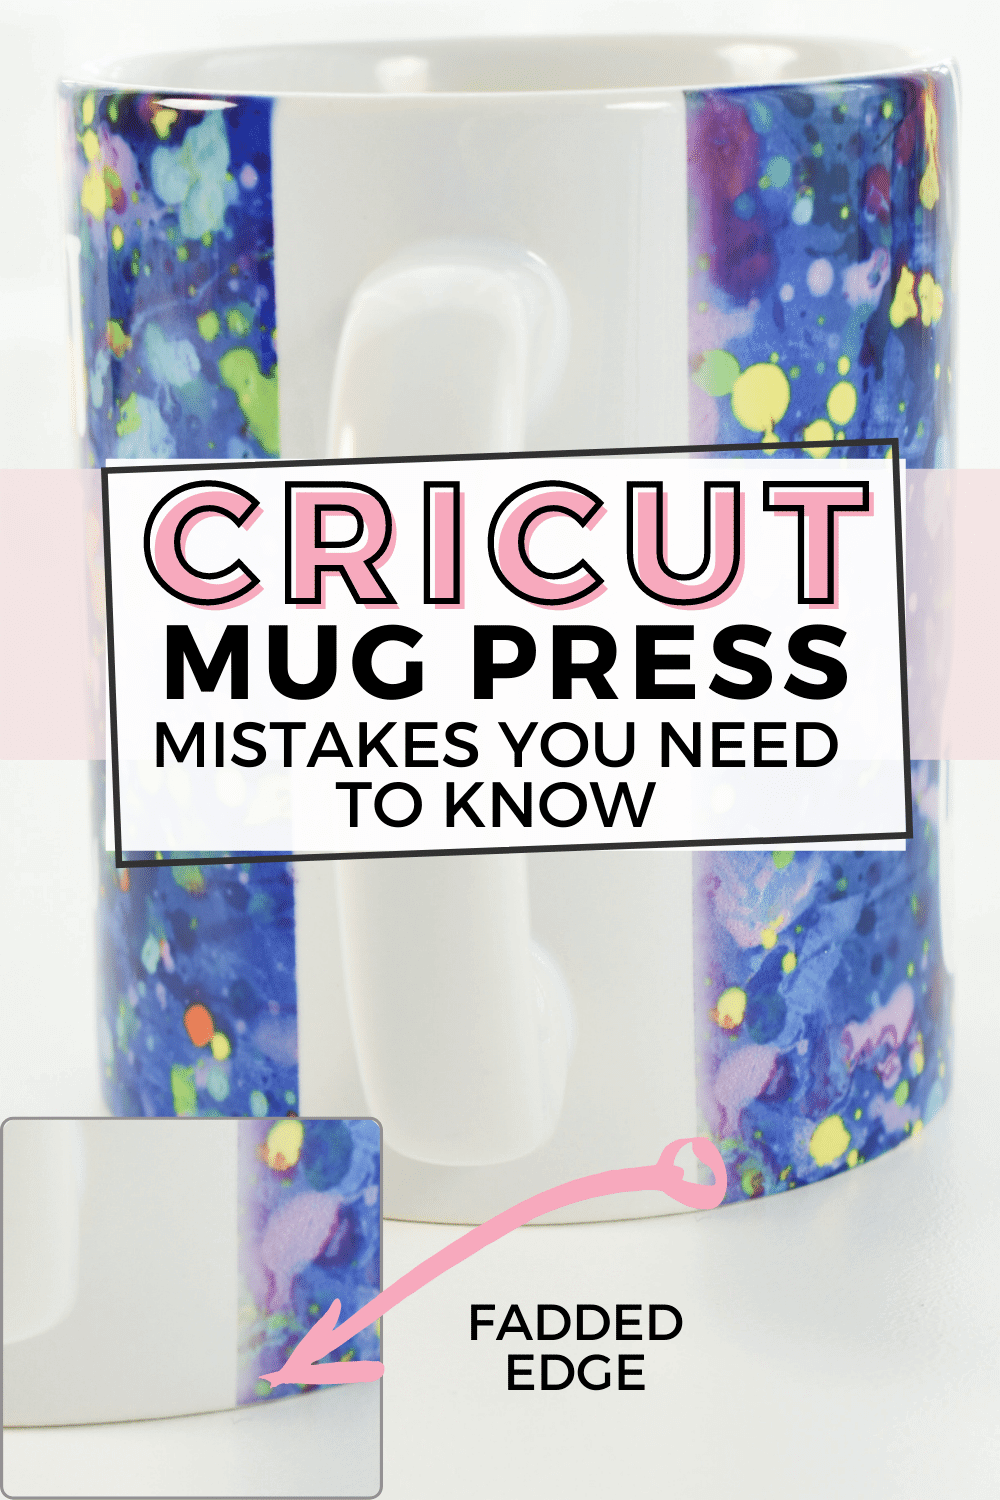
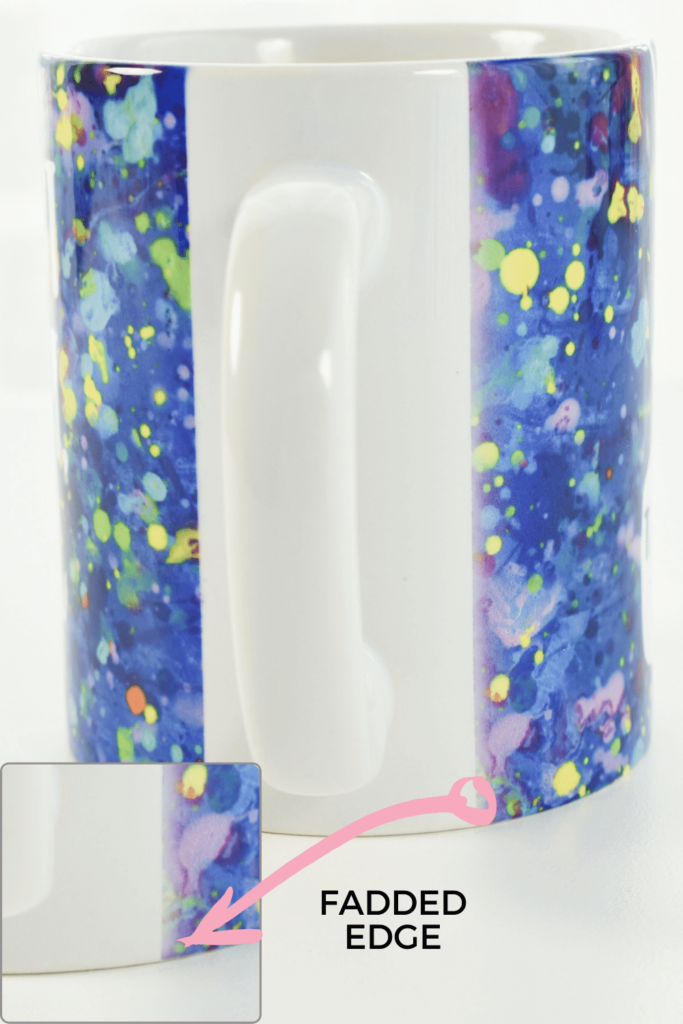
#1 Not checking that the heat plate fully covers the design.
What happens: Faded design edges near the mug handle.
Tips to Avoid: Take care to align the design evenly on the mug leaving .5” inches of clearance on either side of the mug handle. As you close the mug press lever, adjust the mug to ensure the heat plate completely covers the edges of the design.
#2 Not trimming the butcher paper to fit the mug
What happens: Unsightly browning or scorching of butcher paper
Tips to Avoid: Light browning of the butcher paper is to be expected as the heat press reaches hot temperatures. To avoid a lot of browning, trim the butcher paper to fit the height of the mug. Avoid excess butcher paper above the rim or below the bottom of the mug.
#3 Not cleaning the mug before heat transfer
What happens: Tiny permanent blue dots caused by lint or dirt
Tips to Avoid: Properly clean the mug before wrapping the transfer sheet around the mug. Use a lint-free cloth and/or a lint roller to clean the mug.
#4 Not immediately using the transfer sheet or not protecting the transfer sheet
What happens: Permanent blue or black dots caused by lint or dirt
Tips to Avoid: If not immediately using a transfer sheet, cover weeded transfer sheets to avoid dust and particles attaching to the sticky liner. If the transfer is not the full height of the mug, trim the transfer sheet liner close to the design to avoid collecting dust and lint.
#5 Not tightly securing the design on the mug
What happens: Bleeding or blurring of the design
Tips to avoid: Take the extra time to check that the design is tightly secured against the mug and check for bubbles between the mug and design. Check the mug for noticeable dips and imperfections in the mug wall structure which will cause blurring.
#6 Not waiting for the mug to cool down
What happens: Ghosting or doubling of the design
Tips to avoid: Avoid attempting to remove the design before the mug cools. If super hot, moving the design may cause a ghosting effect on the mug.
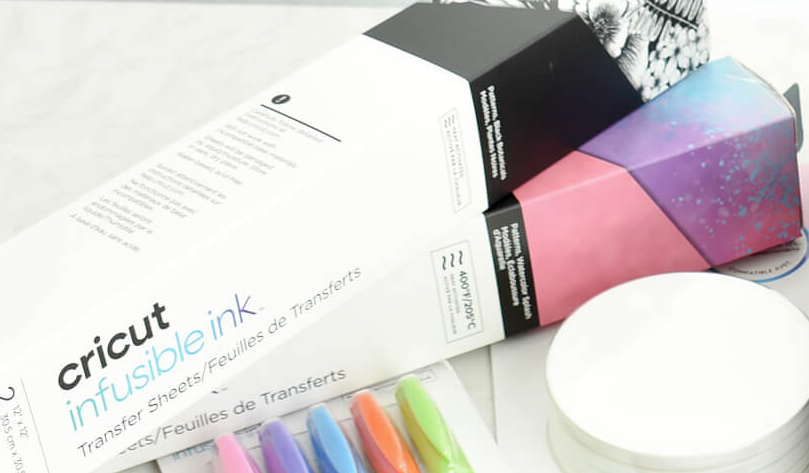
#7 Not properly storing Infusible Ink Transfer Sheets
What happens: Marbling or discoloration of the Infusible ink when transferred
Tips to avoid: To avoid problems with moisture, store Infusible ink in a dry environment and be sure your hands are clean and dry before handling Infusible ink.
#8 Not trimming the transfer sheet liner
What happens: Yellow grid lines on your mug
Tips to avoid: If the transfer is not the full height of the mug, trim the transfer sheet liner close to the design to reduce grid lines against the mug. Use heat-resistant tape to keep the design in place.
#9 Not adjusting the Mug Press temperature
What happens: Mugs become scorched and brown
Tips to avoid: If this happens to one of your mugs, you can adjust the temperature of the Cricut Mug Press. Learn how to adjust the Cricut Mug Press machine temperature here.
#10 Not moving important areas of the design away from the very top and bottom of the mug
What happens: Design is cut off or blurred at top or bottom of mug
Tips to avoid: Adjust the design on the mug wrap template to move slightly away from the very top or bottom edge of the mug. Allow a little bit of space on the top and bottom edges without any important parts of the design such as text.

The minor blur at the top of this mug is barely noticeable at all. The Cricut Mug Press is so easy to use that it is hard to make major mistakes.
Mistakes are learning opportunities
Don’t let this list of Cricut Mug Press mistakes scare you! Issues with the mug press are uncommon and don’t outweigh the ability to make professional quality mugs at home. The mug press is a lot of fun to use and creates beautiful results that are both permanent and dishwasher safe. I love working with my Cricut Mug Press machine to make easy DIY gifts for friends and family. Keep this list of Cricut Mug Press mistakes nearby to ensure you get the best results and you will enjoy working with your machine.
Pin this idea
If you found this list of Cricut Mug Press mistakes helpful, please pin this idea and let me know your thoughts in the comments below!
3 Comments
Muchas gracias toda esta información me ha resultado muy útil y siendo sincera me ha ocurrido algunos de los errores que mencionas jajajaja ♥️
a couple letters fell off my transfer sheet unnoticed until after mug was done Can I re- do these letters in some method? I have them on in place. Chris
[email protected]
You can give it a try. Its possible the reheating may scorch the mug but if the mug is already missing some letters, why not try again.