


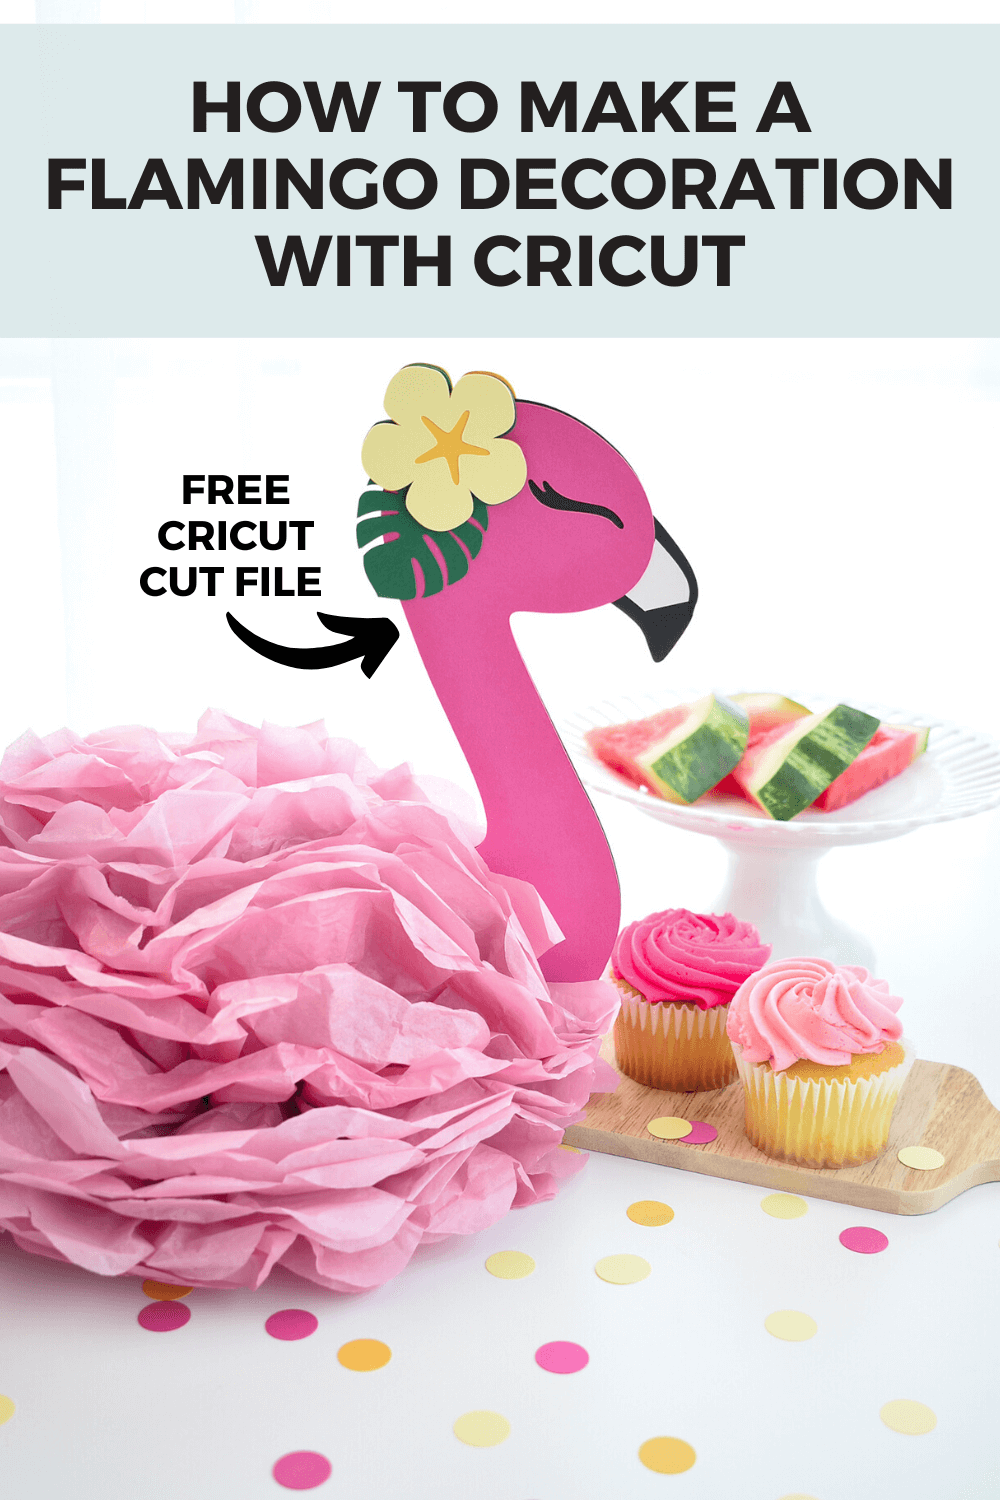
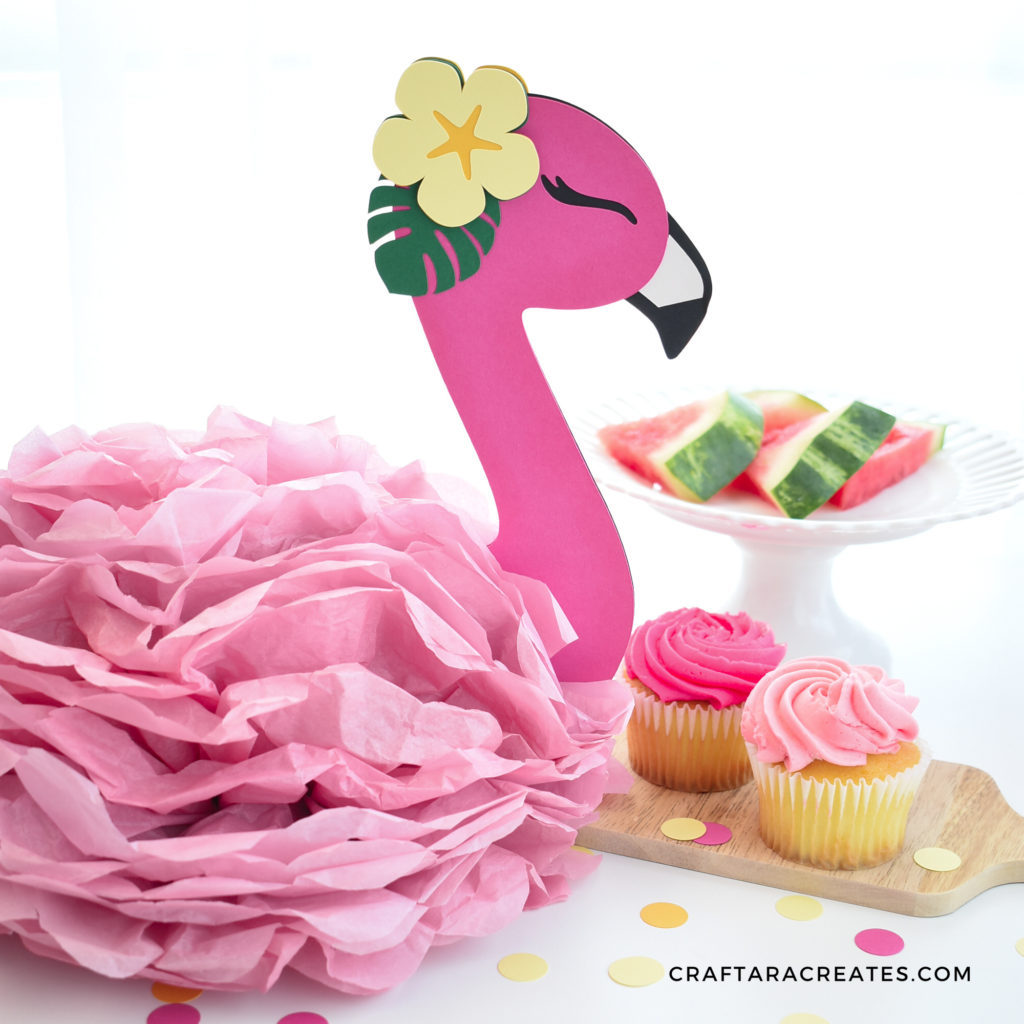
DIY Flamingo table decorations with Cricut
What are your favorite decorations for summertime parties?
I love colorful paper plates, napkins and bowls filled with bright fruits and sweet treats. Beyond the basic paper party decoration must haves (like cupcake toppers and banners), what else can you add to your summer time pool party decorations?
For a unique addition to the party table, I created this easy DIY flamingo table decoration with a Cricut machine and tissue paper. The tissue paper pom pom makes the perfect lightweight base. Use a Cricut machine to cut a flamingo out of cardstock.
Pair the DIY flamingo table decoration with finger sandwiches, fruit and cupcakes for a quick and easy splash party display.
Grab the free cut file below and follow along for the simple instructions to make a DIY flamingo table decoration.
This post may contain affiliate links, which means I’ll receive a commission if you purchase through my links, at no extra cost to you. Please read my full disclosure for more information.
Where can I find the Flamingo cut file?
Grab this free flamingo table decoration cut file template from my resource library in the Spring craft freebie section and upload the SVG cut file into Cricut Design Space. Sign up below to unlock the resource library.
You will be included in my email newsletter with helpful Cricut ideas, tips and resources. Unsubscribe anytime and your email will never be shared.
Here's what you'll need to make the DIY Flamingo Table Decoration
How to make a DIY Flamingo table decoration with Cricut
Start this project by uploading the cut file into Cricut Design Space. The filename is SVG-FlamingoDecoration.svg
You can click browse or drag and drop the design directly into Cricut Design Space.
Double check the size of the design, which should be about 12 inches by 12 inches. The frequent updates in cricut Design space can sometimes cause cut files to upload incorrectly.
The flamingo table decoration is designed to be double sided so you see two flamingo heads and two flowers but only one black layer that goes in the middle of the two pink layers.
Continue on and cut the project with cardstock using your Cricut cutting machine.
Sign up below for 50% off in my digital shop of cut file bundles.
You will be included in my email newsletter with helpful Cricut ideas, tips and FREE cut files. Unsubscribe anytime and your email will never be shared.
How to assemble the cardstock Flamingo
Once all the pieces are cut out, take one pink side and glue the black layer to the back.
Add the beak piece with a little dab of glue.
Repeat with the other pink side and beak piece.
Next, assemble the flower and leaf. Use glue to combine the two flower layers together.
The flowers go on opposite sides and with one flower set on each side of the flamingo. Each flower set will point in different directions.
Take one of the flower designs and glue to the flamingo’s head.
Turn the flamingo over and add the second flower design.
Now the flamingo is ready. Let’s make the tissue paper pom pom.
How to make the DIY Flamingo tissue paper pom pom
We need the tissue paper pom pom to be very full. Take around 10 to 12 sheets of tissue paper and fold in half.
Cut down the center to create two sections.
Stack the two sections of tissue paper so now you have 20 to 24 sheets stacked.
Ideally, the width of each section should be about 12 inches wide. This matches the height of the flamingo.
To create the tissue paper pom pom, fold a 1 to 1.5 inch section accordion style until the whole stack is folded together. You can eyeball the size of the folds, they don’t need to be perfect.
Next, take a section of about 5-7 tissue paper layers folded up and cut the ends to be round. It’s easier to cut these in small sections as the whole stack would be hard to cut through all at once.
Lay the sections of tissue paper out and restack them together.
Refold the whole stack then fold in half to create a crease in the middle.
Use a twist tie, thin ribbon or string to tie together the middle. Double check that the tie is in the middle of the folded tissue paper.
Now the fun part of creating the tissue paper pom pom.
Fan out the sides and gently pull the layers of tissue paper up – switching from one side to the other side. Leave the pom pom flat on the bottom side. Take your time to pull each layer up to create the flamingo body and the look of feathers.
Once the tissue paper pom pom is ready, turn it over to find the center opening for where the two sides of the fan meet and slide the paper flamingo in place.
If the tissue paper pom pom is dense enough, the flamingo will stay in place while sitting on a flat surface, but if needed use glue to keep the flamingo in place.
Was this tutorial helpful?
Did you find this DIY flamingo table decoration tutorial with Cricut helpful? If so, please pin this idea and let me know your thoughts in the comments below!
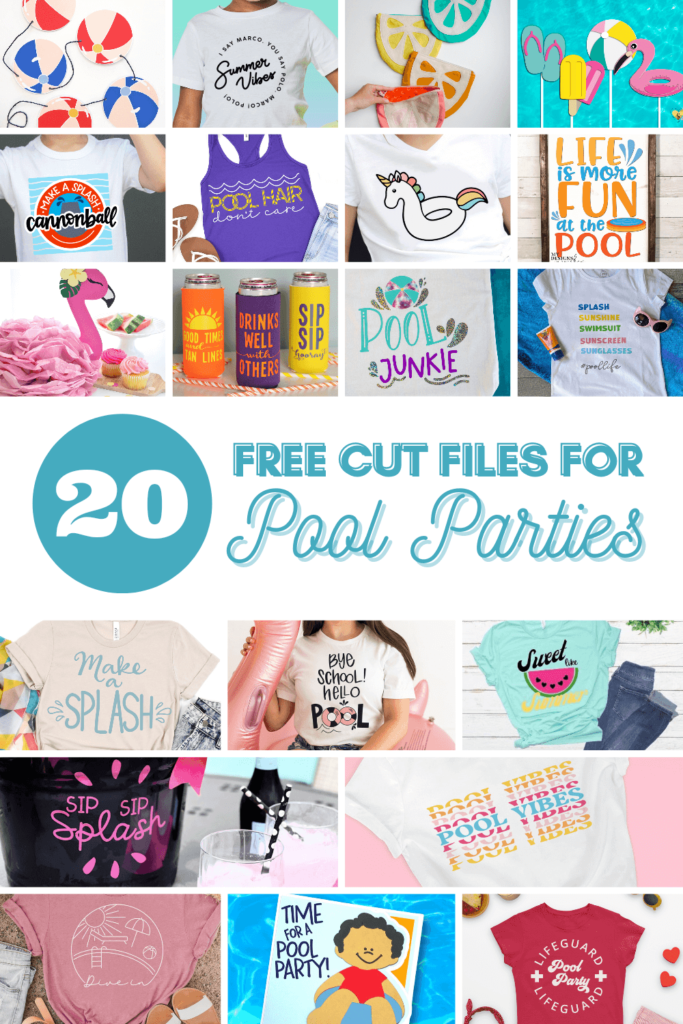
Where can I find more free pool cut files for my Cricut machine?
Here is a list of other creative and free pool related SVG cut files to check out.
Select the link below for the cut file you would like to download. You can download all of them if you would like!
Each blog post will tell you how to get the free cut file.
Make a Splash from Crafting Overload
Summer Vibes from Studio Xtine
Pool Party Lifeguard from Polka Dotted Blue Jay
Citrus Swimsuit Wet Bag from Oh Yay Studio
Pool Party Cut Outs from Gina C. Creates
Goodbye School Hello Pool from Poofy Cheeks
Ice Bucket from Me and My Inklings
Pool Hair Don't Care from Artsy-Fartsy Mama
Sweet Like Summer from Crafty Life Mom
Unicorn Pool Float from Liz on Call
Life is More Fun at the Pool from My Designs in the Chaos
Dive In from Weekend Craft
Pool Party Side Edge Card from the Bearded Housewife
Pool Side Vibes The Walnut Street House
Pool Life from Sunshine and Munchkins
Cannonball Pool SVG from Lettered by Stephanie
Summer Slim Can Coozies from Spot of Tea Designs
Pool Junkie from Simply Made Fun
Pool Vibes from Tried & True Creative