


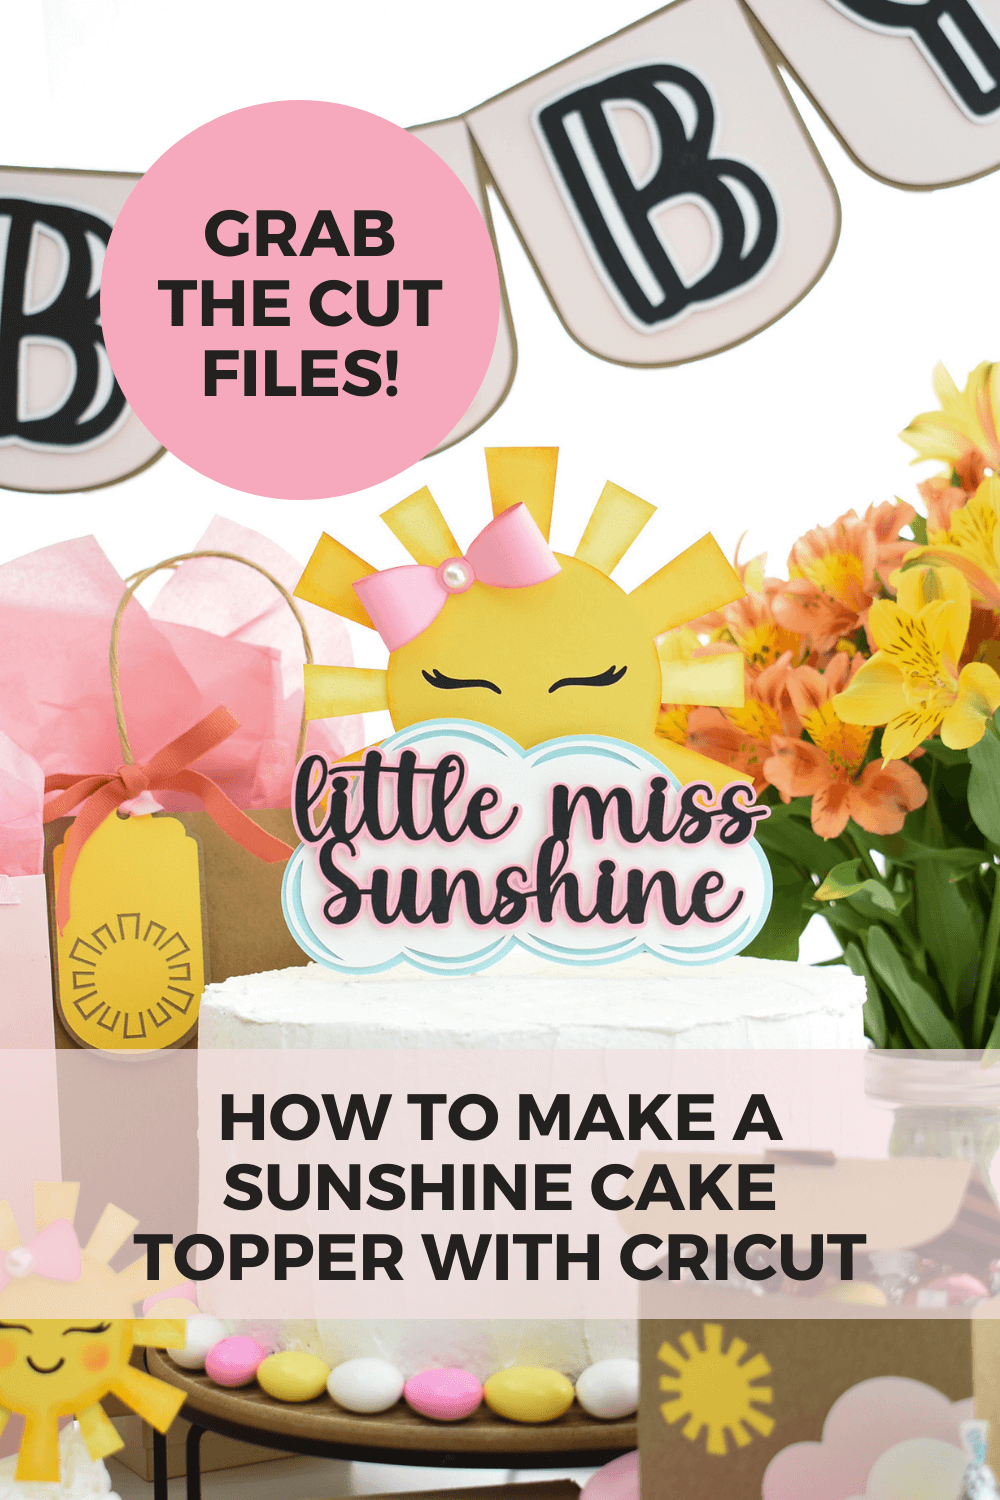
Learn how to make a DIY Sunshine Cake Decoration with Cricut
All things mini are cute, am I right? Baby showers are filled with mini sized adorable things like onesies, diapers, little outfits, tiny shoes, etc. When a friend of mine shared that she is expecting her first baby girl during the summer, I knew I wanted to DIY the perfect baby shower decorations for her.
This post may contain affiliate links, which means I’ll receive a commission if you purchase through my links, at no extra cost to you. Please read my full disclosure for more information.
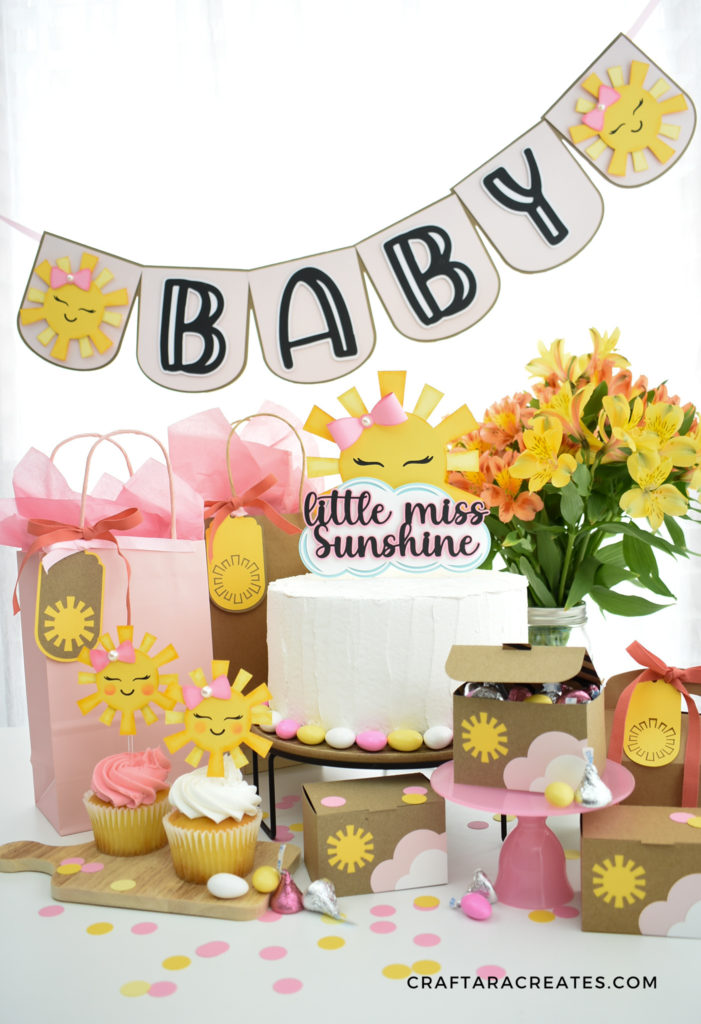
We choose a bright and happy little Miss Sunshine theme to celebrate the expecting mom. For her baby shower celebration, I plan to add the DIY Sunshine Cake Decoration to a diaper cake and use these matching toppers for cupcakes.
Where can I find this cut file?
The DIY sunshine cake decoration is part of a collection of SVG cut files to create the sweetest little sunshine party with your Cricut machine. The DIY sunshine cake decoration includes both girl and boy options.
Little Sunshine Party Collection | SVG Cut files
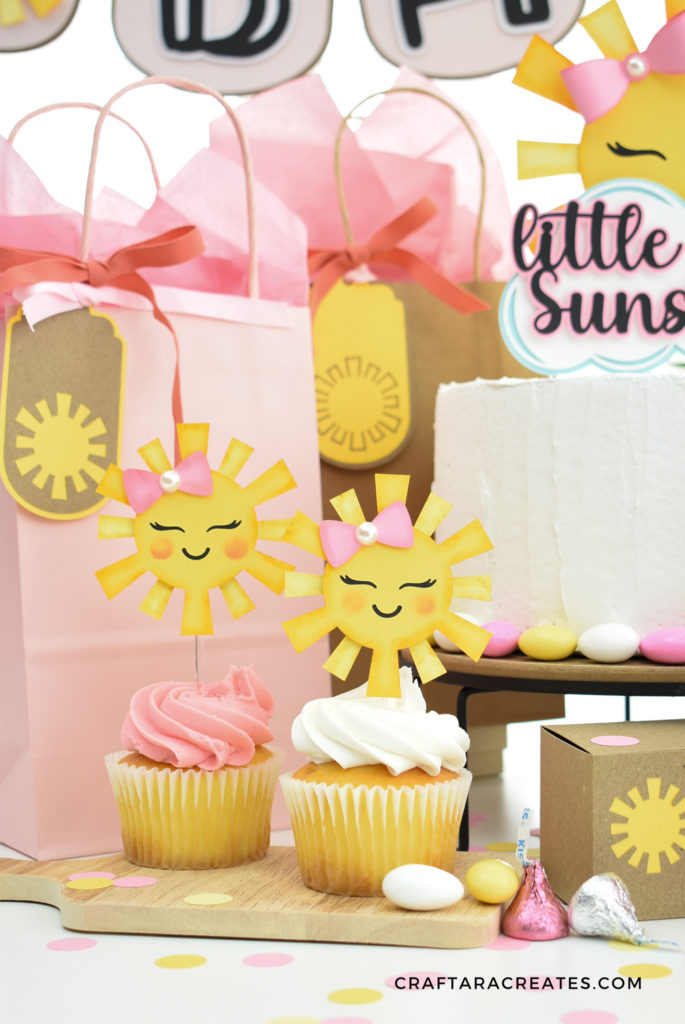
Or you can grab the free SVG cut file to create DIY Sunshine Cupcake Toppers using your Cricut machine and cardstock. The Little Sunshine cupcake topper free SVG cut file is in my resource library. Sign up here to unlock the resource library and grab the free SVG cut file. You will find this in the springtime section of the resource library.
If you enjoy making the cupcake topper, you will love the rest of the little sunshine cut file collection.
You will be included in my email newsletter with helpful Cricut ideas, tips and resources. Unsubscribe anytime and your email will never be shared.
Here's what you'll need to make a DIY sunshine cake decoration with Cricut
How to make DIY sunshine cake decoration with Cricut
Start this project by uploading the cut file into Cricut Design space. The filename is SVG-LittleSunshinePart1.svg You can click browse or drag and drop the design directly into Cricut Design Space.
Once the design is on the canvas, double check the size of the design, which should be 12 inches by 12 inches. The frequent updates in cricut Design space can sometimes cause cut files to upload incorrectly. You will notice this cut file includes the cake topper, cupcake topper and banner pendants.
Click ungroup and we will select the parts of the design that we are not using to remove. You can either delete them or hide the layers. I deleted the cupcake and banners – leaving the cake topper. The pink vertical object is the hair bow that goes on last.
Once your project is ready, click Make It to send the project to Cricut. You will see all the mats with the different colors. This project uses six colors. Continue on and cut the project with cardstock using your Cricut cutting machine.
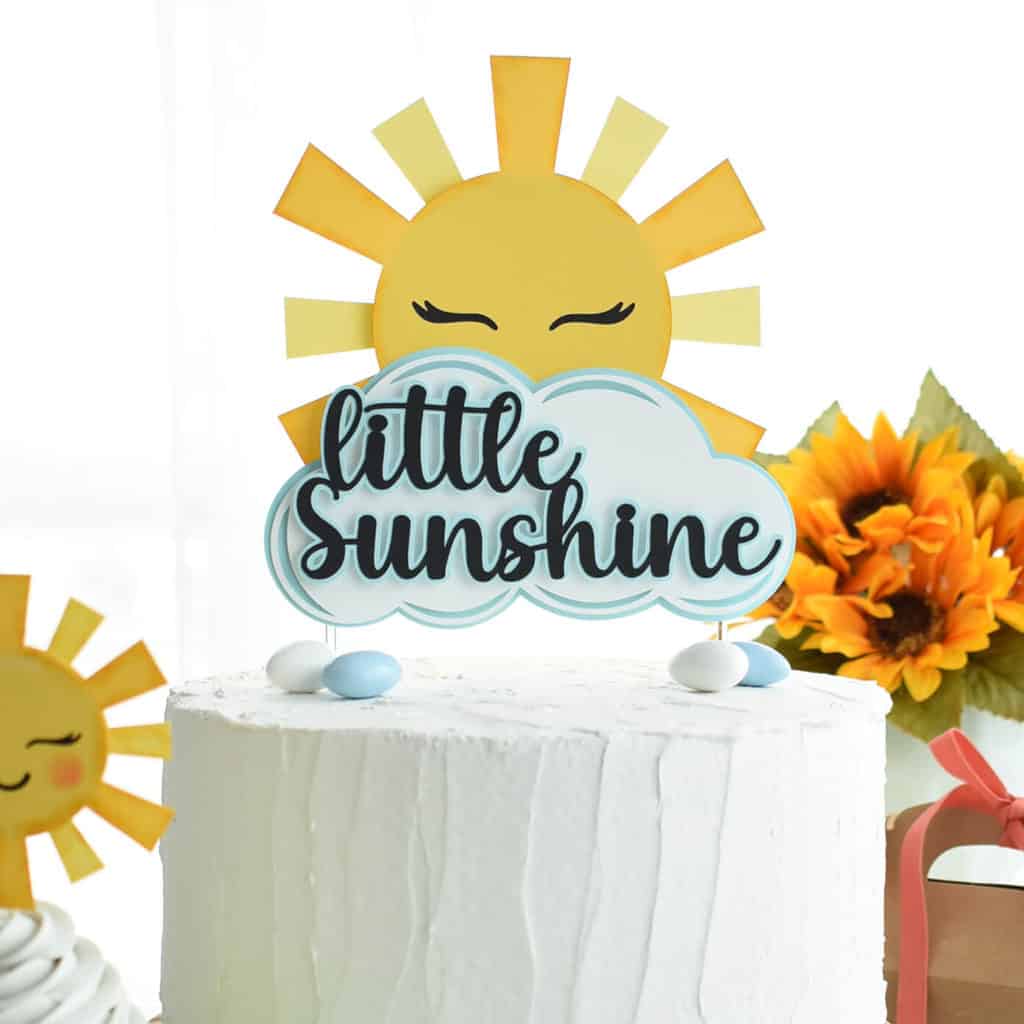
Once all the pieces are cut out, use glue to add the black circle to the sun face. Next, add double sided adhesive foam to the back of the sun face and add to the bottom layer.
Add the blue cloud with double sided adhesive foam and a little glue on the bottom of the sun. Then, add the white cloud with more double sided adhesive foam.
Next grab the text and the offset layer. Use paper glue on the back of the black letters and add them to the offset layer. Take your time to line up the words.
Add thin pieces of double sided adhesive foam to the words. I didn’t add foam to the very outside part of the L in little or the last S in miss because those two words are meant to hang off the side a little.
Grab the strip for the bow and use a straight edge to shape the edges inward. Fold one edge in at a time and use a small dab of hot glue in the middle to attach the edge. Repeat on the other side. Use hot glue or paper glue to attach the circle to the center of the bow.
Before adding the bow to the cake topper, use hot glue to add the sticks to the back. I added the sticks at this point because I didn’t want the bow to get smushed. I used 6 inch acrylic cake pop sticks. They work well for lightweight cake toppers.
Finally, use hot glue to secure the bow to the top of the finished cake topper.
Was this Tutorial Helpful?
Did you find this DIY sunshine cake decoration tutorial with Cricut helpful? If so, please pin this idea and let me know your thoughts in the comments below!