


How to Add Dimension to Paper Projects made with Cricut
Do you find yourself scrolling on social media in envy over other people Cricut Paper projects
Perhaps you wonder how they get such precise cuts with cardstock. Or how they make perfect cake toppers that look super clean and professional.
You have a Cricut machine too. But your projects just don’t look as good as other photos you see. Do they know some secrets you don’t know?
Yes, there are a few secrets to paper crafts to add dimension to paper projects. And no, they aren’t super complicated. I’m going to share with you five secrets to add dimension to your Cricut paper projects.
This post may contain affiliate links, which means I’ll receive a commission if you purchase through my links, at no extra cost to you. Please read my full disclosure for more information.
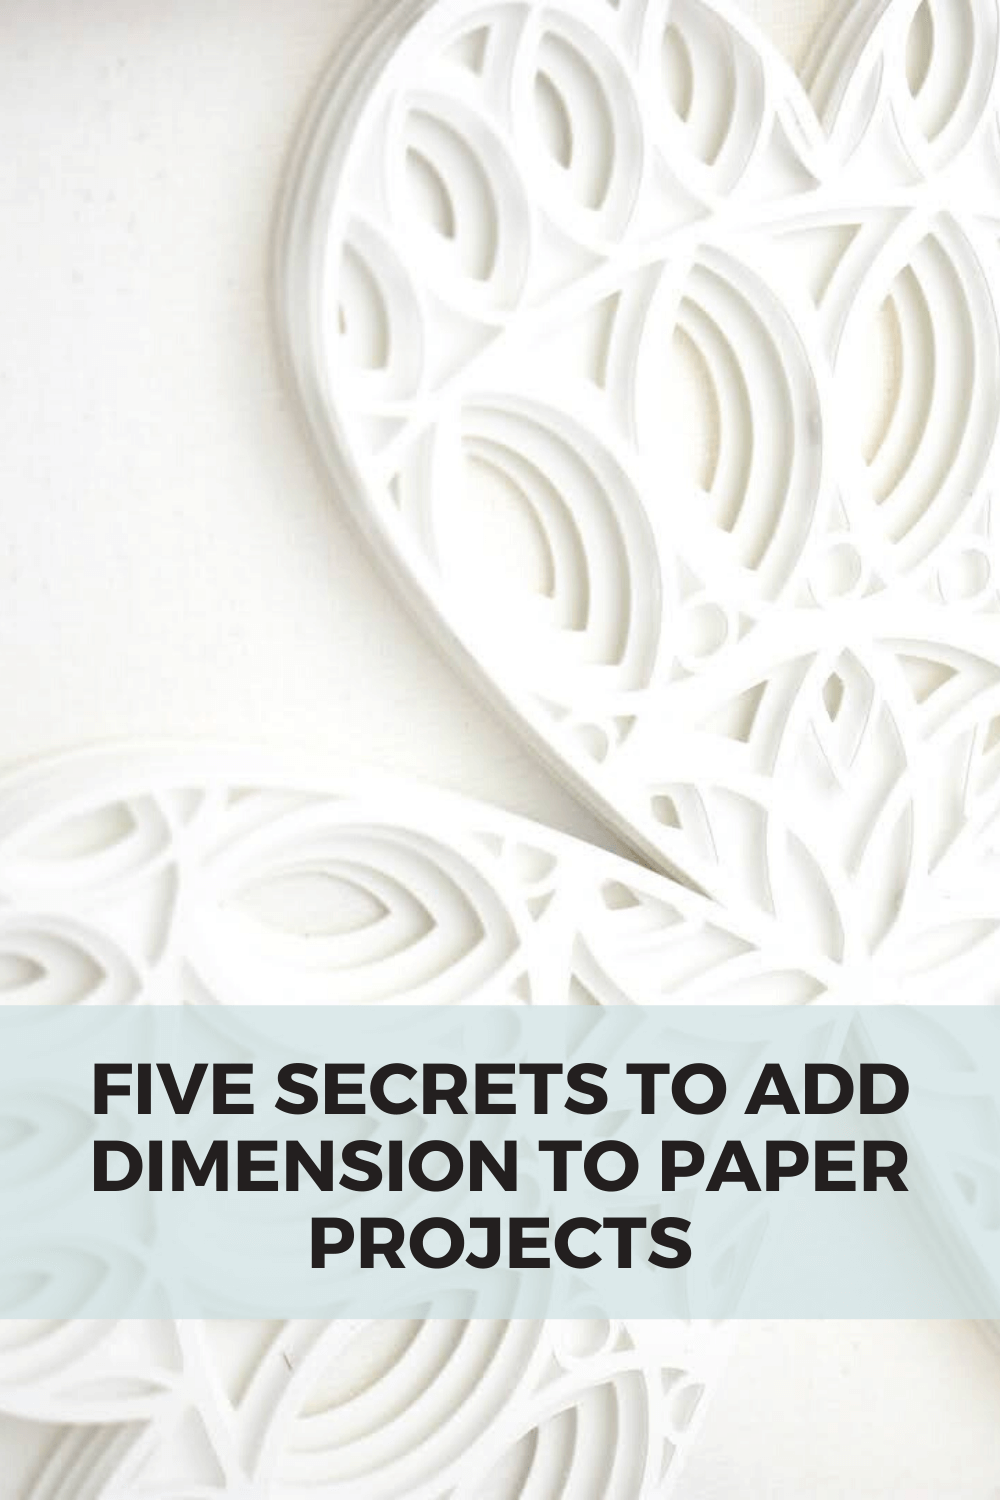
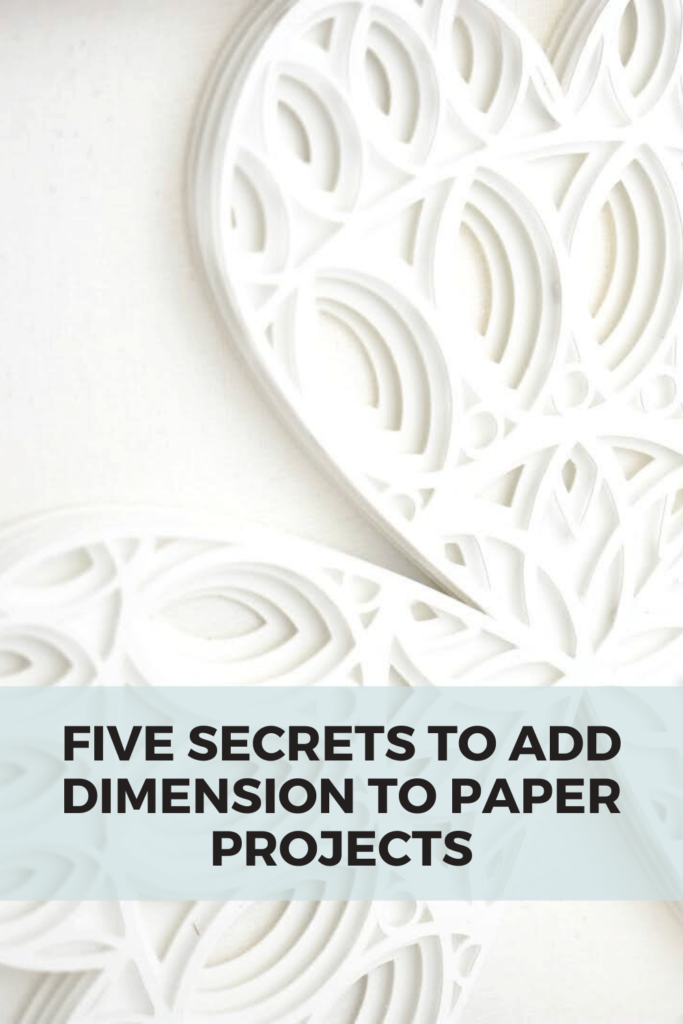
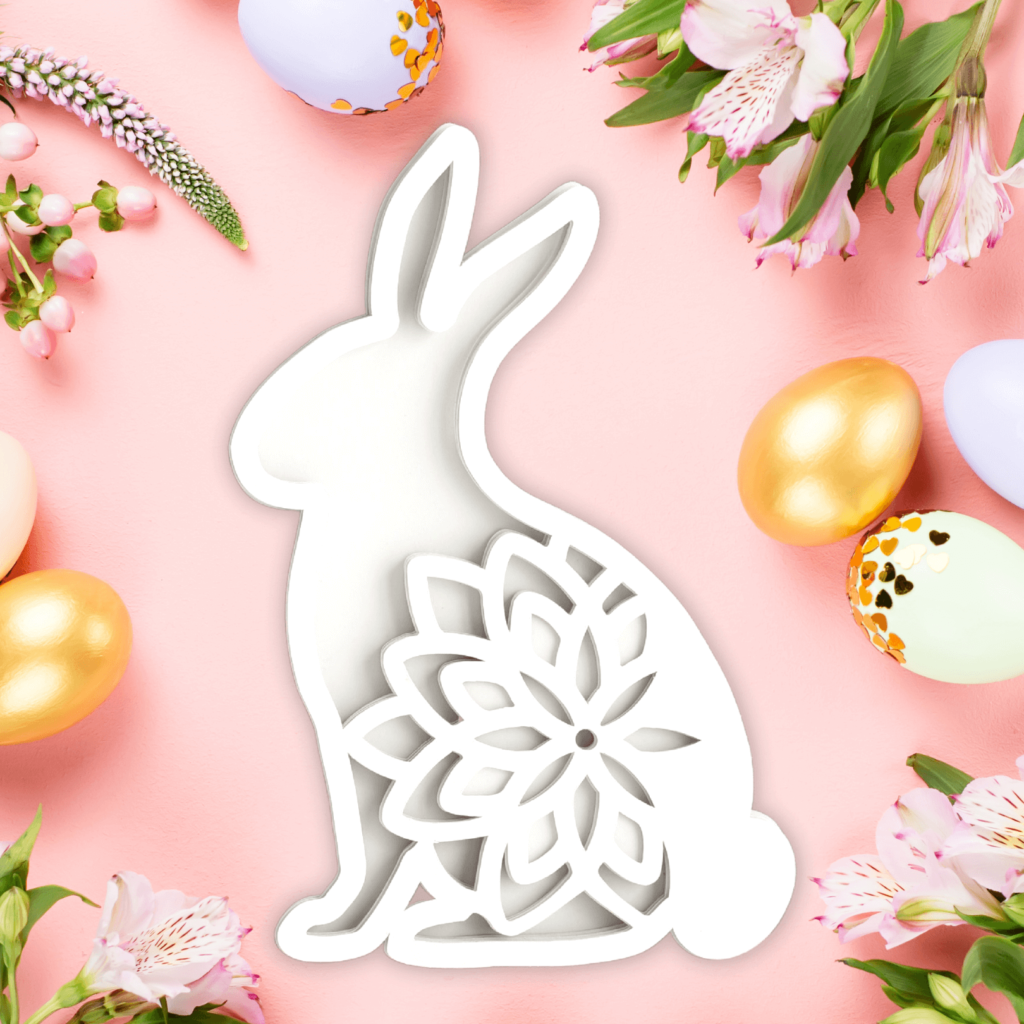
Add dimension to paper projects with floating layers
Secret #1: Adhesive Foam between layers
It is amazing the visual art you can make with multiple layers of cardstock and foam in-between the layers. Even using plain white paper can create a floating layer effect.
Every time I make a layered project with white paper and place the project in a frame, my husband looks it over with wonder and asks if it’s made out of wood. He is always surprised when I share it is made out of paper.
Adding foam in-between layers creates subtle shadows between the layers. The shadows give the appearance of dimension or thickness that you can’t achieve with paper glued directly to paper.
There are a few options to choose from when shopping for adhesive foam to add dimension to paper projects.
Double sided adhesive foam is craft foam or mounting foam with adhesive on both sides. The foam comes on a backing sheet just like a sticker but also has a removable sheet on the top side that you peel off to stick to paper.
Adhesive foam is great for paper projects like scrapbooking, card making shaker projects or mounting photos. You can stack foam together to create even more height.
50 feet of double sided foam tape. Cut to size

pre-cut 1/8 inch thin strips of adhesive foam. Can be used for shaker projects.
I use these strips often because of how thin they are pre-cut.

pre-cut squares in a variety of sizes. Easy to peel off.

not pre-cut allows to cut larger shapes.

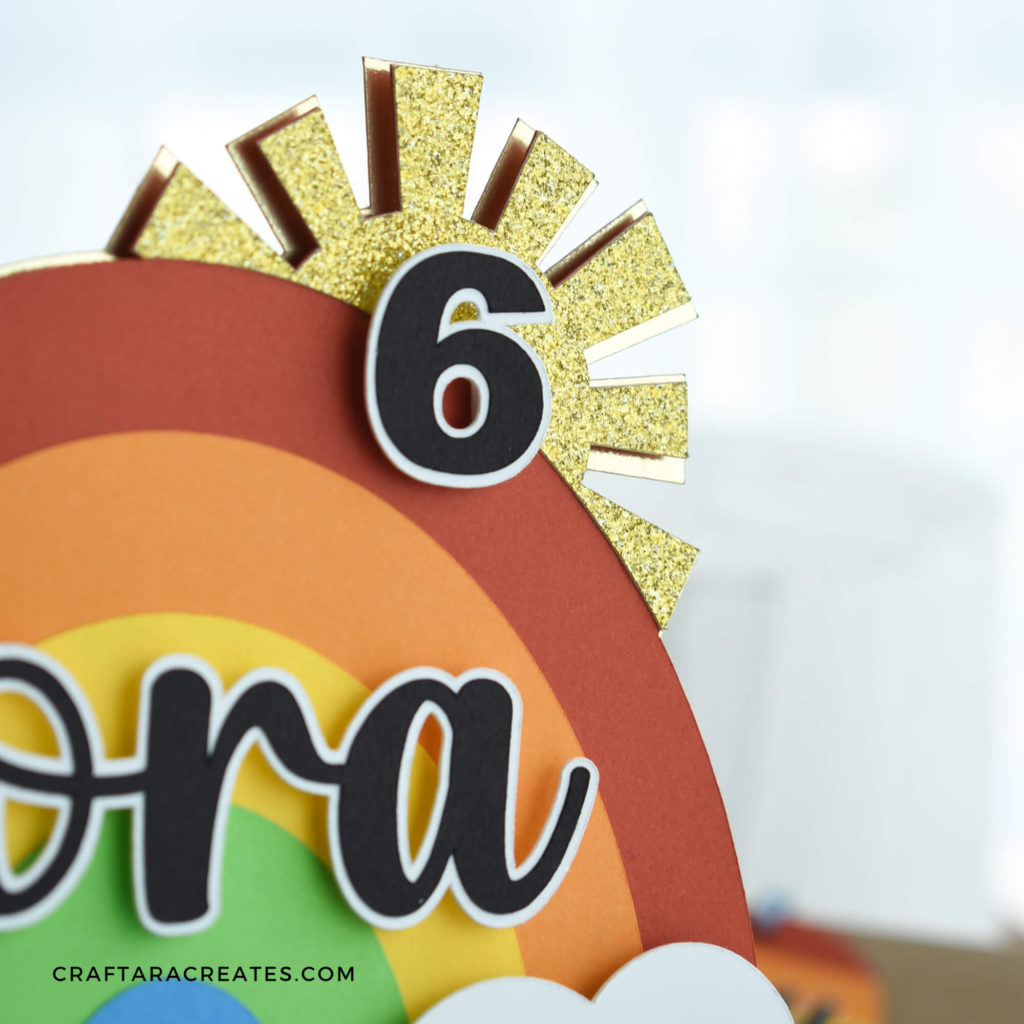
Have fun with cardstock textures
Secret #2: Mix different types of cardstock
You might be surprised to learn that there are lots of different cardstock textures available.
To name a few: smooth texture, linen texture, canvas texture, glitter, foil, metallic.
Who knew paper came in so many options?! After all, it’s just paper. The great news is that your Cricut machine can cut all different kinds of cardstock.
Your creativity can really shine when mixing cardstock textures to add dimension to paper crafts.
This cake topper uses three different types of cardstock:
- Smooth cardstock for the rainbow colors
- Gold Glitter cardstock for the sun
- Metallic Gold cardstock for the base/background layer
The most precise cuts are not made with cardstock
Secret #3: Use vinyl
Here is something to keep in mind – Cardstock is thicker than vinyl.
It can be a challenge to cut very thin designs with cardstock. Designs with script fonts or calligraphy fonts can result in the cardstock pulling up from the Cricut mat and the machine blade tears it to shreds.
That is where vinyl can help. Vinyl is ultra-thin and easily cut to precision with a Cricut machine.
You can apply both adhesive vinyl and iron-on (HTV) vinyl to cardstock. The advantage of vinyl is that you can transfer the design all at once with the backing layer or carrier sheet (if HTV).
Transferring the design all together maintains the alignment. You can skip placing each piece one by one because the backing or carrier sheet will keep the vinyl in place.
There are a few tips and tricks to applying vinyl to cardstock to add dimension to paper crafts.
You’ll never guess what transfer tape I use to add adhesive vinyl to cardstock. Click the button below to find out.
This layered shamrock design which cuts great with cardstock. However, the letters would take forever to glue down one by one. For this project, I used vinyl for all the words.

Add dimension to paper projects with Accents
Secret #4: Break out the stickers
This is where it gets interesting especially if you are familiar with card making.
There are endless ways to add accents to paper craft projects. One of my favorite ways to add dimension to paper projects is with dimensional stickers.
Here are three sticker options:
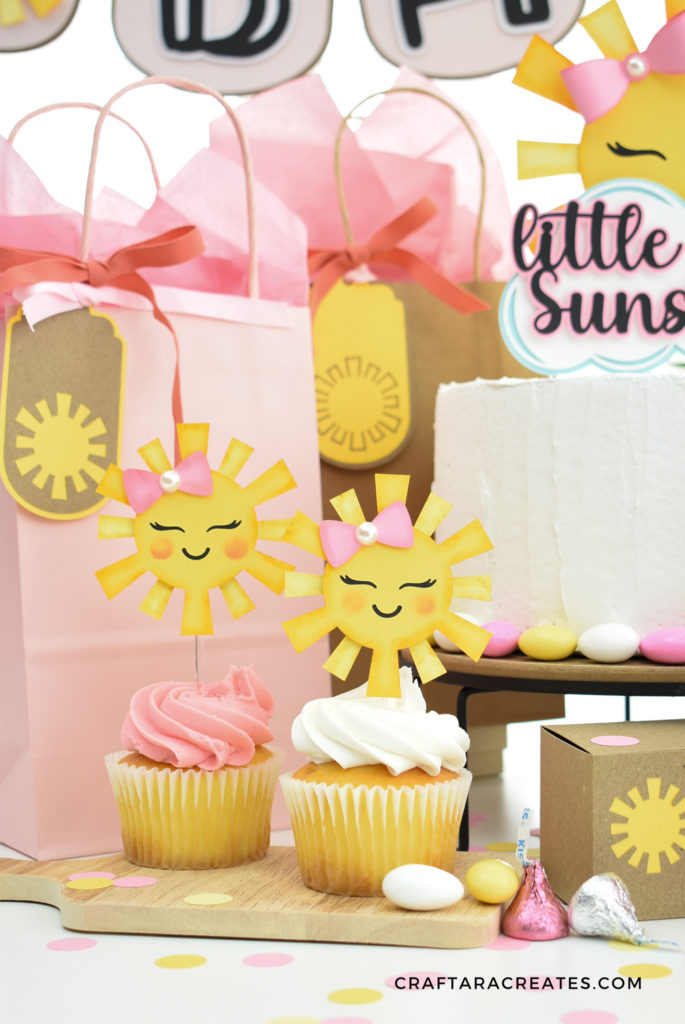
This adorable little sunshine cupcake topper has a pearl bling sticker on the bow. Super cute for a baby shower.
Mix depth
Secret #5: Add other paper crafts
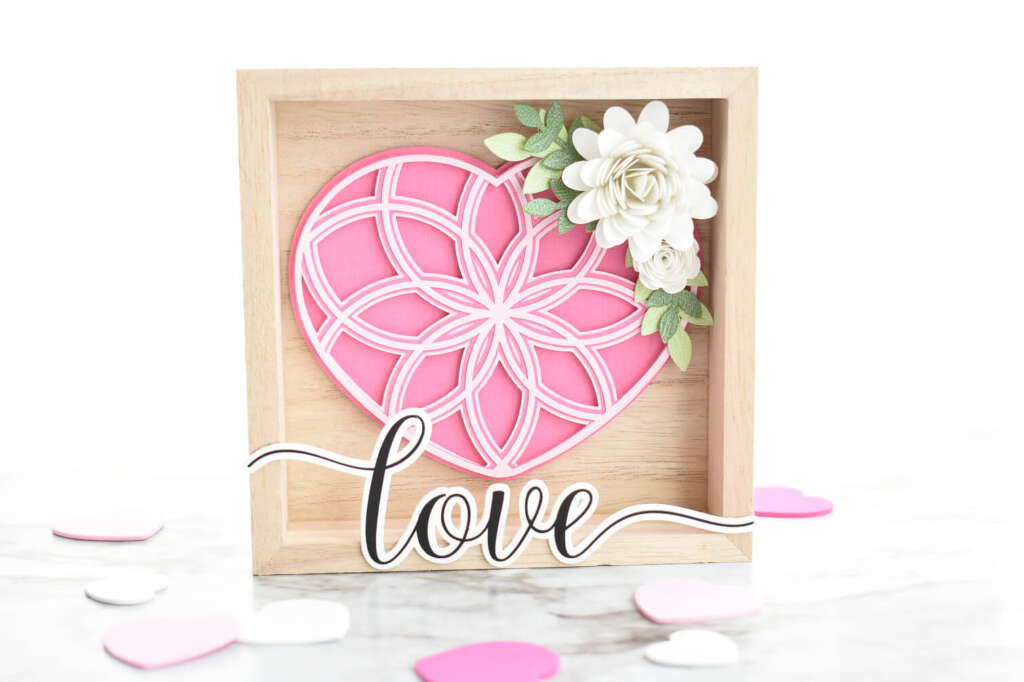
One way to add more depth with your paper crafts is to add paper flowers.
For example, I added a rolled flower to a simple layered heart in a shadow box. I think the flowers totally make the project.
WAS THIS TUTORIAL HELPFUL?
Did you find this information on how to add dimension to paper projects helpful? If so, please pin this idea and let me know your thoughts in the comments below.
4 Comments
Awesome tips! I expected a video. The text is better for me because we have a *TERRIBLE* internet connection. (We are talking dial-up speeds most of the time. It sucks living rurally.)
So glad you found this information helpful Cindy!
Love these tips! That heart shadow box is gorgeous. Heading to that tutorial to check it out. The rolled flowers add so much to that project.
Thank you Shirl! I loved that rolled flower too.