


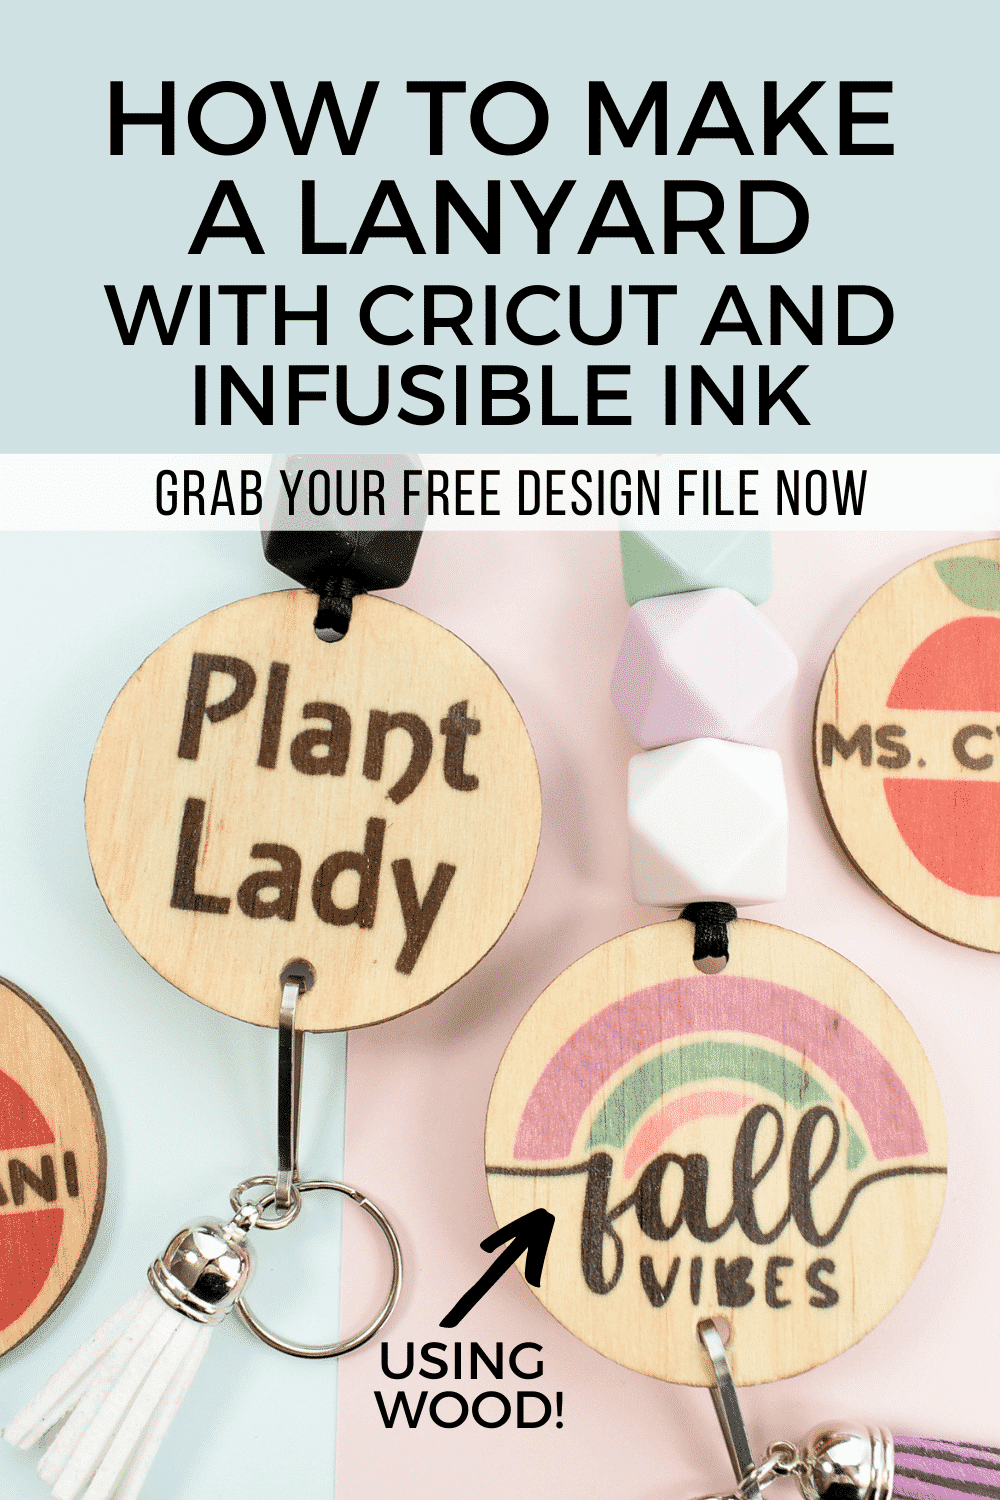
Learn how to make your own lanyard with Cricut with Infusible ink.
I am loving the look of soft colored silicon bead lanyards and keychains. Lanyards make great DIY teacher appreciation gifts and the natural wood is a unique twist. I created a boho style DIY lanyard using Cricut Infusible Ink on wood.
Can you use Infusible Ink on wood?
Infusible ink on wood works well because untreated wood is porous and easily accepts the ink. As a result of the porous nature of wood, Infusible Ink has a less vivid, more rustic look and the grain of the wood is visible through the Infusible Ink to create a boho style Cricut project. For Infusible Ink on wood, a top coat is needed to protect the wood surface and prevent stains.

This post may contain affiliate links, which means I’ll receive a commission if you purchase through my links, at no extra cost to you. Please read my full disclosure for more information.
HERE’S WHAT YOU’LL NEED
- Cricut machine (Joy, Explore Air or Maker)
- Cricut Mat – StandardGrip Machine Mat
- Infusible Ink Transfer Sheet
- EasyPress 2
- EasyPress mat
- 2″ Wood circle
- Electric Drill and drill bit sized 5/32”
- Heat Resistant Tape
- Butcher paper (this is included in Infusible Ink box, but just in case you need extra)
- Silicone bead kit
- Metal lanyard hooks
- Lint Roller
GRAB THE DESIGN HERE
To show you how to make your own lanyard with Cricut, I created a cut file made to fit the size and shape of the wooden circles. To grab the fall vibes cut file shown below (which also comes with a boho rainbow you can customize for your own design), sign up using the form. You will find this in the fall section of the resource library.
Join the Craftara family to gain access to my resource library full of free SVG cut files compatible with Cricut. Sign up below to unlock the resource library and learn about all new tutorials.
HOW TO MAKE YOUR OWN LANYARD WITH CRICUT
To get started, create your design in Cricut design space. You can upload the boho fall vibes or make your own design and size it for the wooden circle. To help you make your own lanyard with create, you can use a template of the wood round using with a 2″ circle to be sure the design fits on the wooden circle.
Once your design is ready to go, delete or hide the 2″ circle template and click Make it. Be sure to mirror the design and select Infusible ink for the material.
Load a StandardGrip mat into the Cricut machine with the Infusible ink side up. And press the Go button to start the cut.
PRO TIP: Before unloading the mat, I check the cuts. Almost always with Infusible ink I will repeat the cut by clicking the C button before unloading the mat.

Gently roll the cut design so the cut lines separate and are more visible. “Cracking” the cut infusible ink this way makes it easier to remove excess material from in and around your design. Use your fingers or tweezers to carefully remove negative pieces from in and around your design, leaving the design on liner.
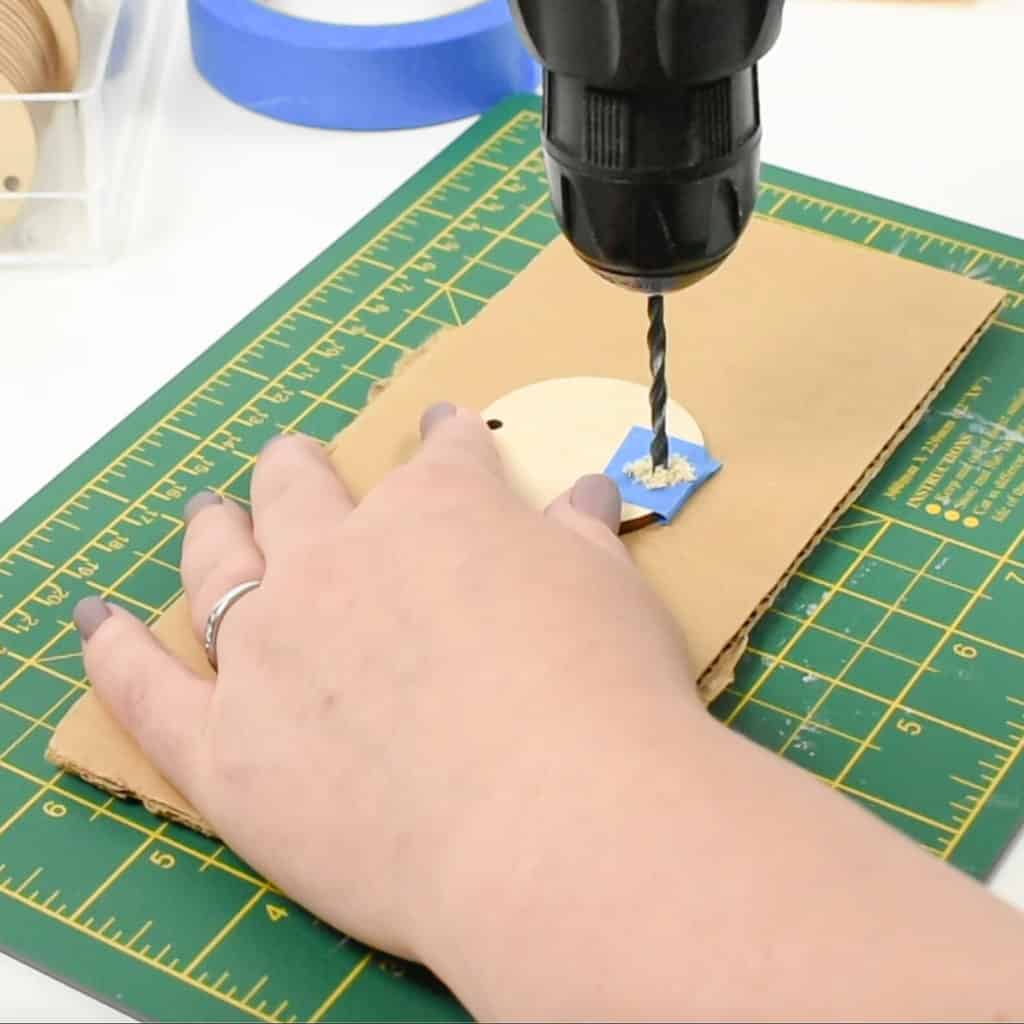
Prepare the wooden circle for your DIY lanyard by drilling a second hole near the bottom of the circle. Use painters tape to help prevent wood splintering by the somewhat delicate wood. Drill most of the way through and flip over the wood circle to drill the rest of the way through from the other side. I used a drill bit sized 5/32”.
Next, use sandpaper to lightly sand the wood circle and the newly drilled hole. Use a new lint roller sheet to clean the wood round and brush off dust.
Secure the infusible ink design to the wood circle with heat resistant tape. Prepare an EasyPress mat with a sheet of white cardstock to protect from ink bleeding. Add the wood circle with design on top of the cardstock and add a layer of butcher paper over top of the wood circle.
Grab your EasyPress 2 and preheat to 400 F and preset the time to 75 seconds. Quick note about EasyPress, unfortunately, the EasyPress Mini is just slightly too small to cover the whole 2 inch wood circle. I had to use my big 12 x 10 EasyPress but that allowed plenty of space for multiple wood rounds.
Place the EasyPress 2 over the wood circle and press the Cricut button to start the timer count down.
Once the timer goes off, remove the EasyPress 2 and allow the wood round to cool down for a few minutes. Remove the Infusible ink transfer sheet from the wood circle.
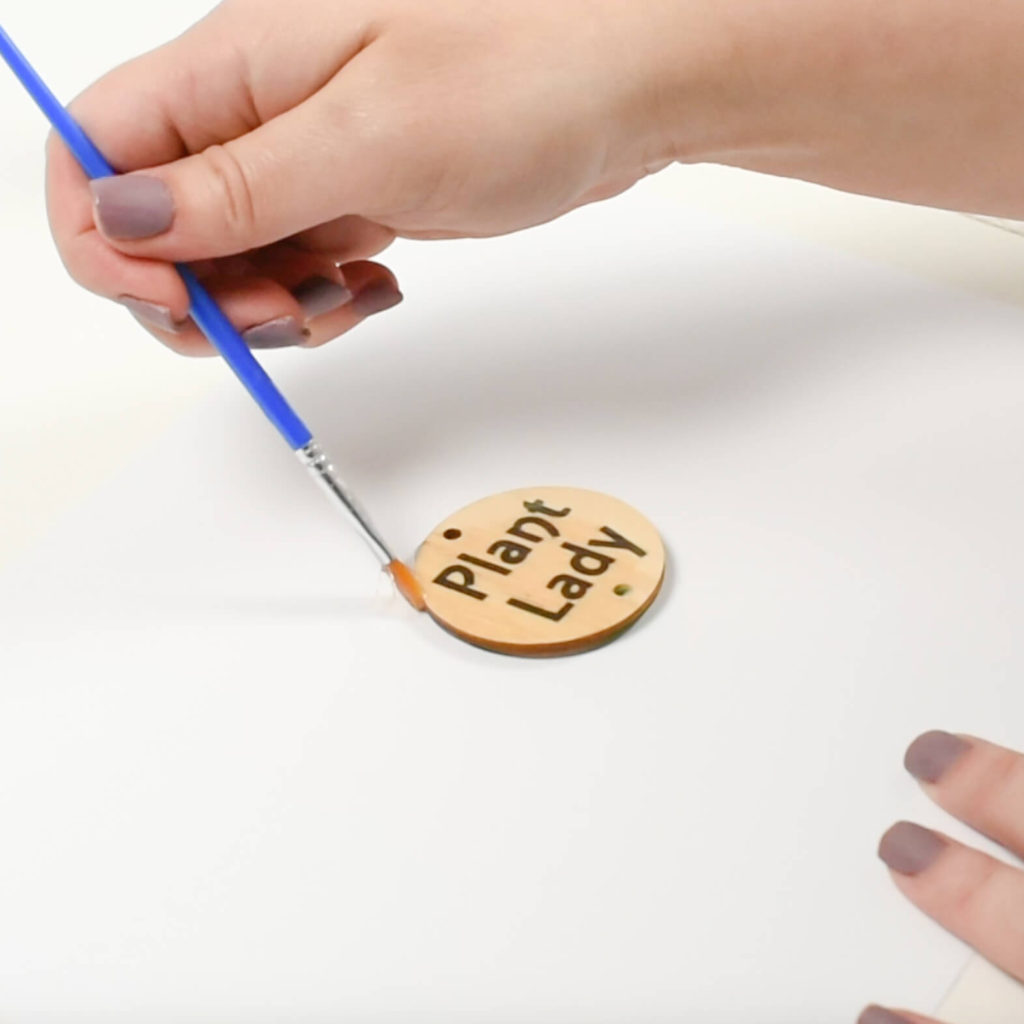
Next, we need to seal the porous wood circle so that no other stains or colors get stuck to it. I could easily imagine myself spiling coffee or tea on my lanyard and staining the untreated wood. I used two layers of diamond glaze to cover the wood, which dries quickly. Mod podge would work well. After the glaze dried, I gave the wood round a quick sand for a smooth finish.
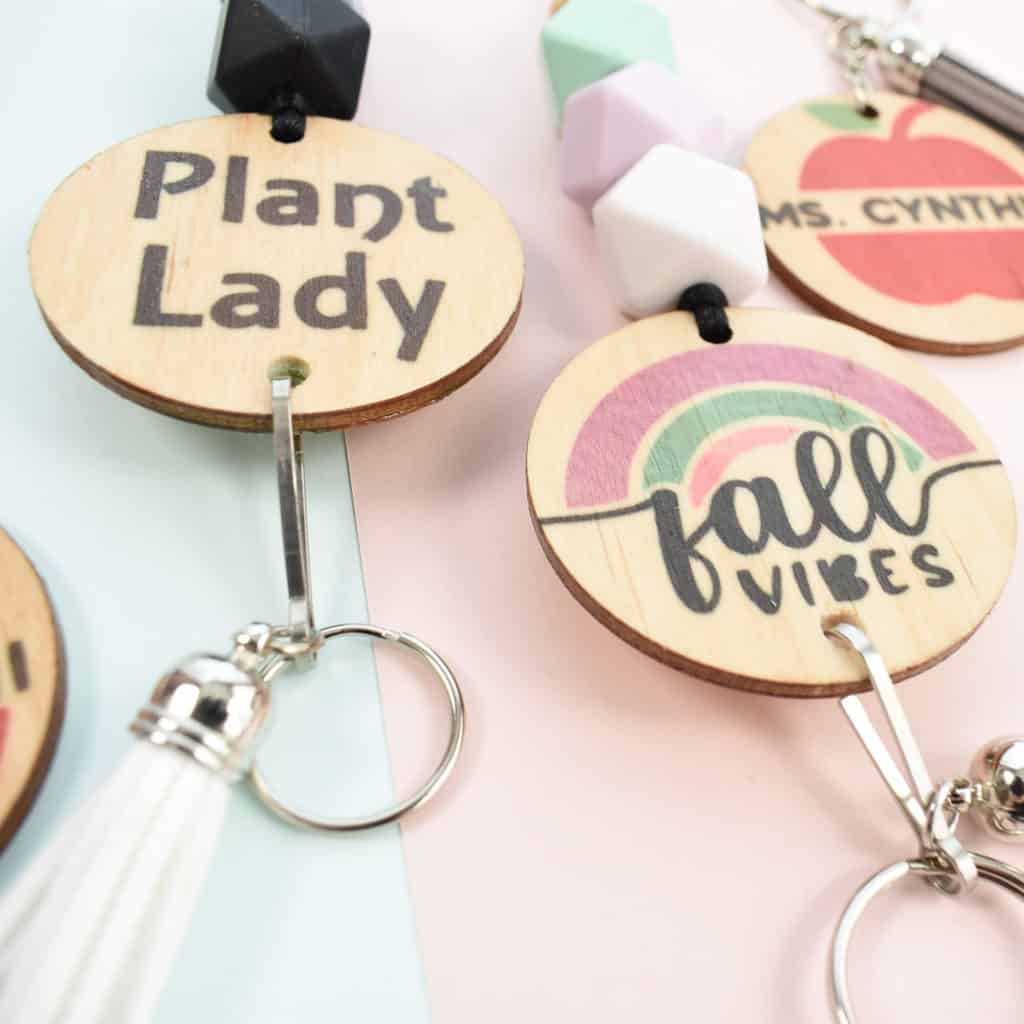
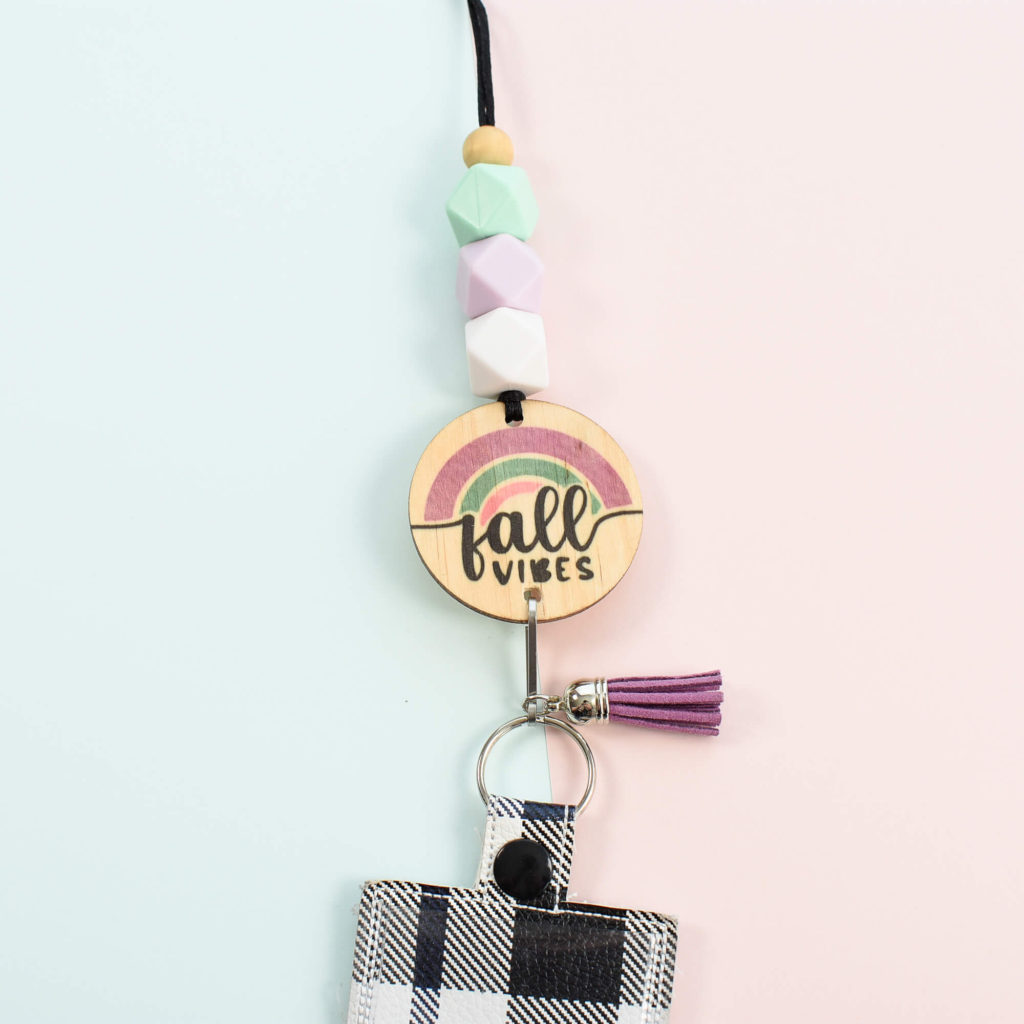
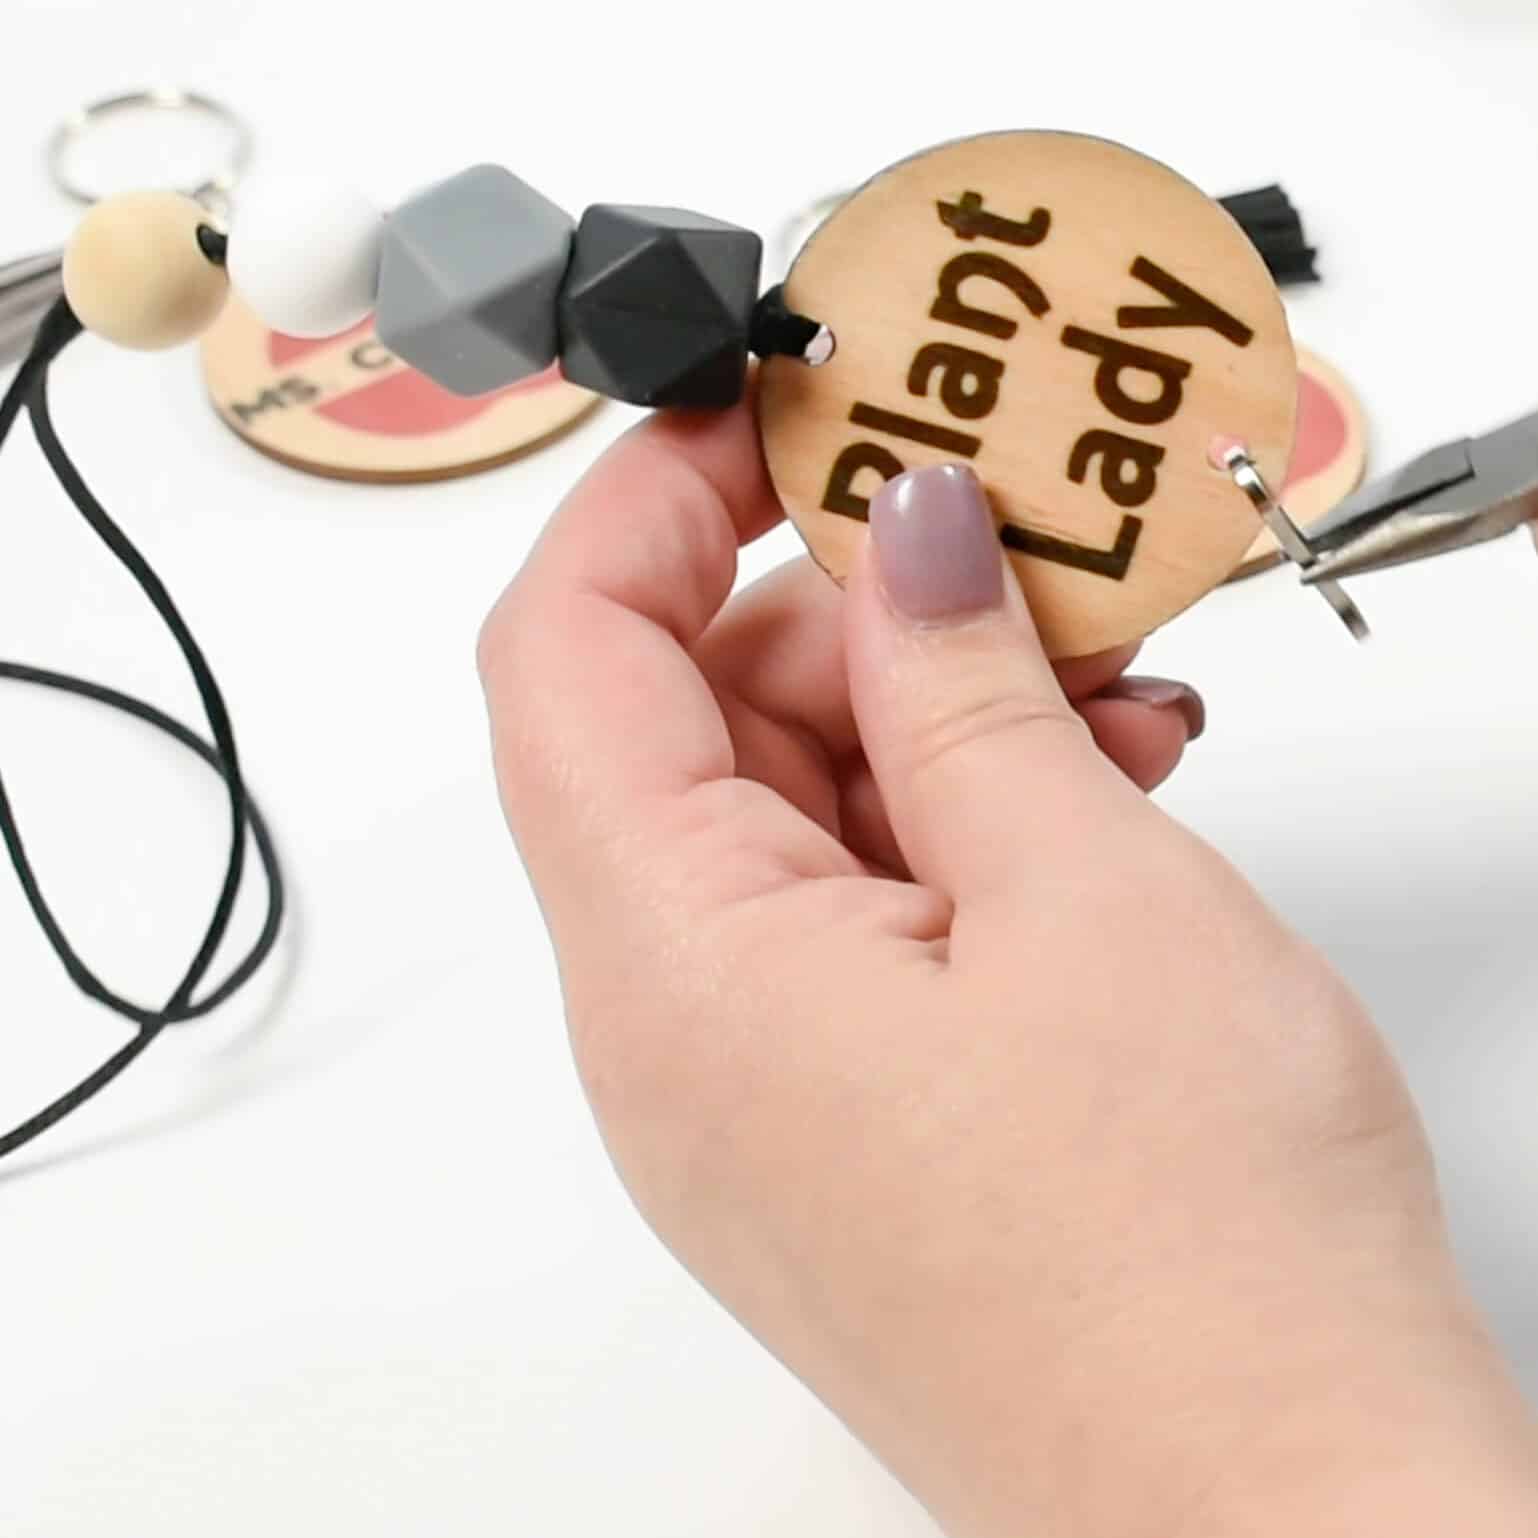
To complete your DIY lanyard, I used nylon string and silicone beads along with a breakaway clasp. Cut the string about 37-38 inches long and thread through the silicon beads. I used an eye hook to help thread the thick nylon through the beads. At the ends, add the breakaway clasp and tie a knot to secure them. Use metal lanyard hooks to add the Infusible Ink on wood circle to your DIY lanyard.
QUESTIONS ABOUT USING INFUSIBLE INK
What is Infusible Ink?
Infusible Ink allows you to make professional quality crafts that are permanent, seamless and unpeelable. When Infusible Ink is applied to a compatible surface, the result is an item that will withstand endless rounds in the washer or dishwasher (for mugs). The transfer sheets are made of dry ink in solid colors and patterns. When heat is applied, the ink permanently transfers into the outside coating of the compatible surface (such as Infusible Ink compatible shirt, coaster or mug).
Which Cricut machines work with Infusible Ink projects?
Infusible Ink can be cut on any Cricut machine (Joy, Explore Air 2/3 or Maker/3) using the fine point blade, which is included with all Cricut machines. Infusible Ink can be successfully transferred using the Cricut EasyPress 2 or Cricut Mug Press for mug blanks.
How is Infusible Ink different from iron-on vinyl?
Infusible Ink and iron-on vinyl differ from the temperature to the weeding process. Iron-on vinyl is much like adhesive vinyl in that the design is glued to the top of the surface of the base material. Whereas, Infusible Ink transfers into the surface of the base material for permanent, non-peelable results. Infusible Ink has limitations on where it can be used. For example, Infusible Ink works with light colored surfaces that have a high polyester count or a polymer coating.
WAS THIS TUTORIAL HELPFUL?
Did you find this simple project tutorial on how to make your own lanyard with Cricut helpful? If so, please pin this idea and let me know your thoughts in the comments below!
2 Comments
I love this! Your video and instructions are so clear and easy to follow. Thank you!
Thank you so much Stephanie!