


HERE’S WHAT YOU’LL NEED TO MAKE A MAGNETIC FAUX LEATHER BOOKMARK WITH CRICUT
- Cricut maker or Cricut Explorer Air 2
- Deep Point Blade
- Cricut StrongGrip mat
- Transfer tape
- Faux Leather
- Cricut EasyPress Mini
- Cricut EasyPress Mat
- Iron-on Vinyl
- Adhesive magnet sheets
Check out my other Faux Leather Cricut Projects:
INSTRUCTIONS TO MAKE A DIY MAGNETIC FAUX LEATHER BOOKMARK WITH CRICUT
First, we need to prepare our design in Cricut Design Space. Start by opening up Cricut Design Space and opening a new project canvas.
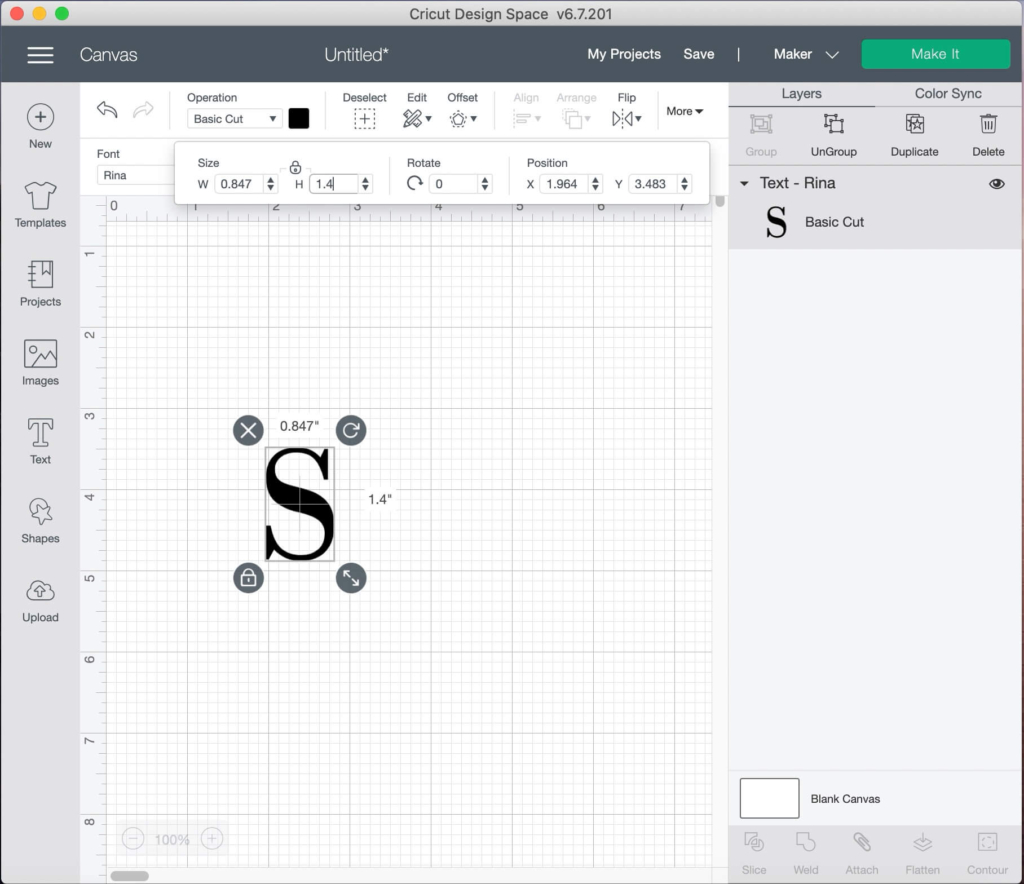
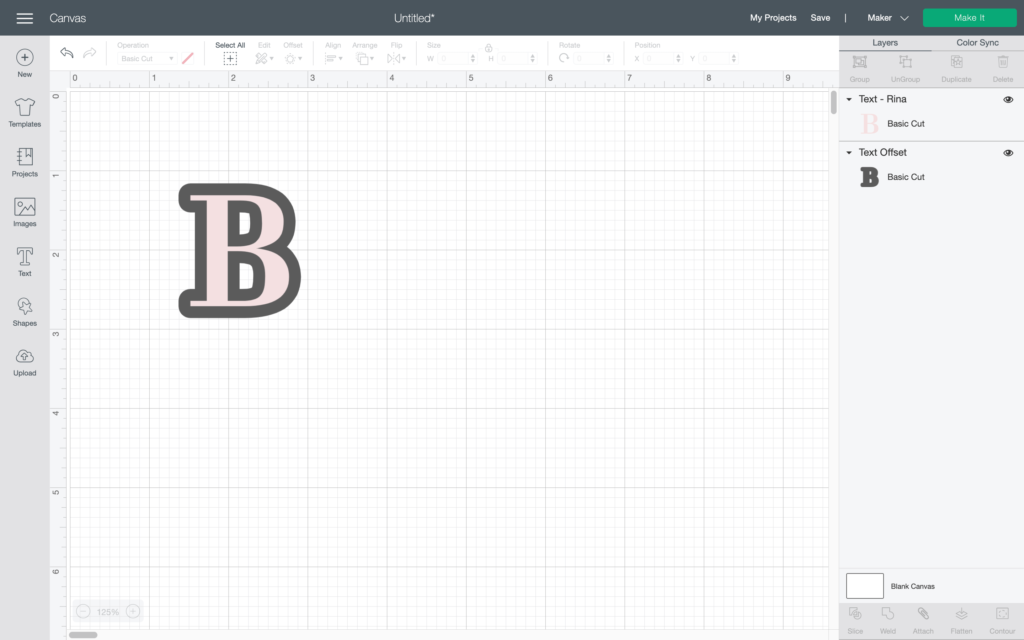
Select the text tool and type the first initial you would like to use.
If you have a font in mind, now is the time to change the font. I used the font Rina.
Set the height of the letter to 1.4 inches. I would not make my magnetic bookmark any bigger than 1.4 inches in height, but you could go a little smaller if you wanted to.
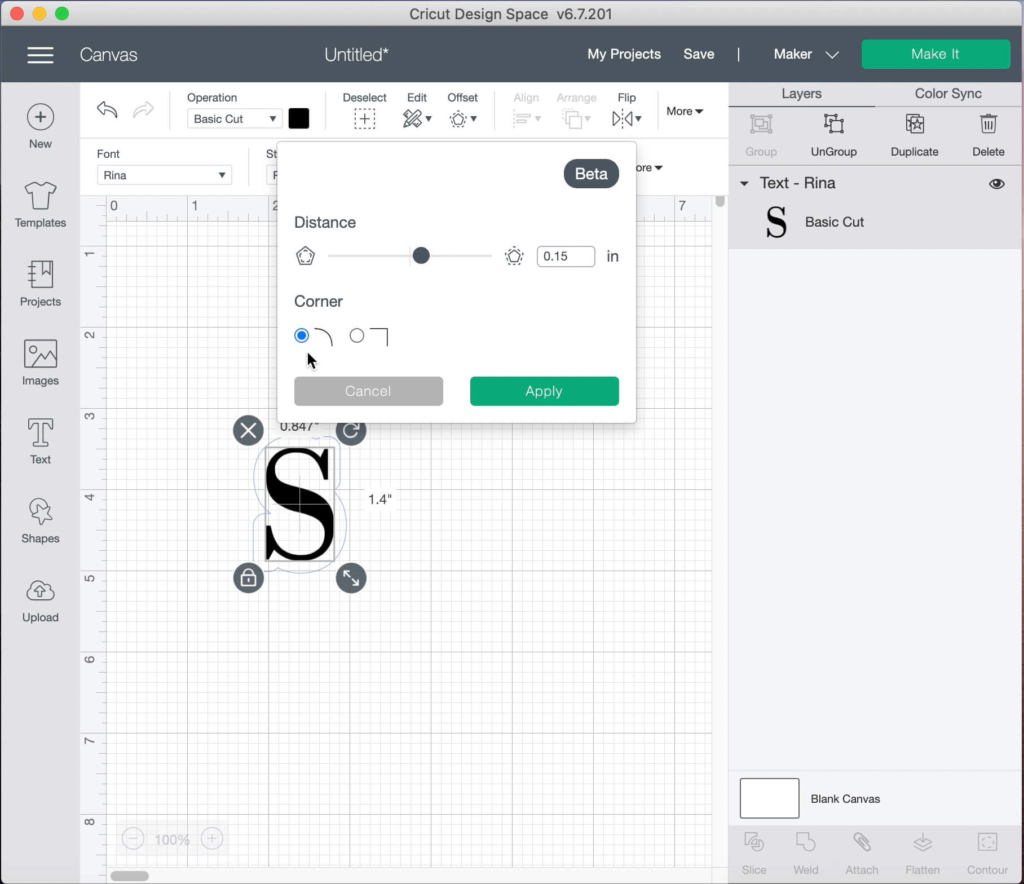
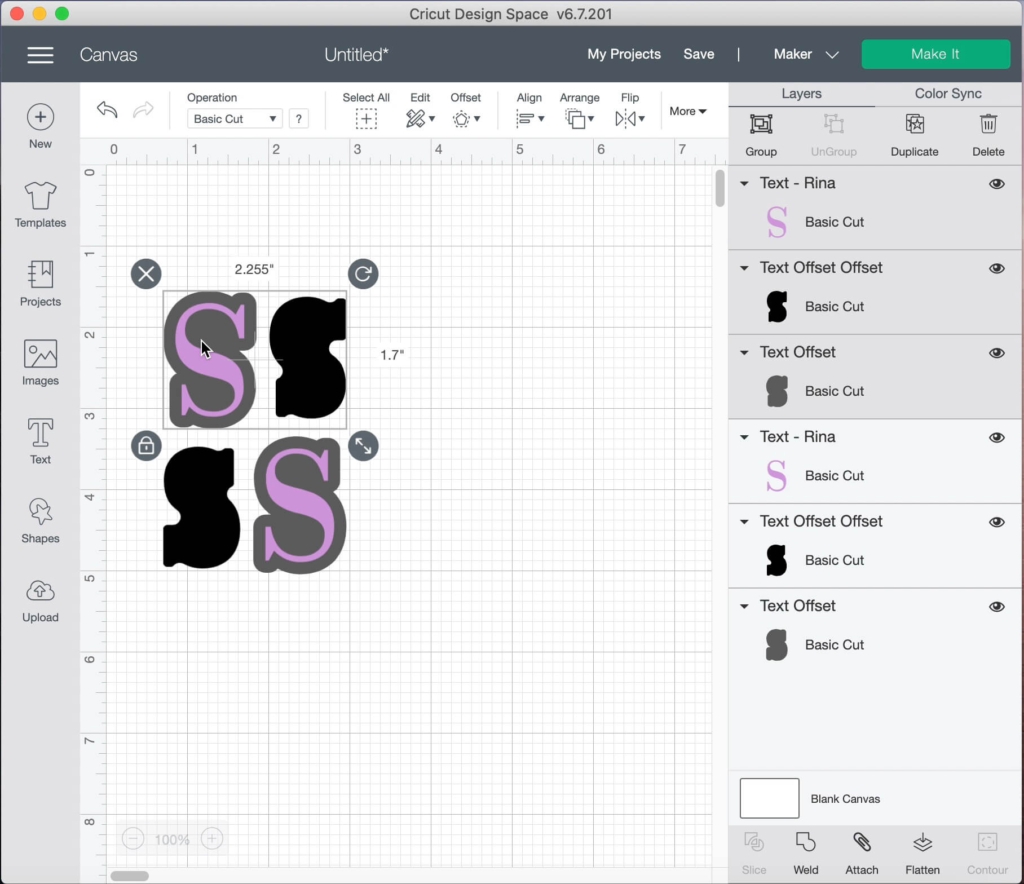
In Cricut Design Space, select the letter and click Offset. Set the Offset Distance to 0.15 with Rounded Corners.
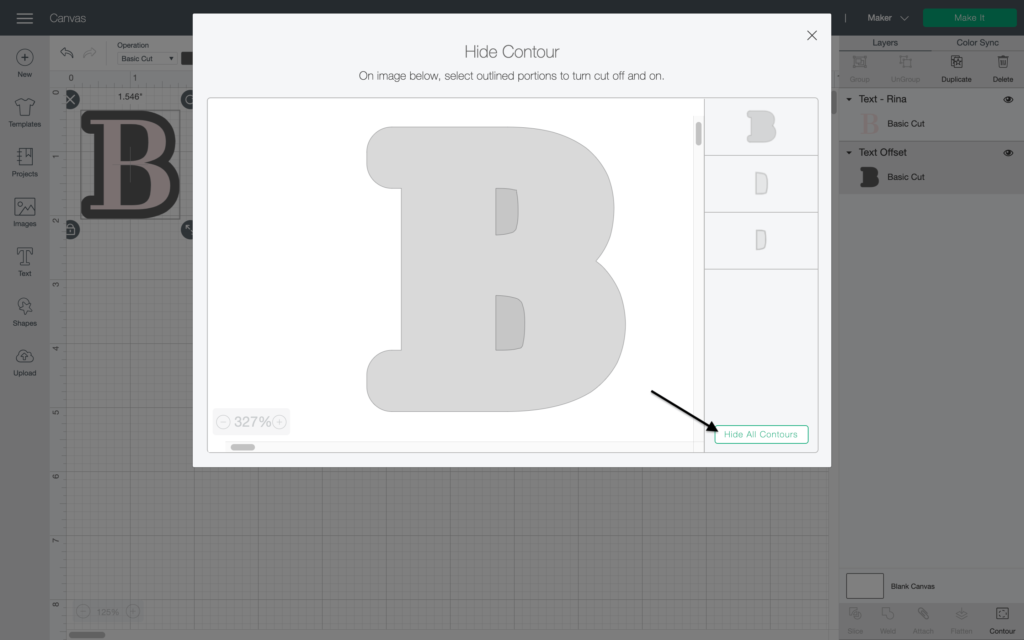
If you have a letter like B with small circles in the middle, use the Cricut Design Space Contour tool to contour out the extra openings in the offset layer. We want the offset layer to be a solid piece because it provides the structure for the bookmark.
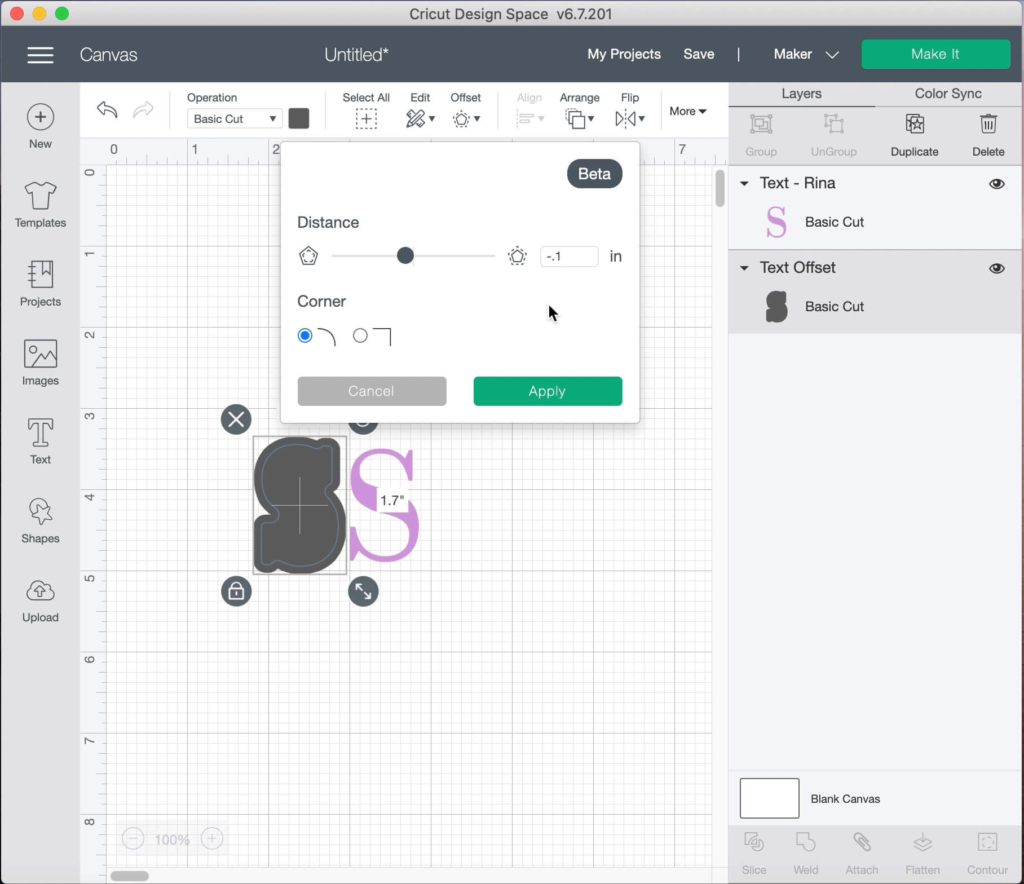
Next, select the offset layer for the letter, use the offset tool again to make an inset.
Set the distance to -0.1 with rounded corners to create an inset layer. This will be used to cut the magnetic sheet. By creating an inset layer, this leaves a little extra space around the edge of the faux leather so you don’t see as much of the dark magnet sheet and more of the pretty faux leather pattern.
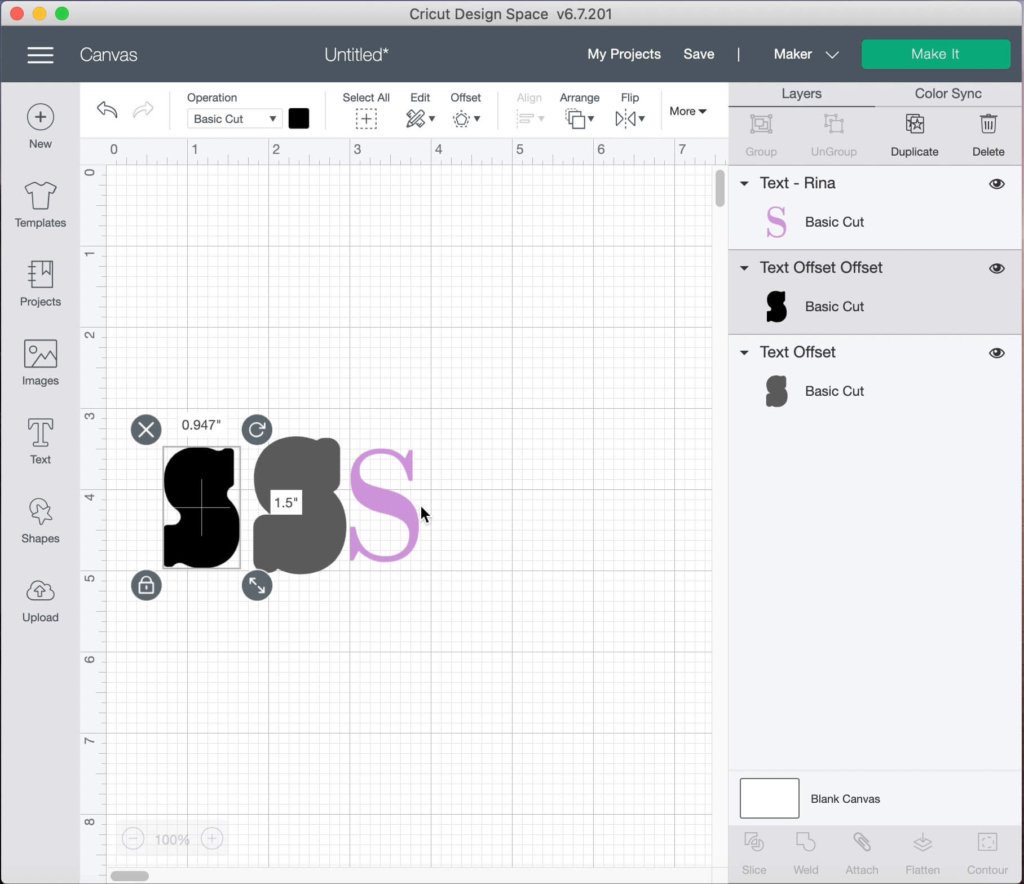
Before we move on, select the offset layer and the letter and Align, Center. We want to make sure the letter and offset layered are centered before making the mirror image for the other side of the bookmark.
Select everything (Letter, Offset layer, inset layer) and duplicate. Then, Flip horizontal, then flip vertical. This will make a mirror image of the letter.
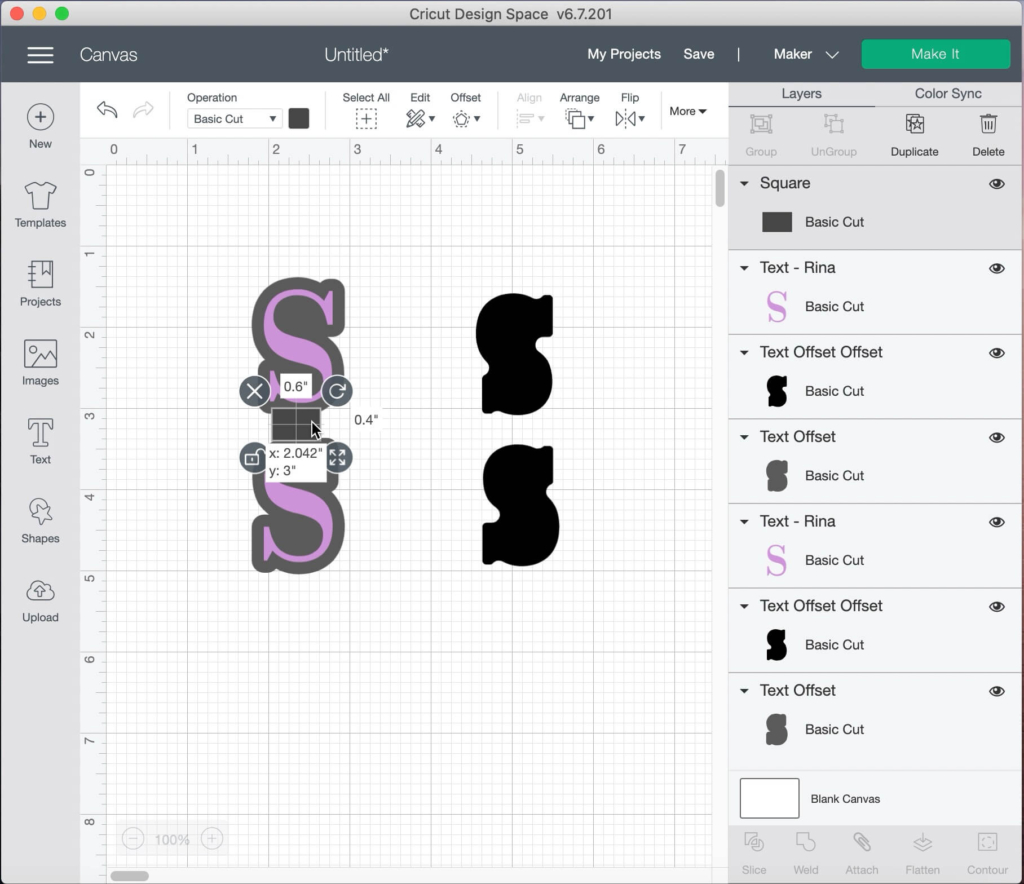
Arrange the letter and offset over top of the first one and move the inset layer out of the way. Now we need to connect the two offset layers to use as the base of the bookmark.

In Cricut Design Space, select Shapes, square. Adjust the size of the square to .6 width inches and .4 height inches.
Move the small rectangle shape in between the letters. The goal is to connect the two offset layers to create one base shape for the DIY Initial bookmark without any gaps. Select all and Align, center horizontally to ensure they are straight.
Next, we need to weld together the base shape for the DIY Initial Bookmark. With the center rectangle in place, hide the two letters. Select the all the base shapes (the two offsets and the rectangle connecting them) and click weld in Cricut Design Space.
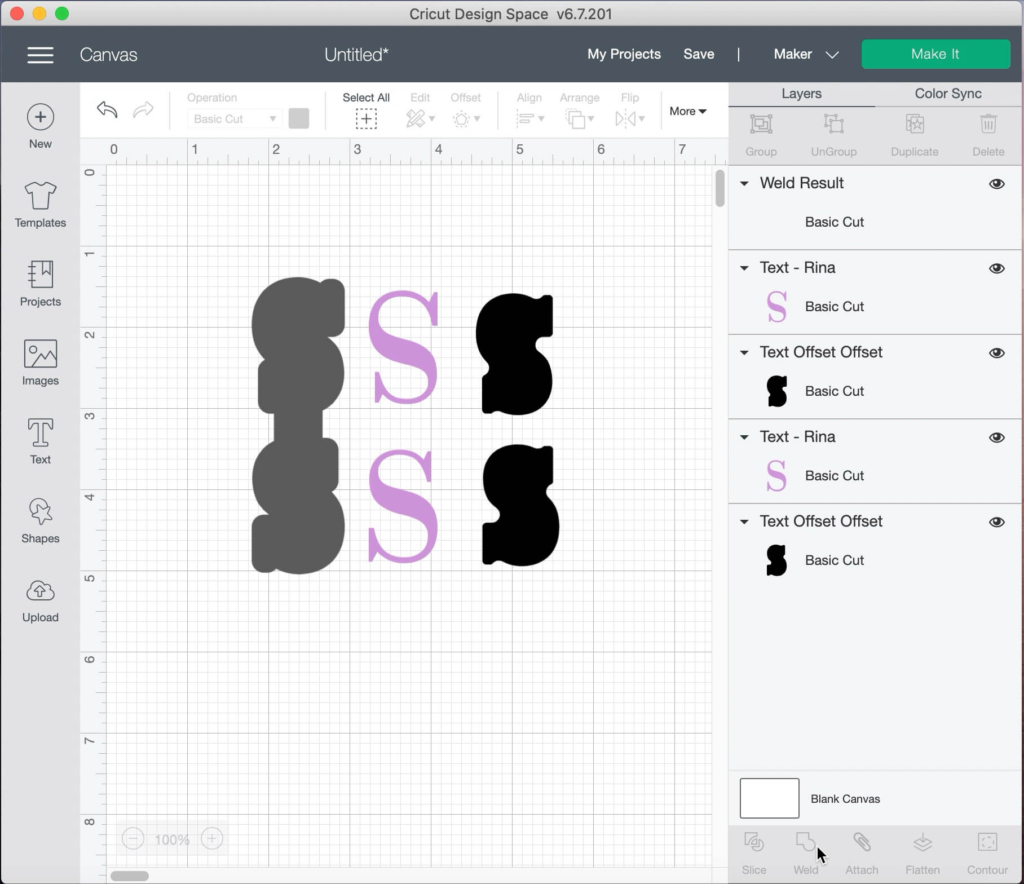
Now you are ready to send to your Cricut machine. The DIY magnetic bookmark project uses three materials:
- Cut the base shape in faux leather
- Cut the letters in iron-on vinyl
- Cut the inset layer in adhesive magnet sheet
CUTTING FAUX LEATHER WITH CRICUT
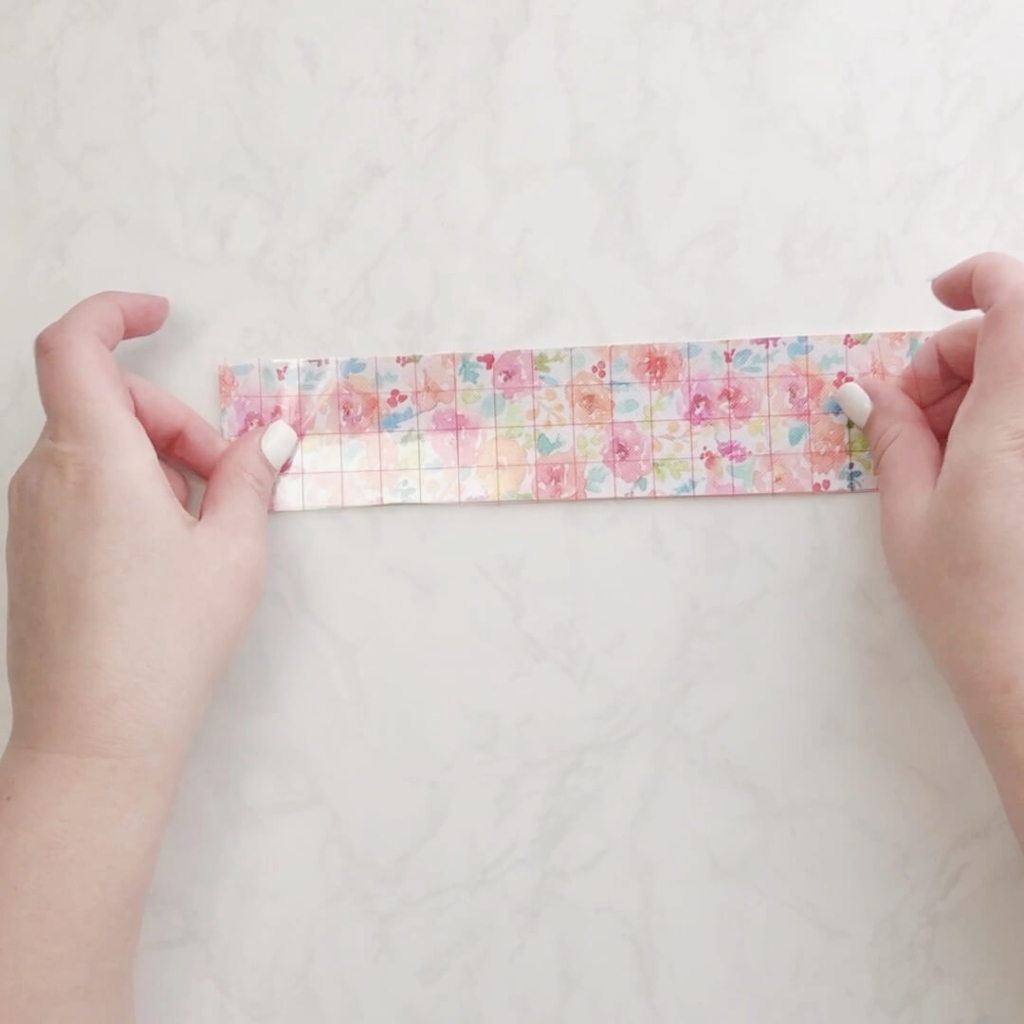
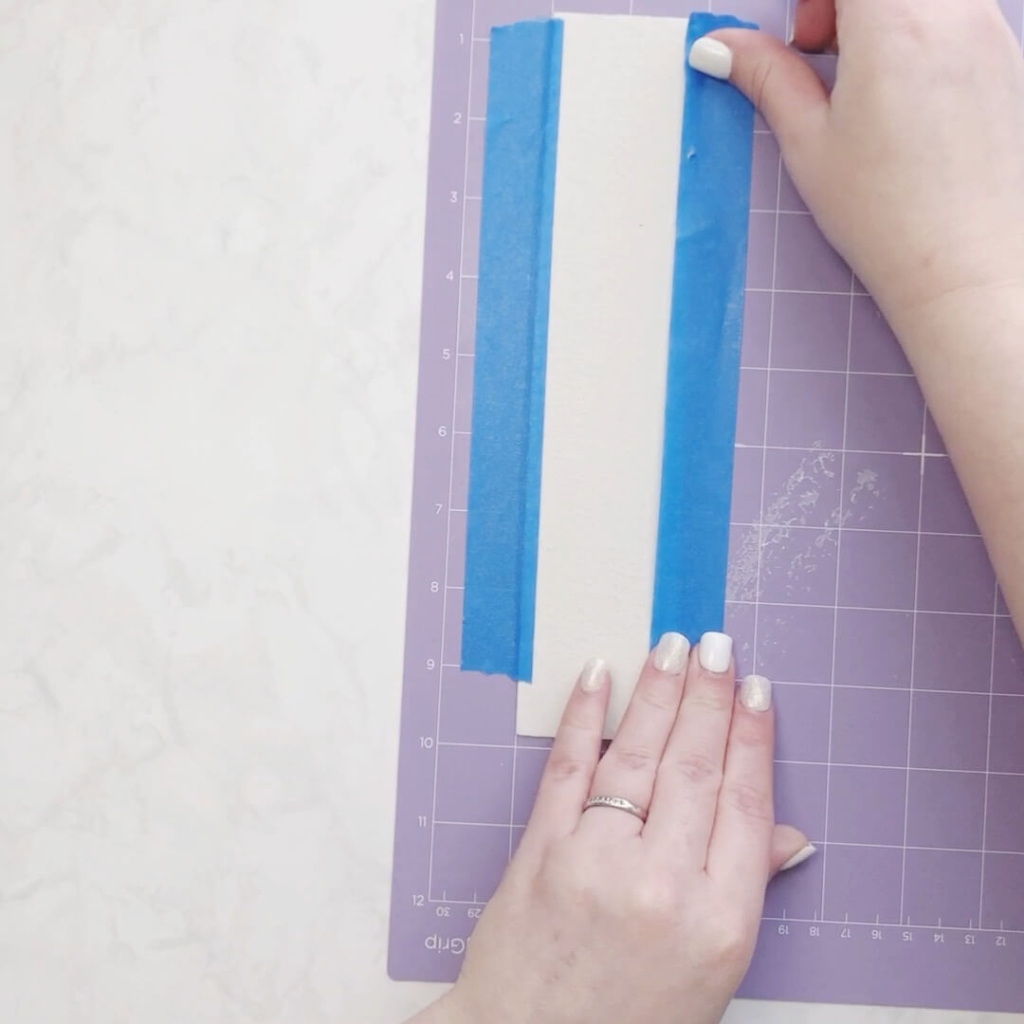
Prepare the faux leather by adding a layer of transfer tape to the pretty side and place it face down on a Cricut StrongGrip mat.
The layer of transfer tape will help to protect your mat from little bits and debris left behind form the faux leather cuts. Further secure the faux leather by adding painters tape around the edges.
Now things get interesting, please note the cutting instructions below. It took me a few times to get them correct.
Per Cricut’s website, faux leather goes pretty side down in the mat. As a result, we need to mirror the cut before starting. The mirrored cut is because we are using letters and not a basic shape and we need the mirror the cut so the faux leather will be correct on the pattern side – much like iron-on vinyl. Here is how you mirror the mat.
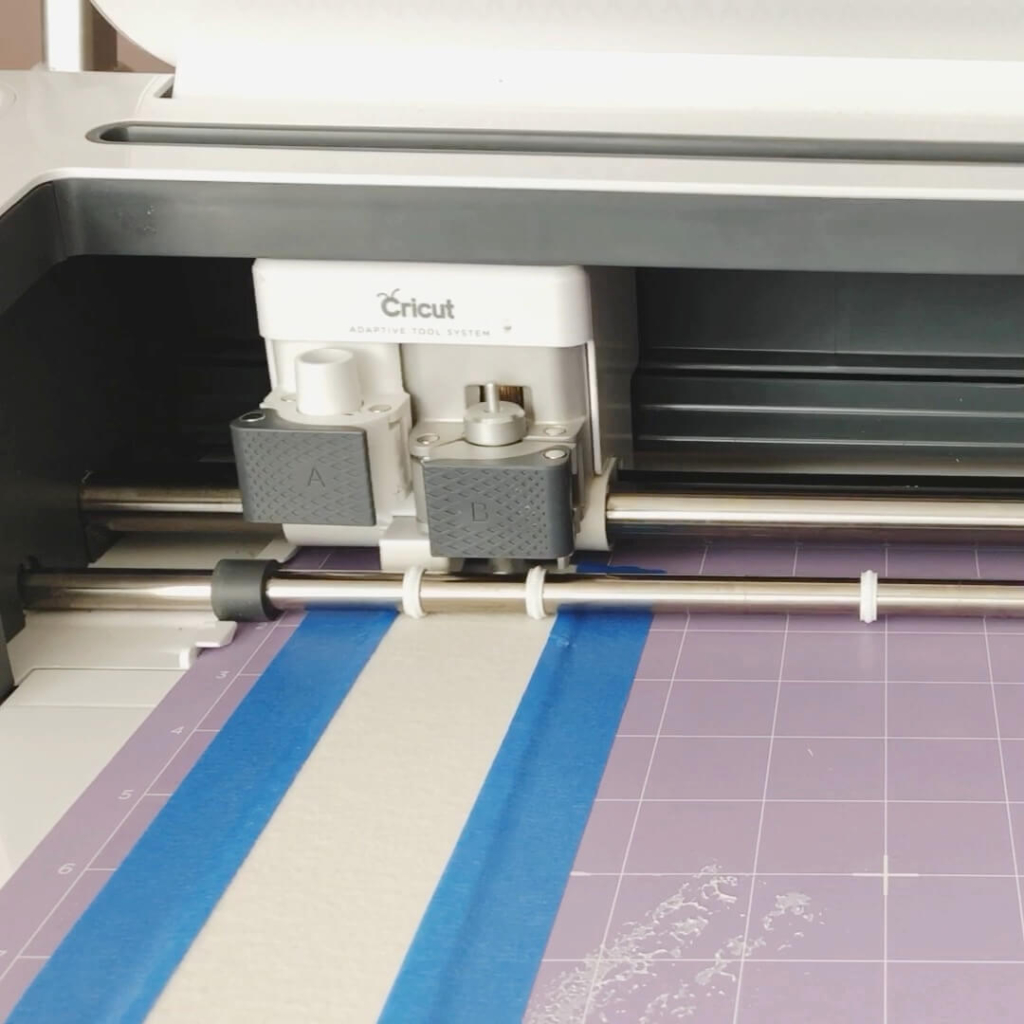
Browse all materials for Faux Leather (paper thin) as the cut setting and use the standard fine point blade. This cut setting will have the Cricut machine go two passes over the Faux Leather. If using a Cricut Explore Air 2, turn the Smart Set Dial to Custom.
CUTTING IRON-ON WITH CRICUT
Be sure to Mirror your mats before cutting if using Cricut Design Space.
Select the type of Iron-On material you are using. I selected Everyday Iron-On from the list of materials.
If using a Cricut Explore Air 2, turn the Smart Set Dial to Custom.
Place iron-on sheet, liner side down (or shiny side down), onto Cricut StandardGrip cutting mat.
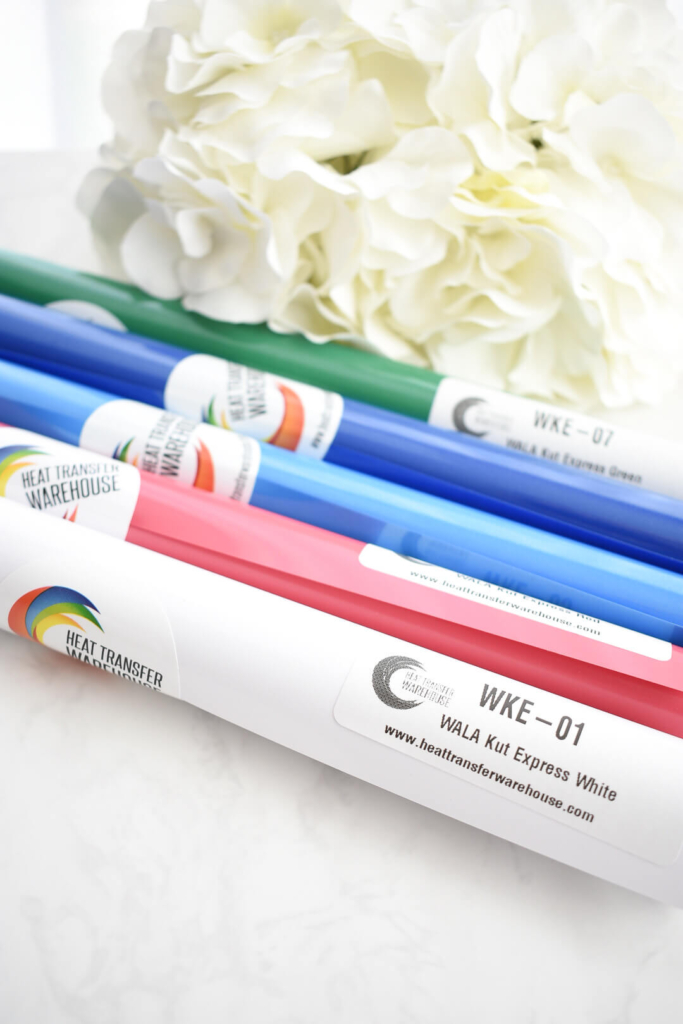
The iron-on vinyl that I used for this project came from Heat Transfer Warehouse and it applied very smooth on the faux leather. I am excited to try more projects with the WALAKut Express iron-on vinyl.
CUTTING ADHESIVE MAGNET SHEETS WITH CRICUT
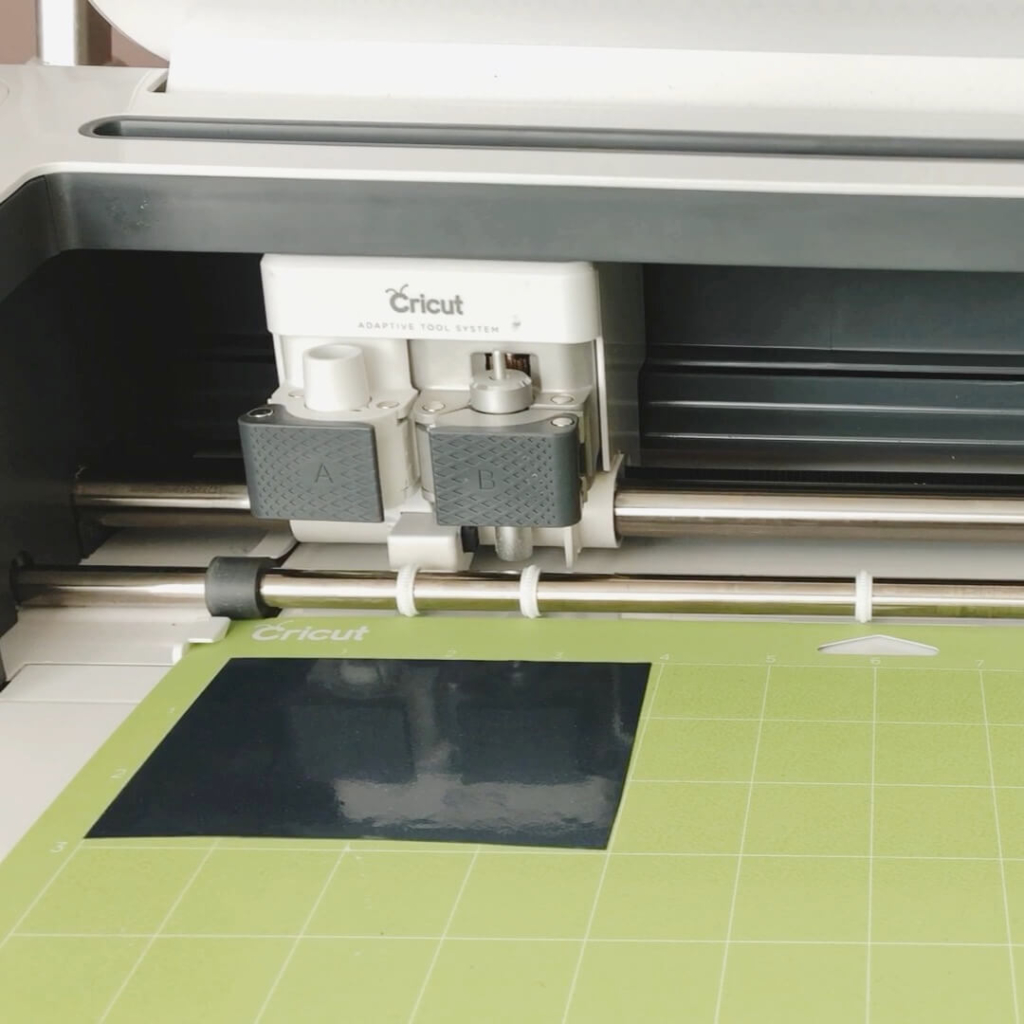
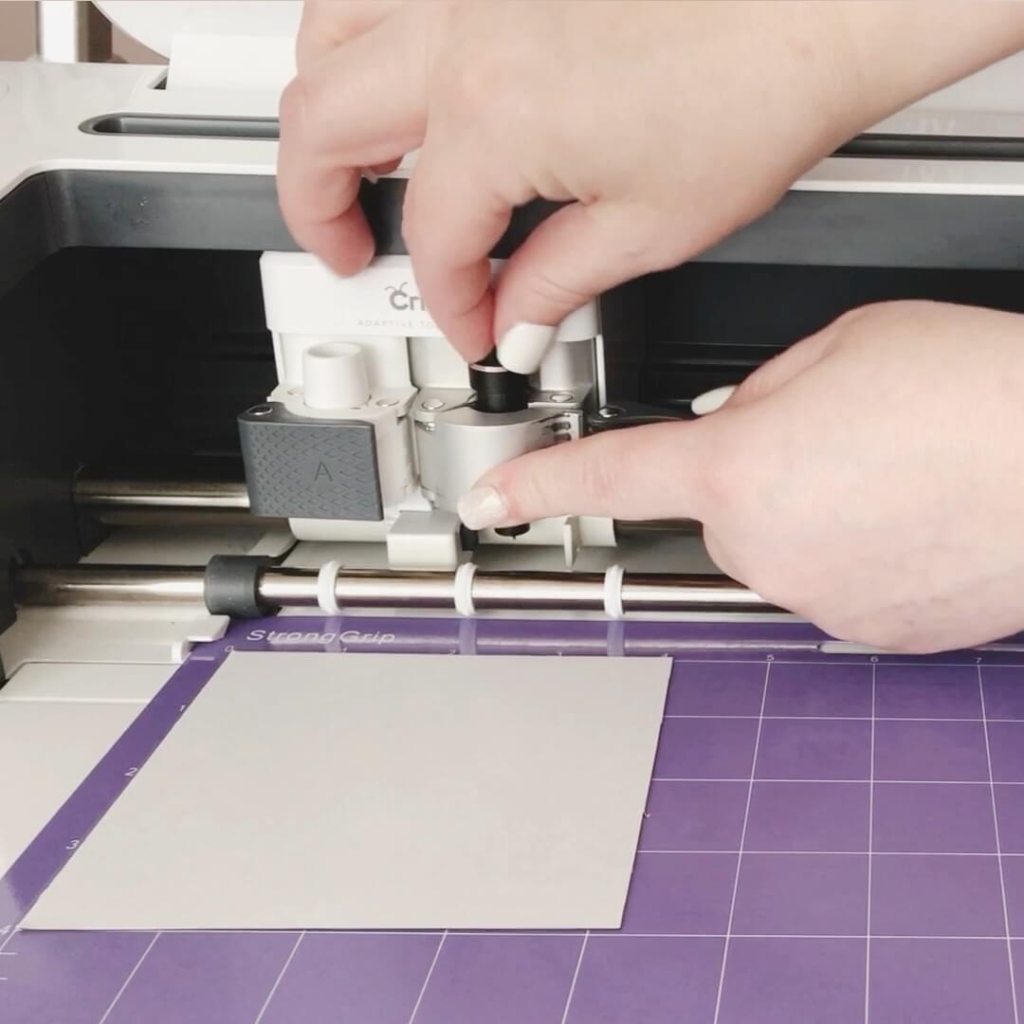
For the adhesive magnet sheets, you will need the deep point blade for use with Cricut Explore Air 2 or Cricut Maker.
For cutting adhesive magnet, place magnet side down, adhesive backing faces the blade, on a Cricut StrongGrip mat. If your StrongGrip mat is super sticky, no need for extra painters tape around the edge.
Do NOT mirror your cuts even though the material is face down.
For the adhesive magnet sheet, do NOT mirror the cuts because they are placed on the backside of the faux leather – therefore we need the magnets to be backwards. I know, it’s a bit odd, but it works. I’ve made a bunch of these.
The cut setting are the same for both the Cricut Maker and Cricut Explore Air 2 with the Deep Point Blade. Browse all materials and select Magnetic Sheet – 0.6 mm. For the Cricut Explore Air 2, check the cut before unloading the mat. I had to click the C button on the Cricut Explore Air 2 to repeat the cut which worked perfectly.
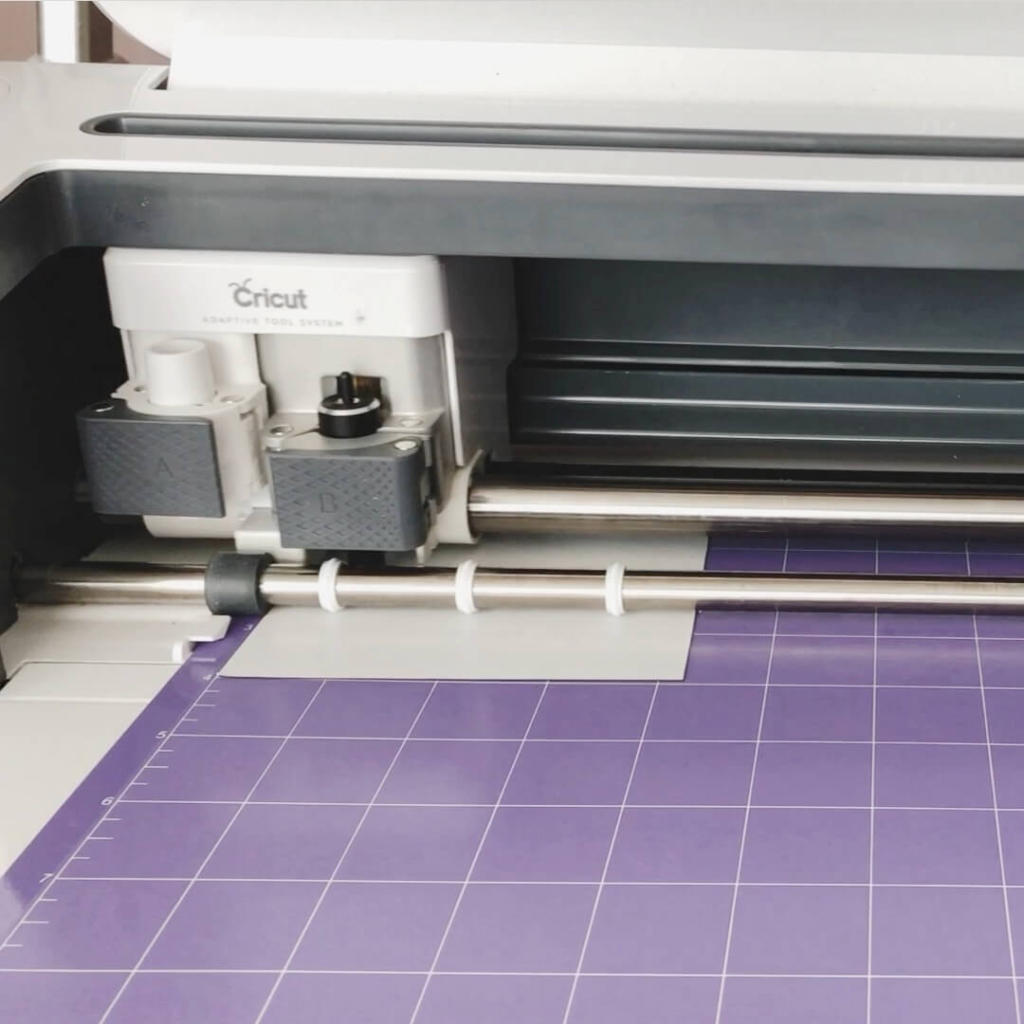
Cricut will make multiple cuts and that is the reason you want to use a Cricut StrongGrip mat to make sure the material does not shift during the cut process.
HOW TO ASSEMBLE THE DIY MAGNETIC FAUX LEATHER BOOKMARK
With all the cuts complete and beginning with the faux leather, gently remove the faux leather from the mat.
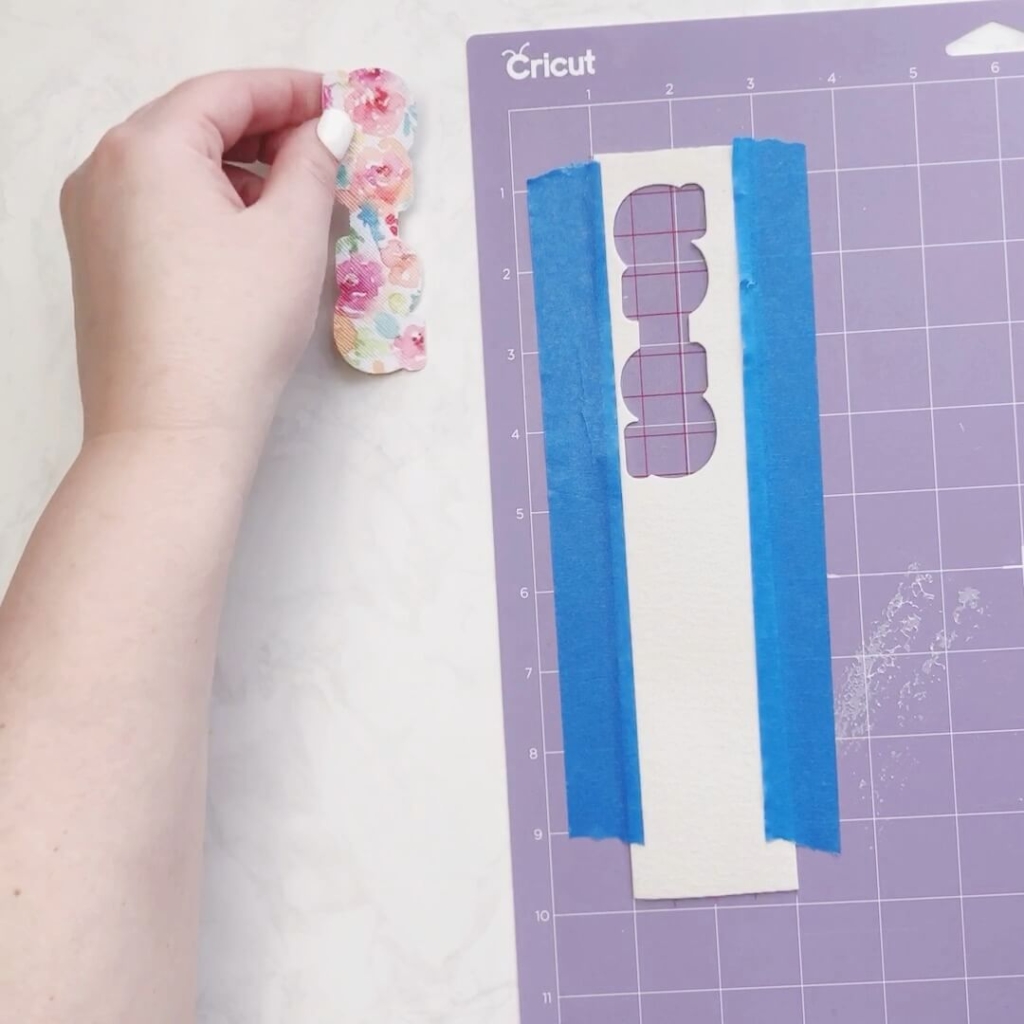
Weed the iron-on. To weed, means to remove the excess material that you do not need.

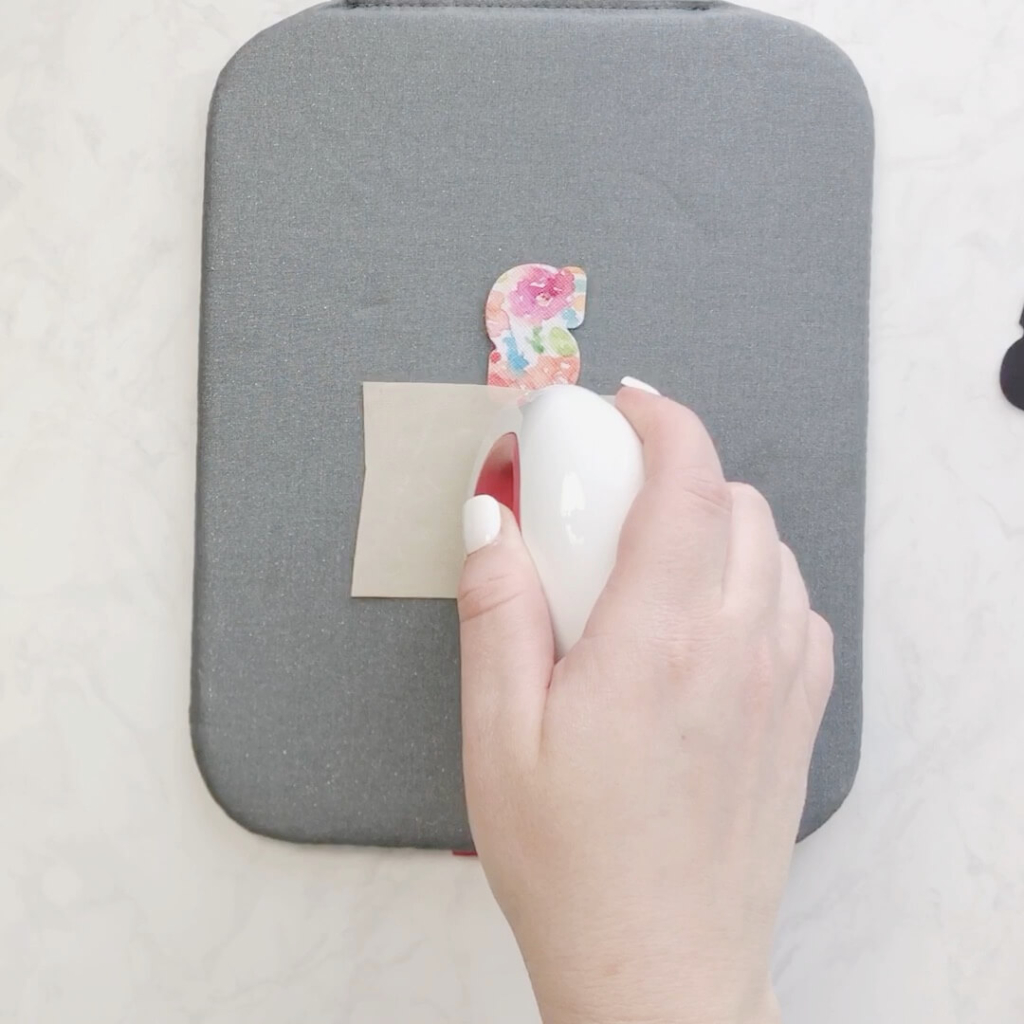
Grab a Cricut EasyPress mat and a Cricut EasyPress Mini to apply the iron-on vinyl. Make sure to use a Teflon sheet or heat resistant protective barrier (such as a previous used iron-on vinyl transfer sheet) to ensure the iron does not directly touch the faux leather. If so, the pretty pattern will likely melt and come off.
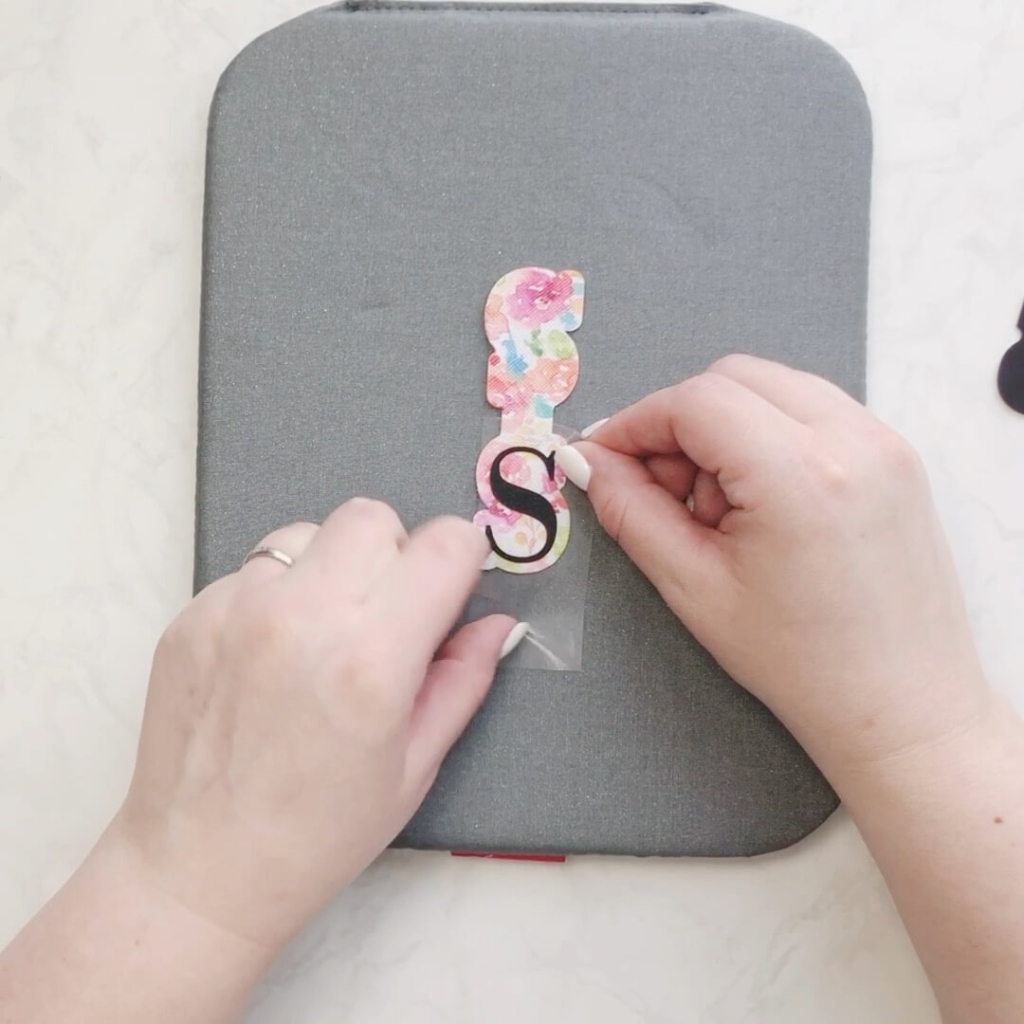
Apply heat with a Cricut EasyPress Mini on the lowest setting in short 10 second presses. Peel back the transfer sheet while the material is still warm (but not hot).

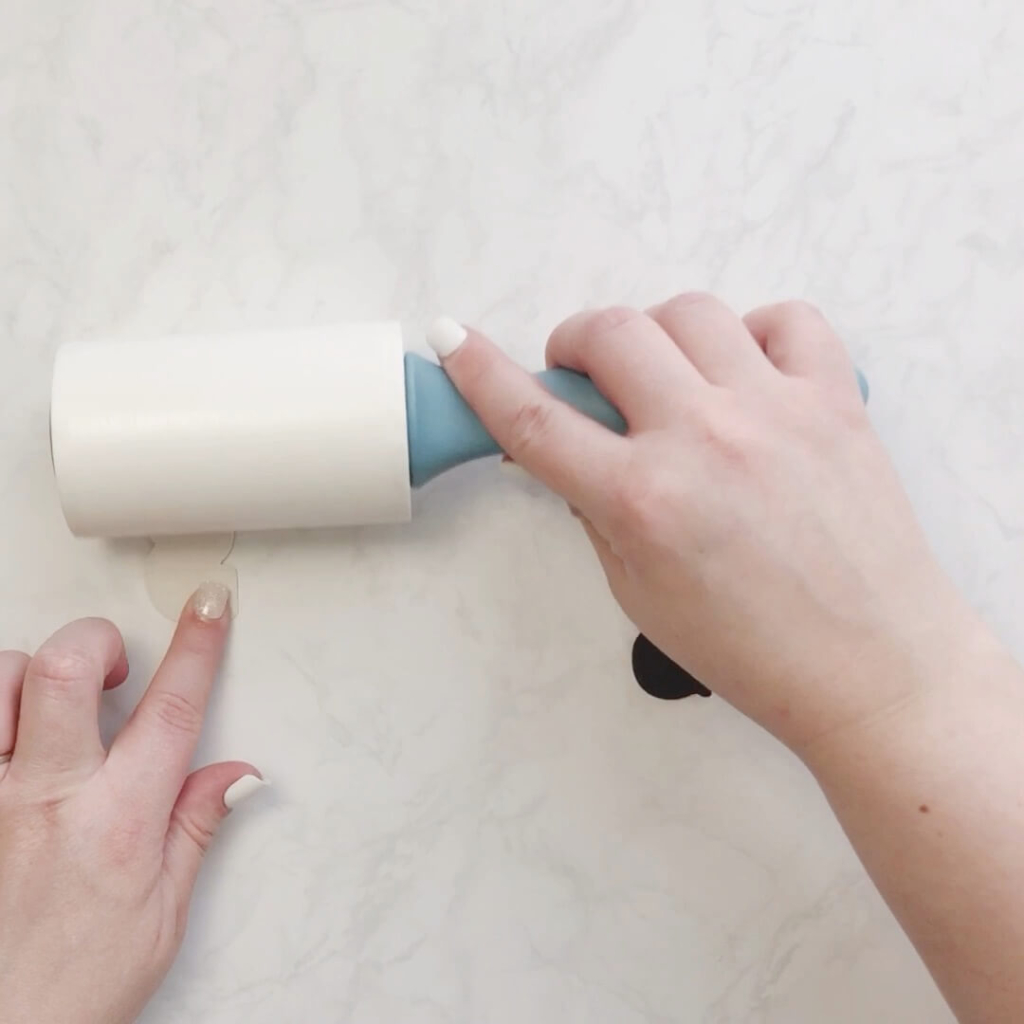
Once the Iron-on vinyl is applied, grab the adhesive magnet pieces. Before applying the adhesive magnet to the faux leather, use a lint roller to clean the back of the faux leather to remove any stray pieces of material or lint.
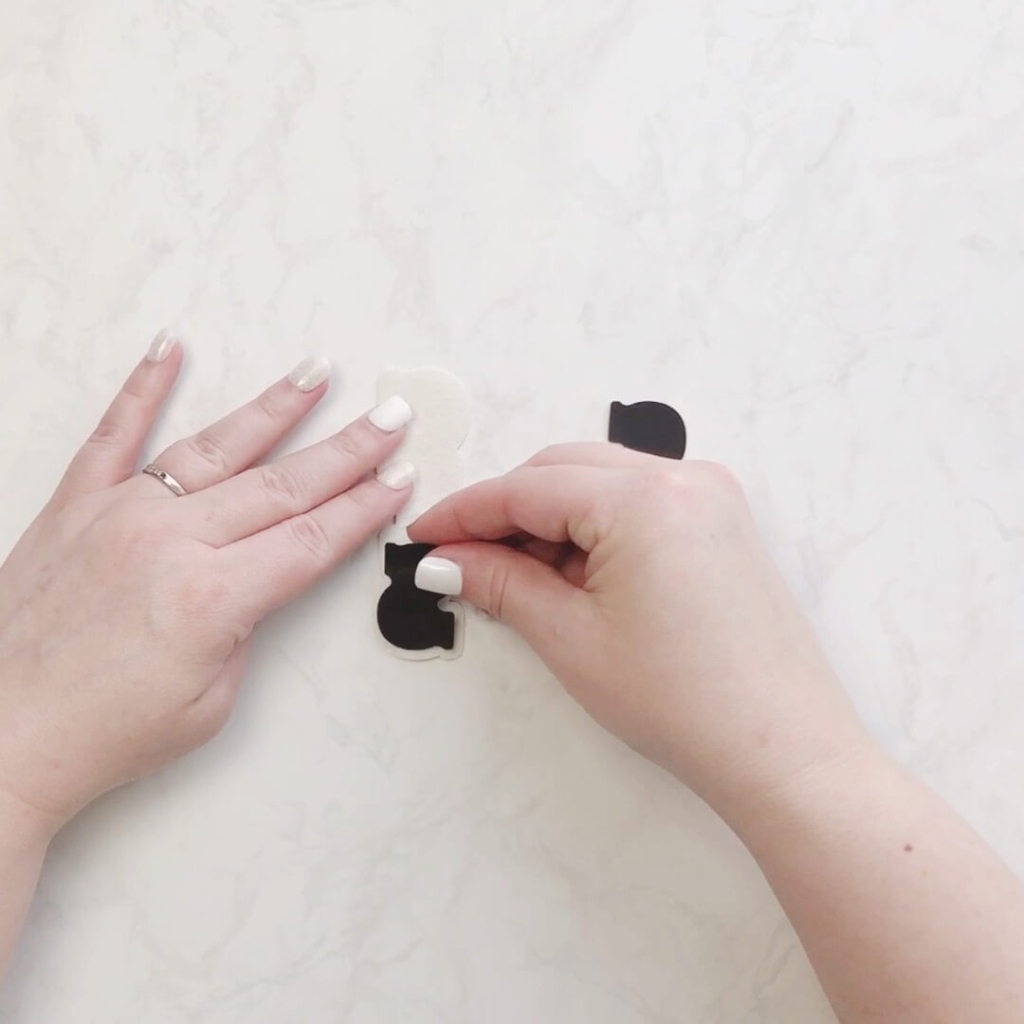
Remove the adhesive magnet liner and stick directly onto the faux leather. Press down really well. Oftentimes, I would put the assembled magnetic bookmark under something heavy for a bit to be sure the magnet stuck well.
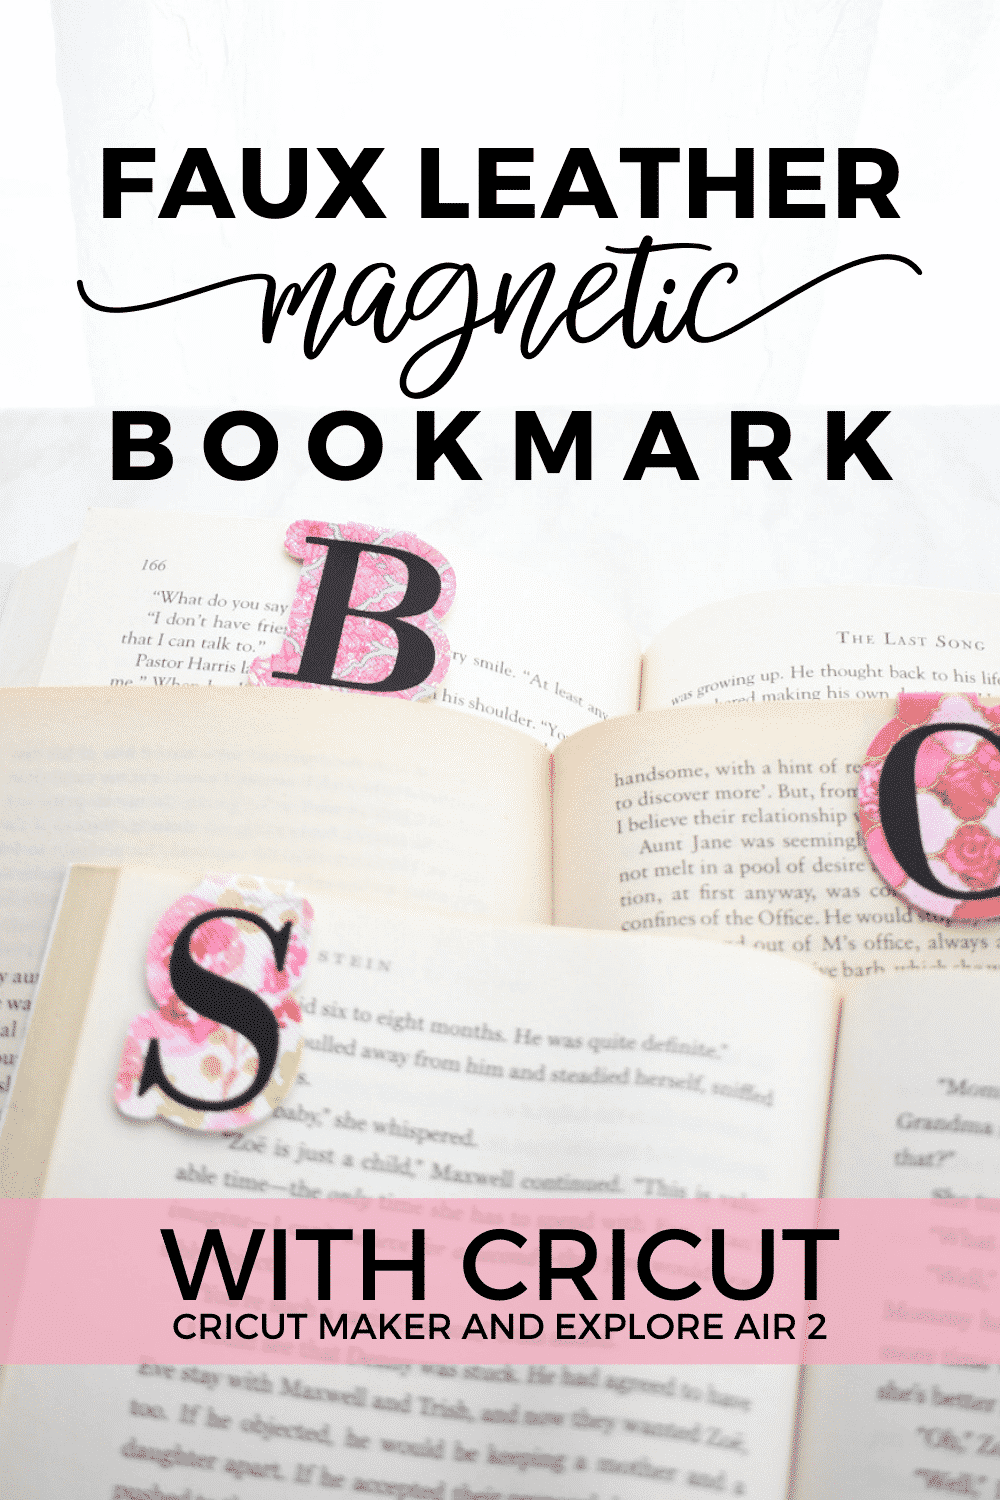
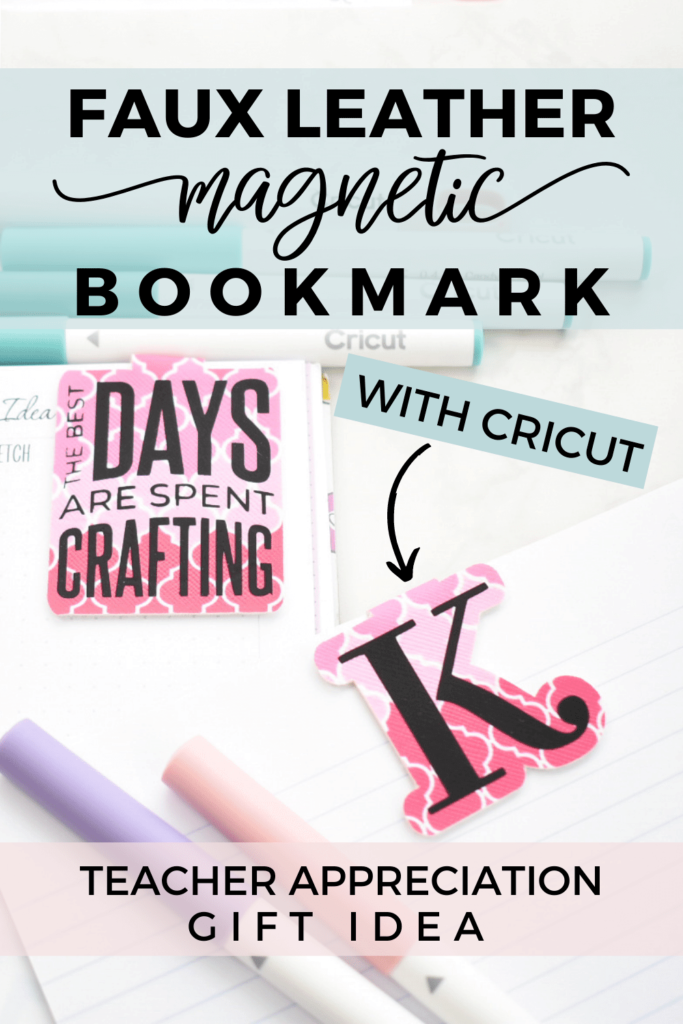
All Done! This easy initial magnetic bookmark works great for both notebooks, planners and books. Here I added the initial magnetic bookmark to a card as a teacher appreciation gift.

WAS THIS TUTORIAL HELPFUL?
Did you find this tutorial how to make a DIY magnetic faux leather bookmark with Cricut helpful? If so, please pin this idea and let me know your thoughts in the comments below. Thanks so much!
3 Comments
Thank you, I have been wanting to make bookmarks for a while now and have direction on how to now.
Yay! That is awesome to hear. I am excited to hear what you create!