


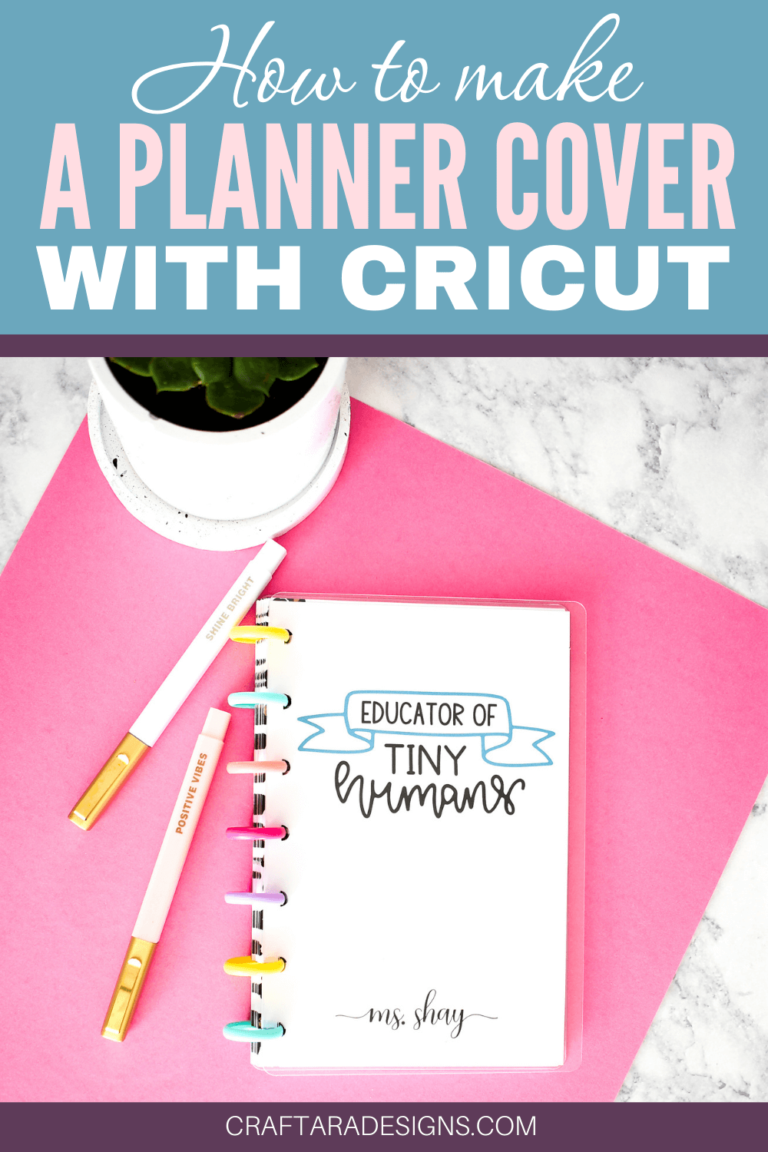
I’m totally late to the game, but I recently discovered disc planners. I’m loving the ability to move pages around without ripping pages and damaging the planner itself. While planner shopping, I could not decide on a cover. It felt like a permanent choice with a planner that is meant to be interchangeable. I wanted to be able to change the cover with the seasons and holidays. So I decided to create my own planner cover and dividers with the Cricut Maker for my Happy Planner Mini.
The clear cover allows me to easily print a page and add it behind the cover to match any season or holiday. Fueled by the success of the cover, I cut dividers and added words in vinyl.

This post may contain affiliate links, which means I’ll receive a commission if you purchase through my links, at no extra cost to you. Please read my full disclosure for more information. Thank you for your support!
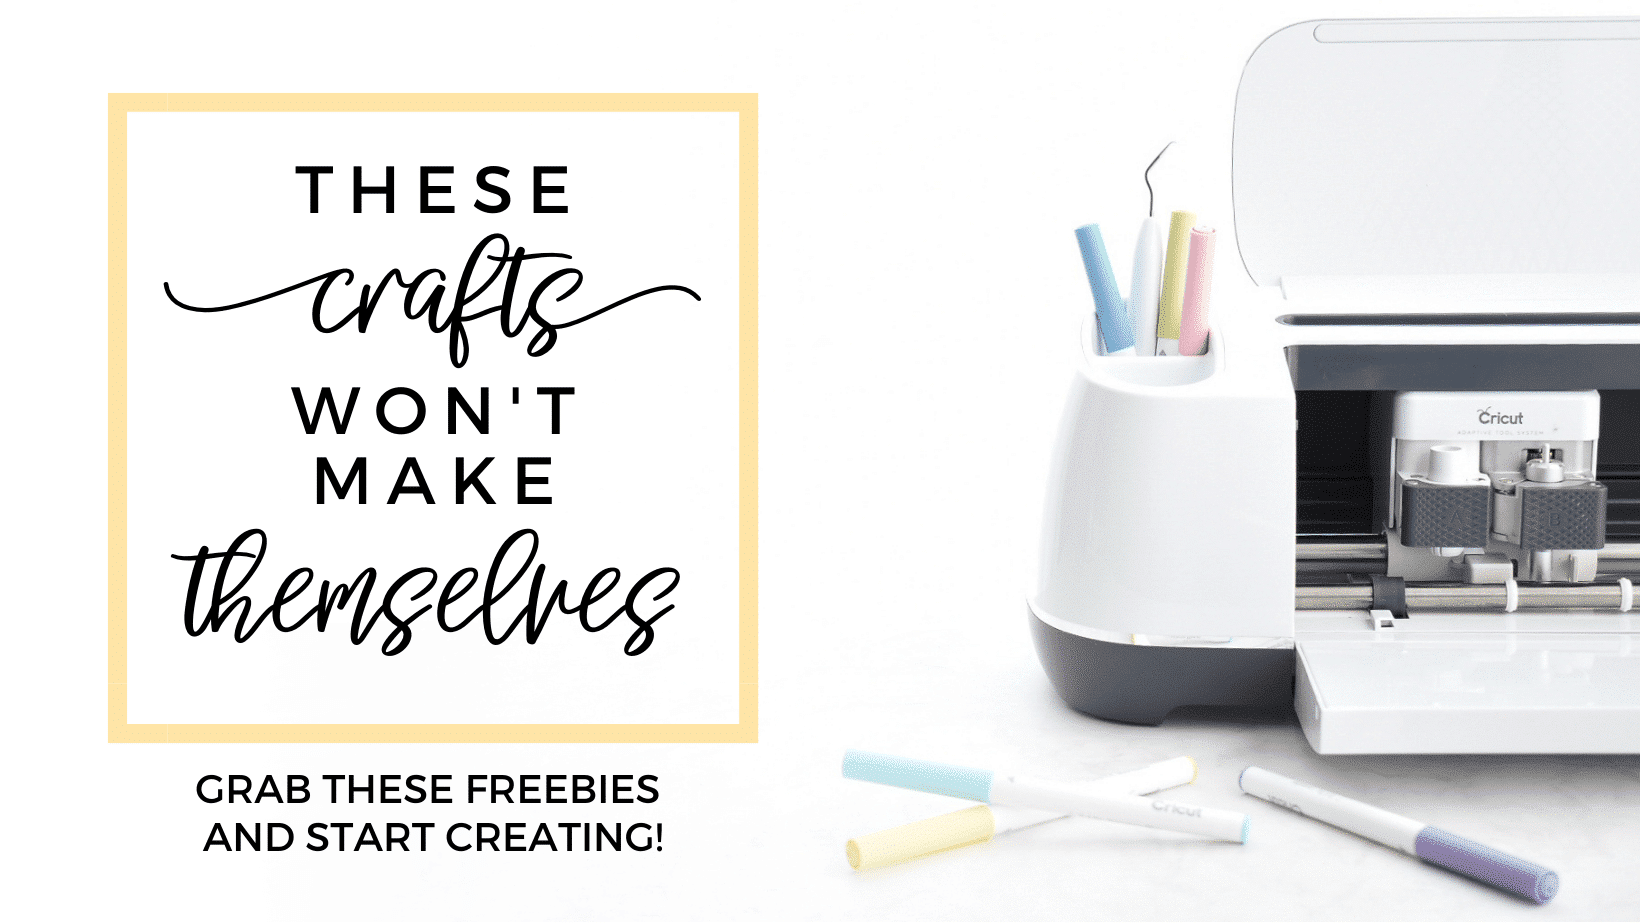
SUPPLIES
- Cricut Maker
- Cricut knife blade (only compatible with the Maker)
- Cricut mat
- Craft Plastic .020 Thick
- Vinyl (I used Adhesive Foil)
- washi or painters tape
DIRECTIONS

The SVG’s used for the cover and dividers are free to download – see below. The SVG will load into Cricut design space at the correct size, which is 7.25 inches for height (sized for the Happy Planner Mini).

When placing the plastic onto a mat be sure to remove the thin plastic protective covering both sides of the plastic sheet as I noticed it pulled up around the smaller cuts of the disc holes. Secure the plastic with washi or painters tape around all 4 edges. I recommend using a strong grip mat and double sided tape to keep the plastic secure. It is important to be sure the plastic is stuck down really well because the knife tip blade may pull up the plastic at times.
TIP
The knife blade also reminds you to move the guide wheels to the side. With the plastic linked above, it was NOT necessary to move the guide wheels. The plastic fit under the guide wheels without any issues. In fact, I suggest keeping the guide wheels the same as it helps to keep the plastic down on the mat.
Keep an eye on your Cricut and if the plastic starts pulling up a lot, pause the cut and check if the cut is all the way through.

The Cricut Maker material setting that worked: Basswood – 1/16″
The knife blade makes multiple passes to cut through thick material. This basswood setting made 14 passes. I was amazed at the preciseness after such a long cut. Gently remove the plastic off the mat – you may need to use a weeding tool to poke through the small disc holes.

Any vinyl can be used to add words, phrases or anything you can think of. I used Cricut brand adhesive foil for some extra shine.

To create planner cover and dividers with the Cricut Maker, grab the free SVG cut file for this project in my resource library – Sign up below.
3 Comments
I’ve tried subscribing a couple times, but I haven’t been sent a password to access the resource library. Am I doing something wrong?
Hi Kim. Thanks so much for reaching out. It’s very likely the email went into spam because I do see you as subscribed. Since you added your email address I’m going to send you an email directly and see if that works for you. Thanks for your patience!