


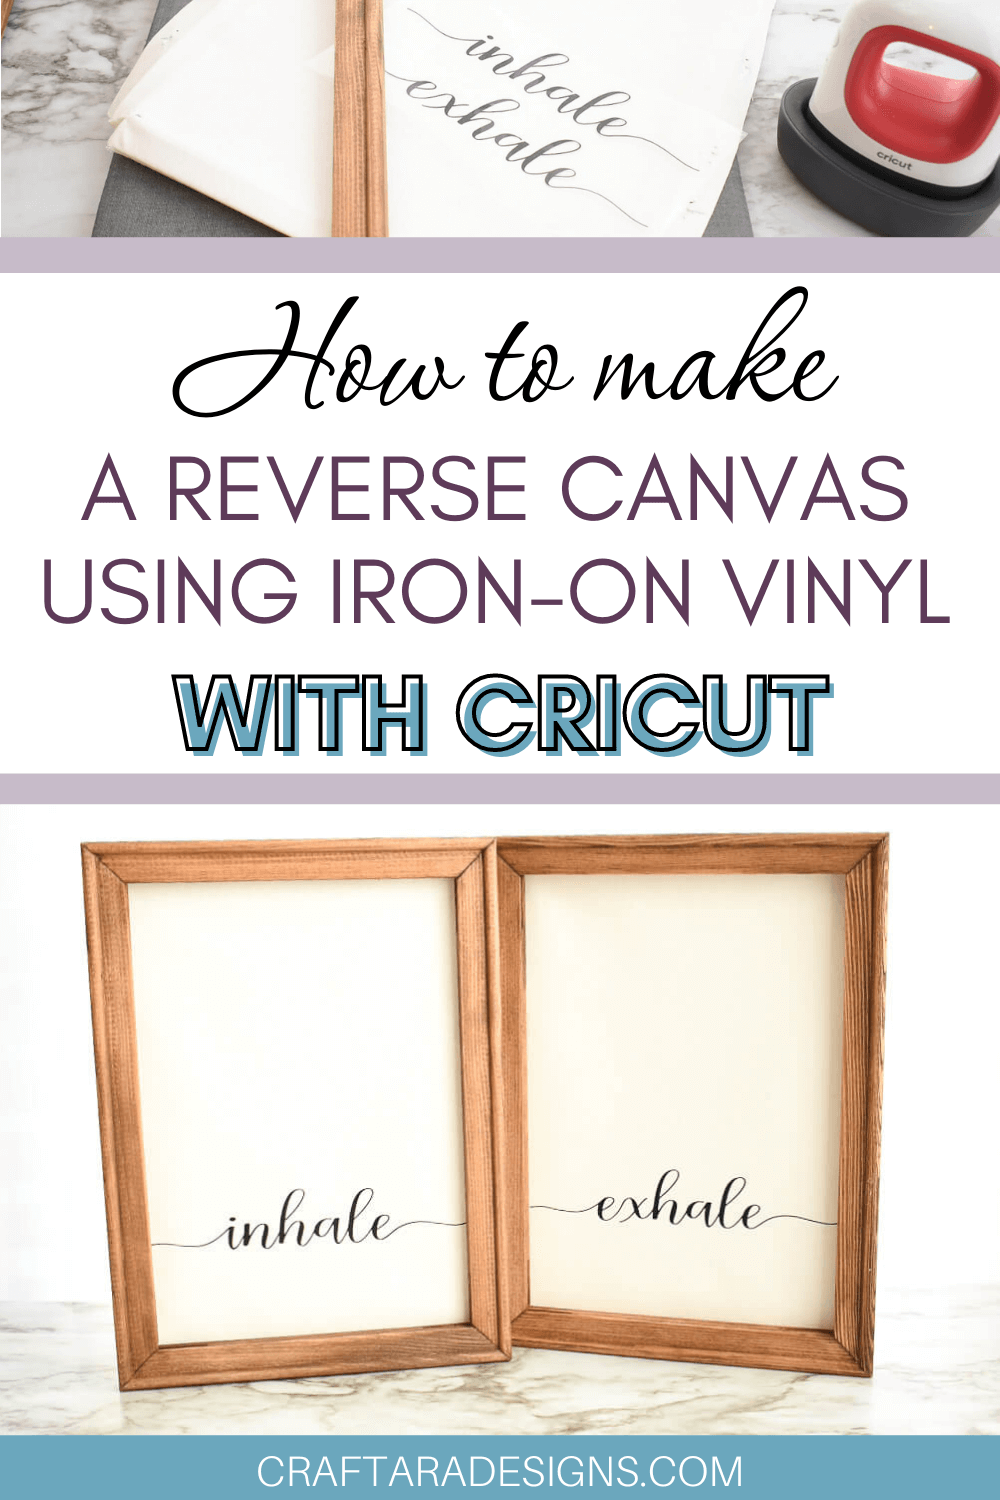
Make your own DIY custom canvas signs and decor with a reverse canvas using iron-on vinyl and Cricut.
This painless, beginner friendly reverse canvas Cricut project is simple yet bold with the fabric canvas against a natural wood frame. Use your Cricut to achieve this look at home quickly and easily using iron-on vinyl. No need to prep the canvas with a base coat which is usually needed to make permanent adhesive vinyl stick.
First, let’s talk about what a reverse canvas is. The concept is simple. Take an artist stretched canvas stapled onto a wooden unfinished frame, remove the fabric, add color to the wood frame and reapply the fabric on the back so that the newly stained wood serves as a beautiful frame. Using your Cricut, you can easily customize the fabric canvas and create a statement piece or a DIY sign using iron-on vinyl/HTV.

This post may contain affiliate links, which means I’ll receive a commission if you purchase through my links, at no extra cost to you. Please read my full disclosure for more information.
SUPPLIES
- Cricut Cutting Machine (Explorer or Maker – The Joy would work for a small design as well)
- Cricut Mat
- Easy Press Mini or an iron
- Iron-on vinyl (HTV)
- Teflon Sheet
- Stretched Art Canvas
- Wood stain
- Small flat head screwdriver to remove staples
- Hot glue
- Scissors and X-ACTO Knife
- Optional: sand paper, staple gun or flat head push pins
DIRECTIONS
Use the flat head screw driver to remove the staples on the back of the frame. The goal is to remove the fabric canvas from the wooden frame. Check to be sure to keep any staples that are used to keep the wooden frame itself together.
Remove the canvas fabric and set aside for later.
Optional:
Prepare the wooden frame by a quick sanding with sandpaper. In addition to smoothing out any rough spots, sanding will help prepare the wood for the stain.
Apply the wood stain to the wooden frame and allow to dry per the stain instructions.
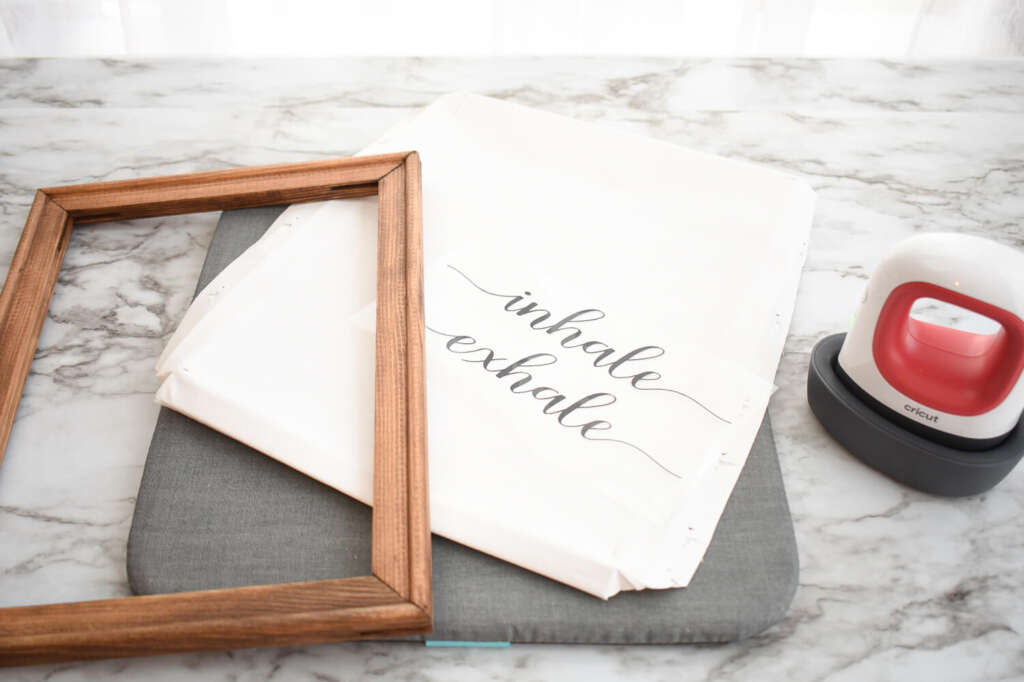
While the frame is drying, you can cut the iron-on vinyl and apply to the fabric canvas. In case you are curious, the font I used for ‘inhale/exhale’ is Esmeralda Script.
Reminders for iron-on:
Mirror the design in design space before sending to your Cricut. Apply the iron-on vinyl, shiny side down on the mat.

Use a Cricut mini easy press or iron to apply the iron-on to the canvas. You can consult the Cricut heat guide for guidance on the heat setting and pressing time. However, I did notice that cotton canvas is often “not compatible” with vinyl and the easy press mini. So I changed my selection to cotton and used those recommendations.
Remove the iron-on vinyl carrier sheet and press again with a teflon sheet.
Tip
When applying heat on a canvas, avoid sliding the easy press mini around over the design. Instead, pick up the easy press and press down on each section. This will avoid the design sliding around and leaving glue residue.
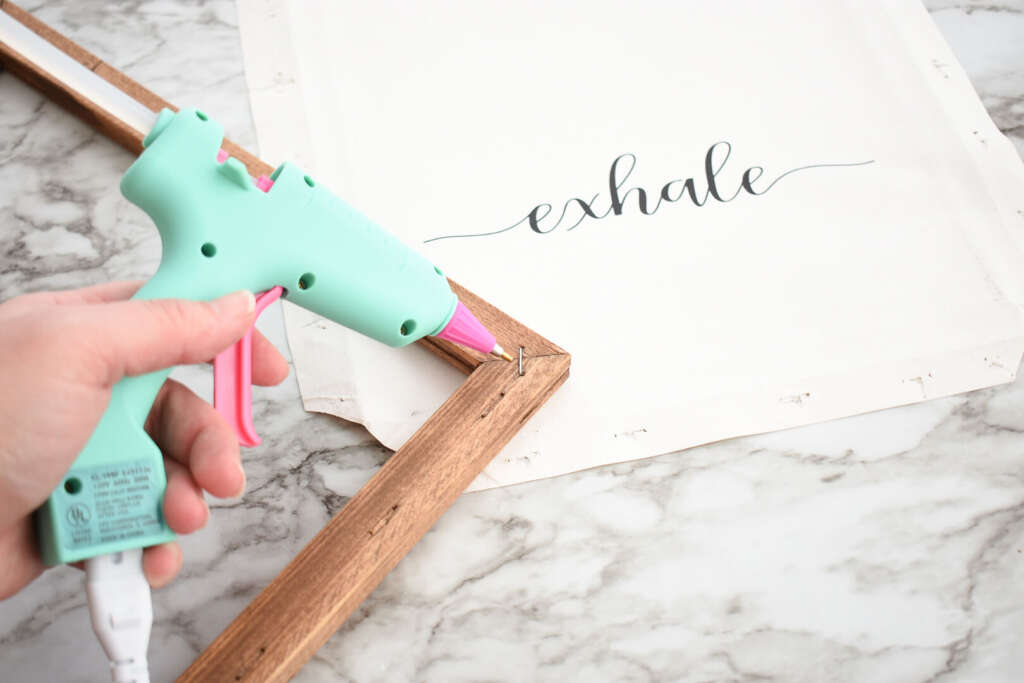
Once the frame is dry, use hot glue to attach the canvas back to the frame and trim off the excess. To avoid any extra give in the canvas material, pull the canvas taught when attaching to the frame.
Optional but recommended:
Be doubly sure the canvas stays put by adding staples or flat head thumb tacks in addition to the hot glue.
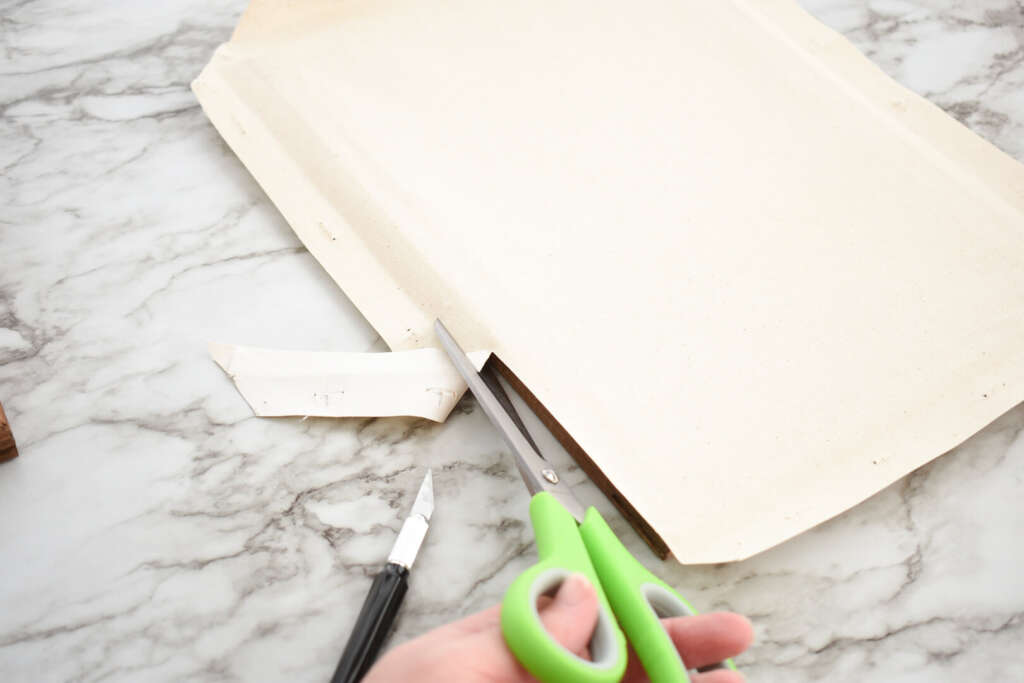
Trim extra canvas fabric around the edge of the frame with scissors and an X-ACTO Knife.
Below are the steps with video to make a reverse canvas with iron-on and Cricut.
WAS THIS TUTORIAL HELPFUL?
Did you find this tutorial how to make a reverse canvas with iron-on and Cricut helpful? If so, please pin this idea and let me know your thoughts in the comments below!
2 Comments
So, then how do you hang it?? If the canvas goes on the back, where does a hanger go and how does it go flush to a wall?
Great question Carrie! In the past I have either added a Saw tooth picture hanger or used 3M Command Strips.