


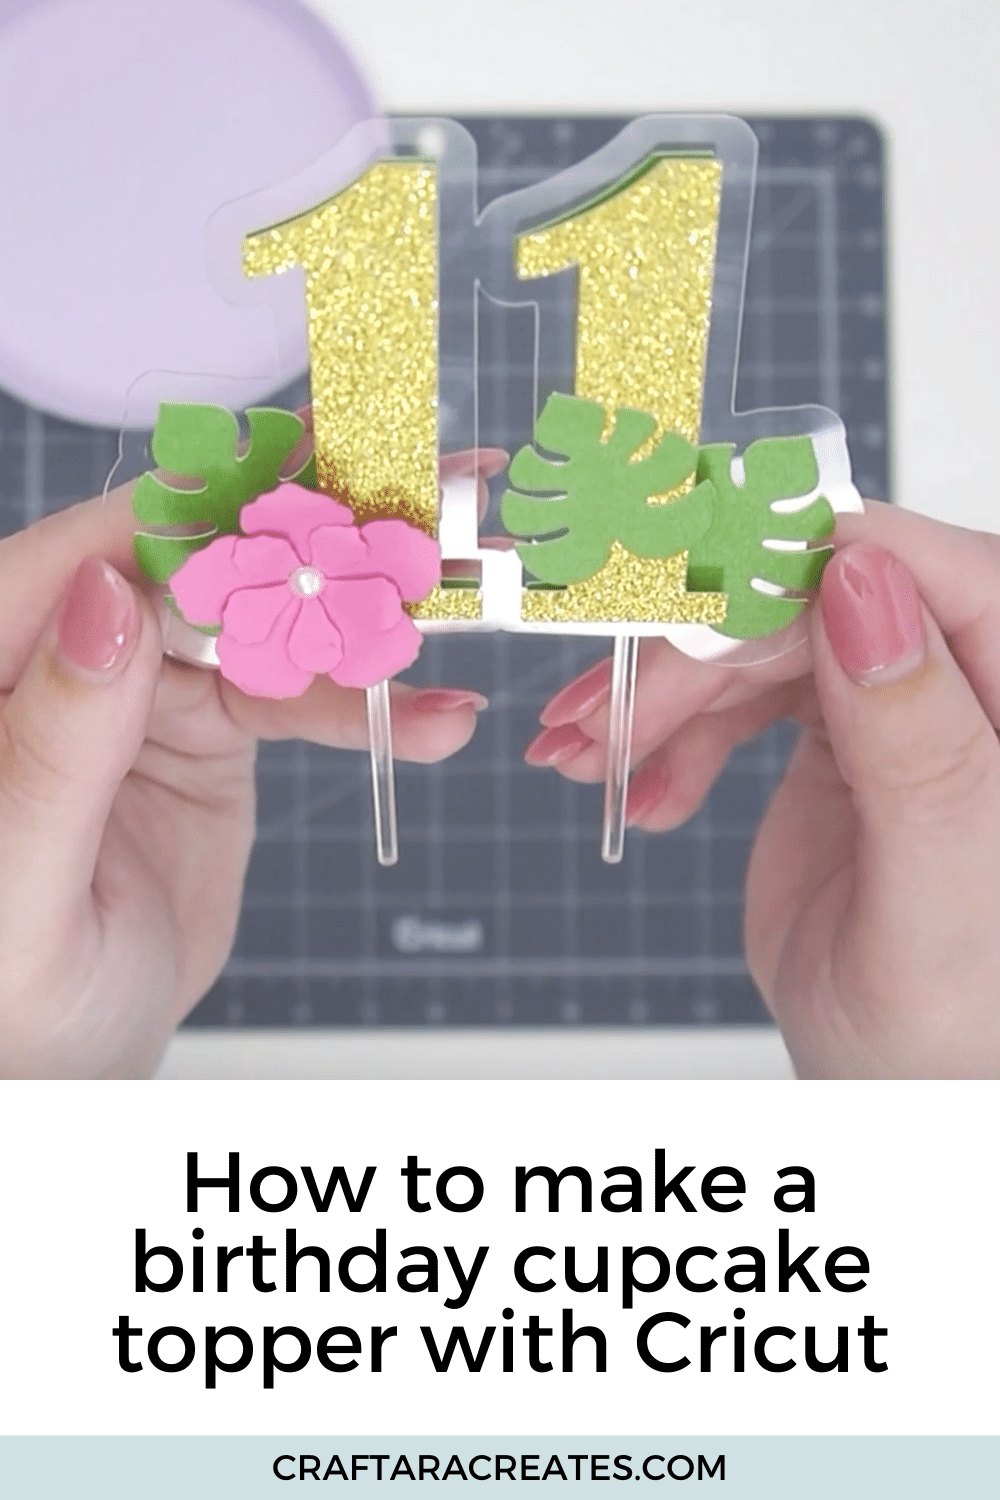
Learn how to design and make a birthday cupcake topper with Cricut
Cakes are not the only dessert that can get dressed up. You can make beautiful birthday cupcake toppers with Cricut and cardstock.
Cricut Design Space makes designing your cupcake toppers a breeze. With Cricut, you have everything you need to create your own birthday cupcake topper using Cricut images and a selection of fonts for numbers.
Follow along as I show you how to create a birthday cupcake topper with Cricut.
That’s not all. I’ll show you my trick to designing a cupcake topper structure that works for double digit numbers.

This post may contain affiliate links, which means I’ll receive a commission if you purchase through my links, at no extra cost to you. Please read my full disclosure for more information.
How big should cupcake toppers be on Cricut?
Good question.
The size of your birthday cupcake topper with Cricut depends on the size of the cupcake or the look you are going for.
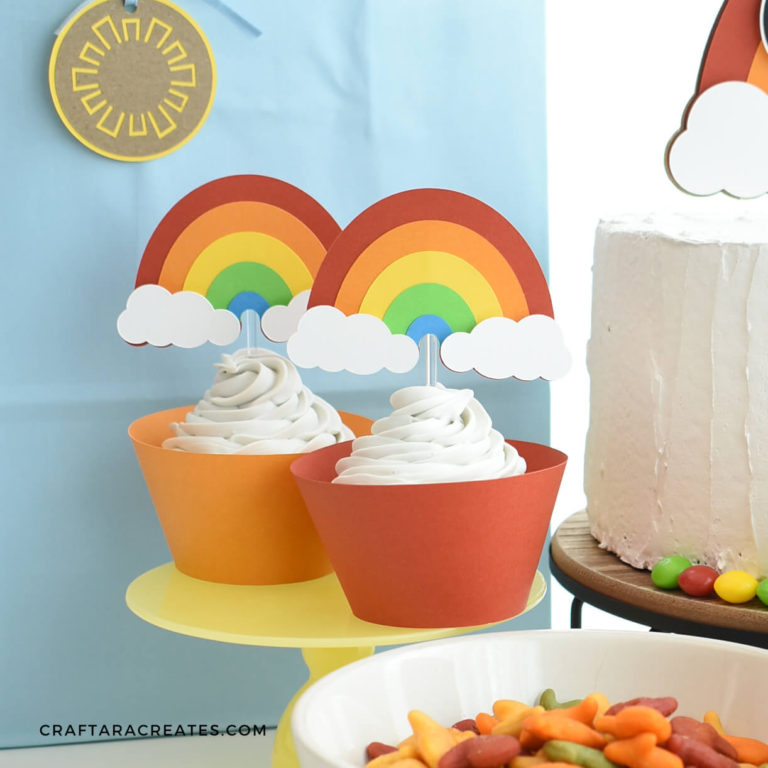
For example, the cupcake topper below is oversized at 4 inches wide on top of a standard sized cupcake. Oversized cupcake toppers work well to display one special cupcake for the birthday girl/boy/adult.
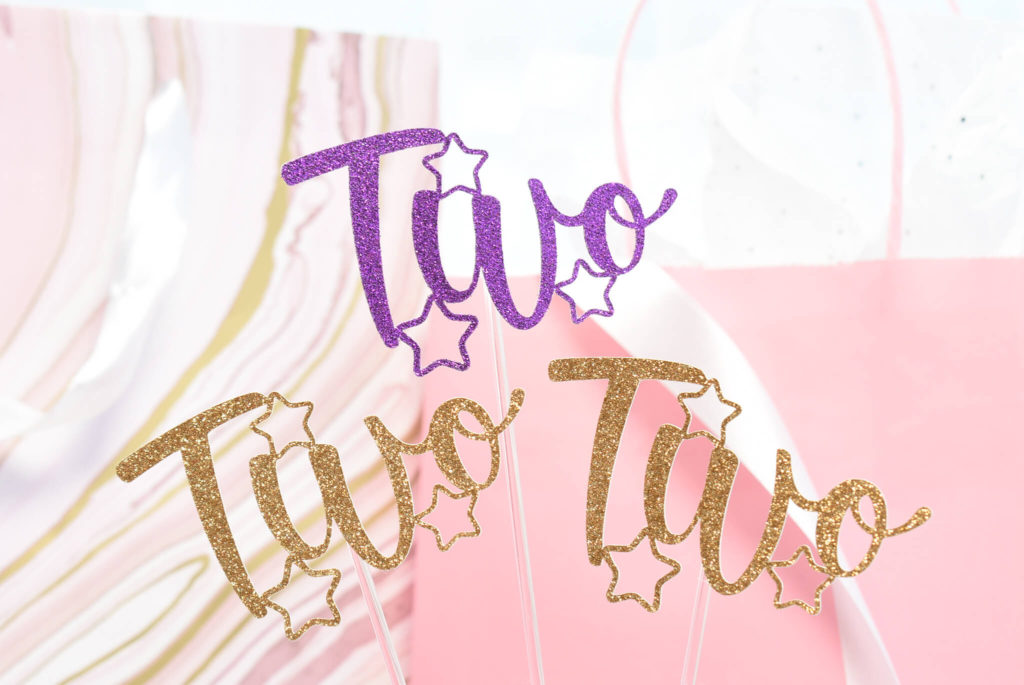
On the other hand, small, simple cupcake toppers 2 inches wide or less, would work well if you want toppers for a lot of cupcakes. The smaller birthday cupcake toppers with Cricut are simple and you can cut a dozen from one sheet of cardstock.

What machine do I need to make birthday cupcake toppers with Cricut?
Any Cricut cutting machine can make cupcake toppers: Cricut Maker 3, Cricut Explore Air 3 or Cricut Joy.
Here’s the main issue with Cricut machines for paper crafts: cut size limits
Any Cricut machine can cut cardstock to create a birthday cupcake topper.
Lucky for us, the best part is that cupcake toppers are smaller than cake toppers. The Cricut joy size limit of 4.5 inches wide works well for cupcake toppers.
So get crafting with any Cricut machine you have. Size limits are not a problem with this project.
What other food options could I use with a cupcake topper?
- Cookies: Stack a few cookies and add a the cupcake topper down the center
- Brownies: As a single layer or stacked, make brownies extra special with a cupcake topper
- Pancakes: Add a surprise cupcake topper to a stacked pancake breakfast
- Rice Crispy treats: dress up boring rice crispy treats with a cupcake topper
- Drinks: Fancy drink stirs with 6 inch acrylic cake pop sticks
What if I don’t want to design a topper myself?
I get it.
Creating a design from scratch takes time. The design time eats into your overall time to make the project.
Wouldn’t it be helpful to have a cake topper design done and ready to cut with your Cricut?
That’s why I created my shop of DIY digital cut file bundles.
Sign up below and grab a cut file party bundle for 50% off.
Sign up below for 50% off in my digital shop of cut file bundles.
You will be included in my email newsletter with helpful Cricut ideas, tips and FREE cut files. Unsubscribe anytime and your email will never be shared.
Here’s what you’ll need to make a Birthday Cupcake Topper with Cricut
How to design a birthday cupcake topper with Cricut
Open up a new canvas in cricut design space and Click on the Text tool on the left side. Type the numbers for your birthday cupcake topper.
Next, let’s add some tropical elements to our cupcake topper design.
Click images on the left side. I searched for hibiscus flowers and a tropical leaf, which are part of Cricut access. You can use whatever images you like or upload new images.
Arrange the leaf the way you want. Have fun playing around in Cricut Design Space to create the look you are going for.
Make any adjustments to the other images now before we move on to weld the design together.
Next, select the whole cupcake topper and group together.
Select Duplicate to make a copy of the design.
Select the number and leaf images that are behind the numbers and click weld. This will create a layer to start building our birthday cupcake topper structure.
Next, we will create the base layer.
Click the Offset tool at the top. Play around with the offset to get an outline that connects the two numbers. Then click apply when you are happy.
Next, rebuild your cupcake topper.
Arrange the numbers, leaf and flower on the cupcake topper design. If needed, click arrange bring to front to bring the designs to the front of your project. This doesn’t need to be perfect but will give you an idea of how the final project will look.
Click make it when you are ready and cut out your birthday cupcake topper with Cricut.
How to assemble a birthday cupcake topper with Cricut
Once everything has been cut out, it’s time to assemble your cupcake topper.
I am starting by combining the numbers and the green layer. I used adhesive foam squares for this layer.
Next, I am using my favorite papercraft glue to add the number to the acetate base. If you don’t have acetate, you could substitute with cardstock instead.
Go ahead and combine the flower layers together with glue. Instead of a layered flower, you could use a rolled flower or another layered paper design.
For the flower, I added a pearl bling sticker to the center of the flower. Most bling stickers have adhesive on the back but I like to add a small spot of glue to make sure the sticker stays in place.
Take a moment to figure out where you’d like to add the flower. Once you have the spot picked out, add the flower with hot glue.
Your cupcake topper is almost done. All we need to do is add the sticks.
I had already cut a 6 inch acrylic cake pop stick in half with jewelry pliers; however, tooth picks work great for cupcake topper sticks as well.
Use hot glue to add the cake pop sticks to the back. I added a stick to the back of each number for extra stability. One stick might be all you need.
Your Cricut made cupcake topper is ready to go.
I hope you enjoyed this tutorial and had as much fun as I did creating this project. Have fun celebrating with your birthday cupcake topper made with Cricut.
Learn how to make easy Birthday Cake Decorations with Cricut
Was this tutorial helpful?
Did you find this information on how to make your own Birthday Cupcake Topper with Cricut helpful? If so, please pin this idea and let me know your thoughts in the comments below.