


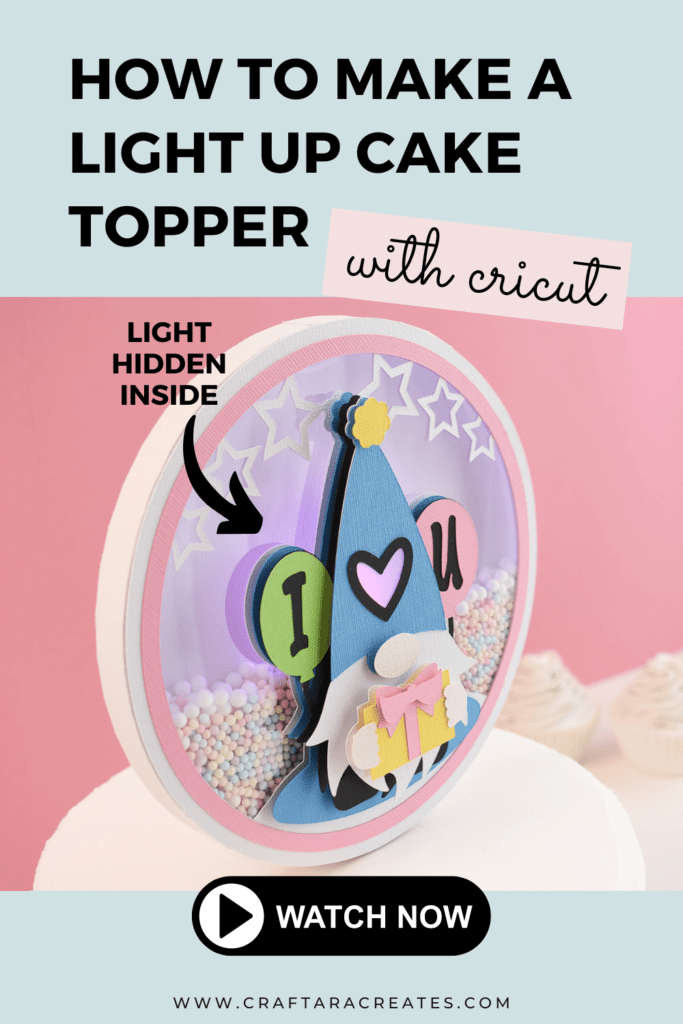
Light Up Your Celebrations: Step-by-Step Guide to Making Your Own Light Up Cake Topper
Ready to make your first light up cake topper? You are in for a treat because I am unveiling the secrets to quickly and easily add a light to your cake topper creations. Get ready to make your celebrations shine!
Whether you’re preparing for a big event or just aiming to elevate your cake topper projects, this beginner friendly step-by-step guide on creating light up cake toppers will answer your most common questions. Additionally, I’ll be sharing my favorite lights for cake toppers and the reasons why, as well as guiding you through the simple design technique for incorporating lights into your projects.
This post may contain affiliate links, which means I’ll receive a commission if you purchase through my links, at no extra cost to you. Please read my full disclosure for more information.
Watch the video
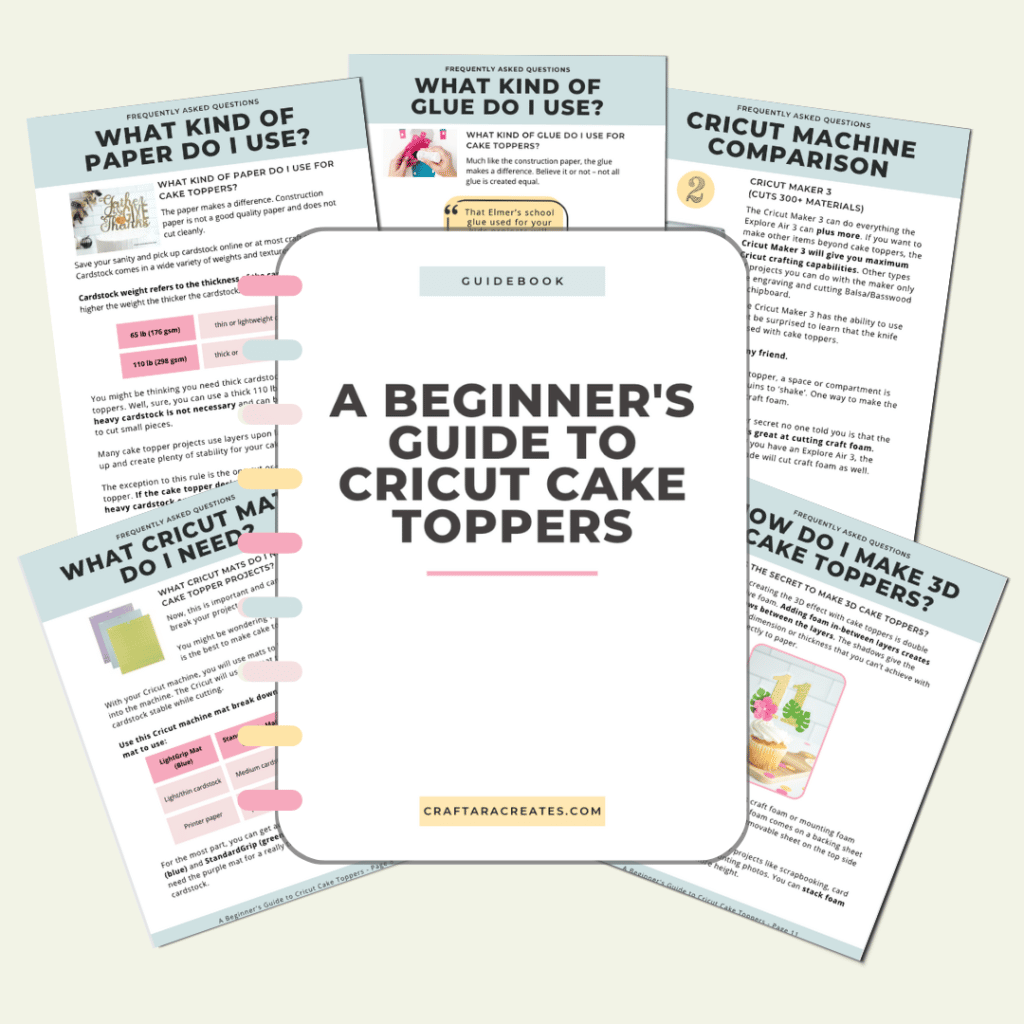
GRAB MY FREE beginner's guide to cricut cake toppers

Here's What You'll Need To Make a light up cake topper
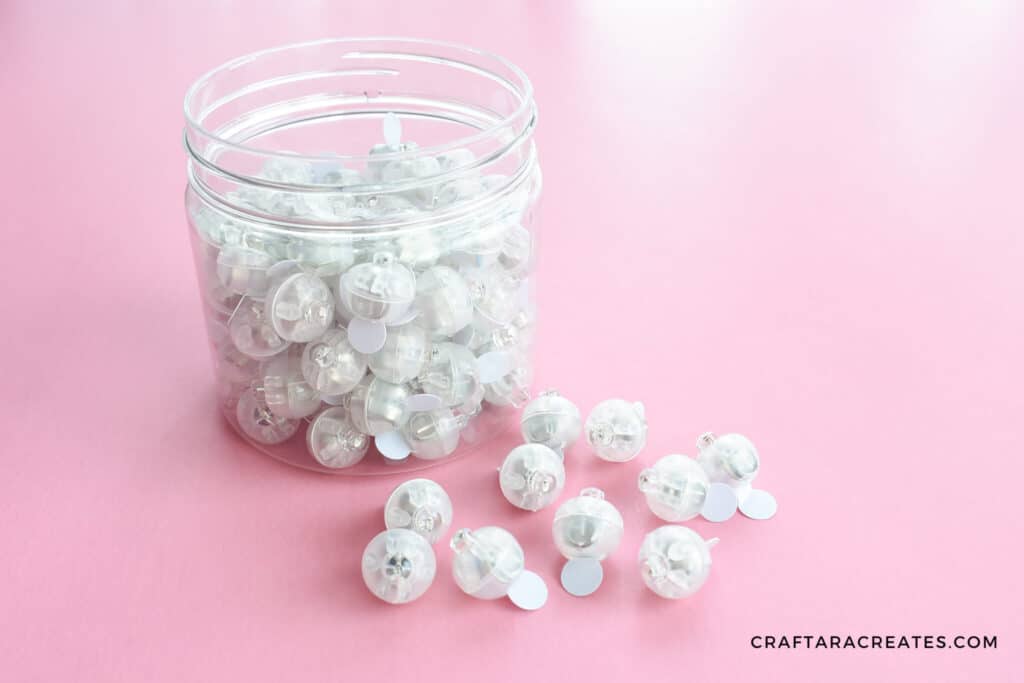
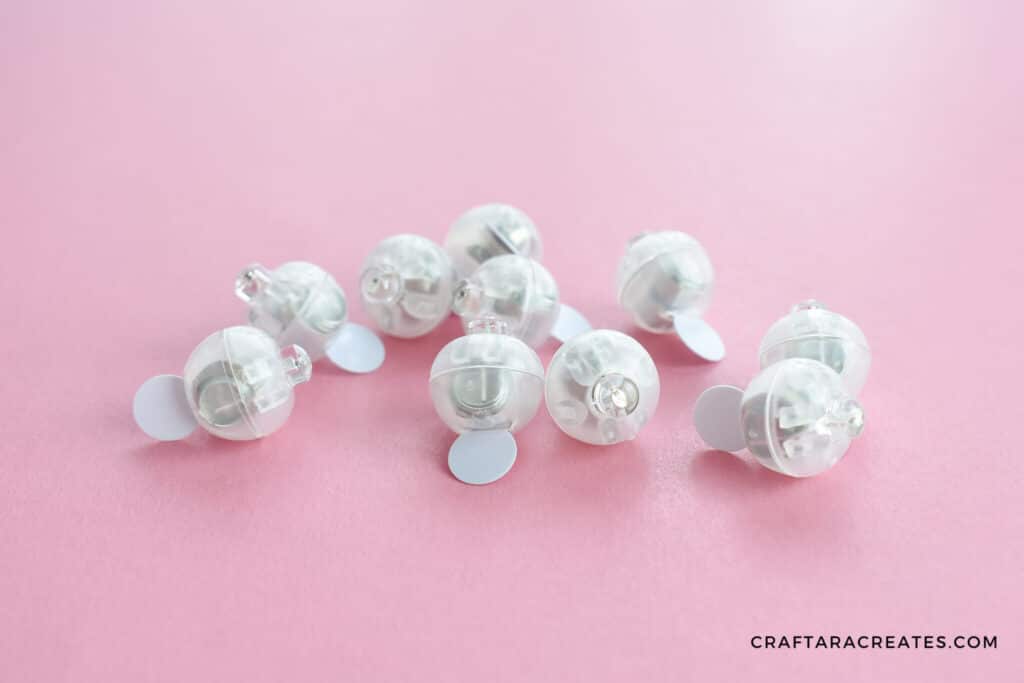
In addition to your regular cake topper materials like cardstock, sticks, and glue, you’ll also need some lights. My preferred lights for making light up cake toppers are balloon lights.
These multicolor LED balloon lights are really small and lightweight, but they shine brightly and even change colors. Moreover, they come with a little tab on the back that you can pull out to turn on the light. And if you want to save the battery, you can insert the tab back in.
Above all, using these small lights is easy – just a bit of hot glue and a dedicated spot in your cake topper design to place the light. Although I haven’t used these lights continuously, the product description indicates they can last over 48 hours, which is more than enough time for a party or event.
How to design light up cake toppers
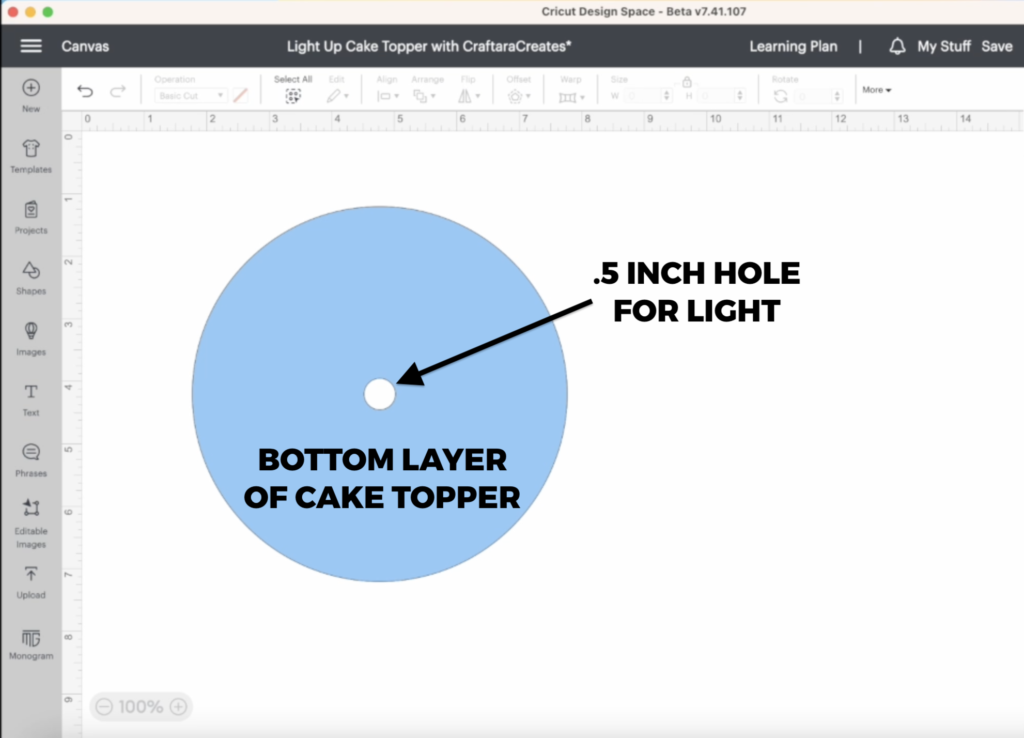
Jump over to Cricut Design Space, and I’ll show you an easy way to add balloon lights to your cake toppers. In this example, I have a 6-inch circle I am using as the bottom base layer of a cake topper.
Now, for the balloon lights, we need to make a small hole for the light to go in. Use the shapes tool on the left side of Cricut Design Space to select a circle shape. Then adjust the size of the circle to 0.5 inches. This is just the right size for the balloon light.
Next, place this little circle where you want the light to be on your cake topper. Now is the time to decide if you want the light to be hidden behind something else or to shine right out. Once you’re happy with the spot, select both circles and click “slice.” As a result, this creates a dedicated space for the balloon light to sit perfectly.
Other Design considerations for light up cake toppers
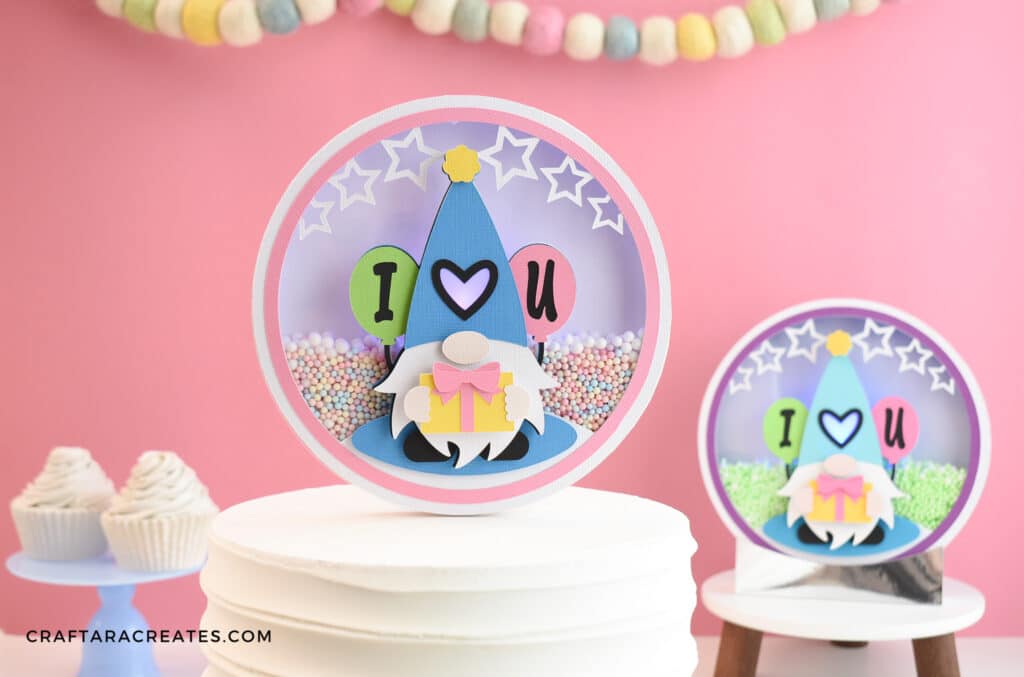
If you decide to place some of your design in front of the balloon light, like I did in my light up cake topper project, remember that the light will stick out a bit. Consequently, you’ll need to raise the part of the design that’s in front of the light to make room for the light extending from the back.
As an example, one way to do this is by making a shaker cake topper, whether you include the shaker pieces or not. For that reason, I made a shaker topper with a deep side wall and no foam for my project. This gives enough space for the light to fit comfortably.
How to add the light
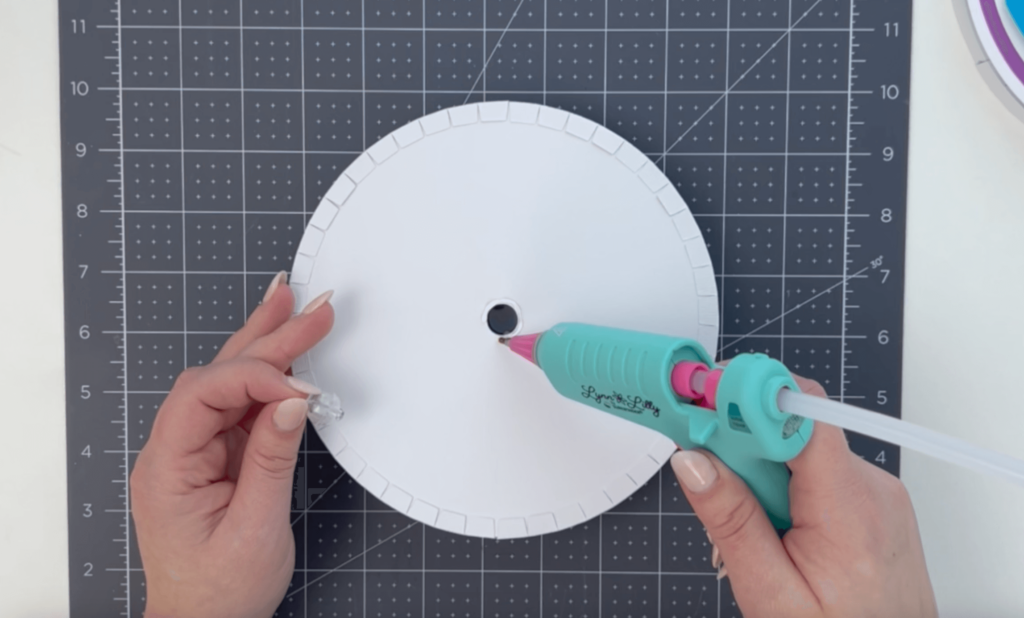
Once you’ve got all your pieces cut with your Cricut machine, it’s time to put your cake topper together. Remember, the spot for the light should be on the bottom layer of the cake topper. You’ll want it accessible from the back so you can add the light once the rest of the project is assembled. Next, proceed with assembling the light up cake topper project – minus the light.
Immediately following the assembly process, you can add the light. To begin, put a ring of hot glue on the back of the cake topper, right around the hole for the light. Then, place the balloon light into the hole. It won’t go all the way through, but it’ll sit nicely inside. Lastly, allow the hot glue to set, and your light is all set to shine!
WAS THIS TUTORIAL HELPFUL?
Did you find this information on how to make a light up cake topper with Cricut helpful? If so, please pin this idea and let me know your thoughts in the comments below.
7 Comments
Thank you for this tutorial on how to add a light to a cake topper. I can’t wait to try this on my next project.
You’re very welcome! I can’t wait to see your light up project!
This is so cool, Tara. Cannot wait to try this out. The removable stick idea from your video is a really neat solution! I have two questions: Where did you get those adorable tiny pastel “beads” that you used in your demonstration? Is your gnome design available? Thank you so much.
Hi Shirl! Those little balls are Foam Balls for Slime. I purchased them off Amazon.
Found them! Thanks!
A link to your lights would be great. But tutorial was great
Sorry about that. I added a button that links to the exact lights I used.