


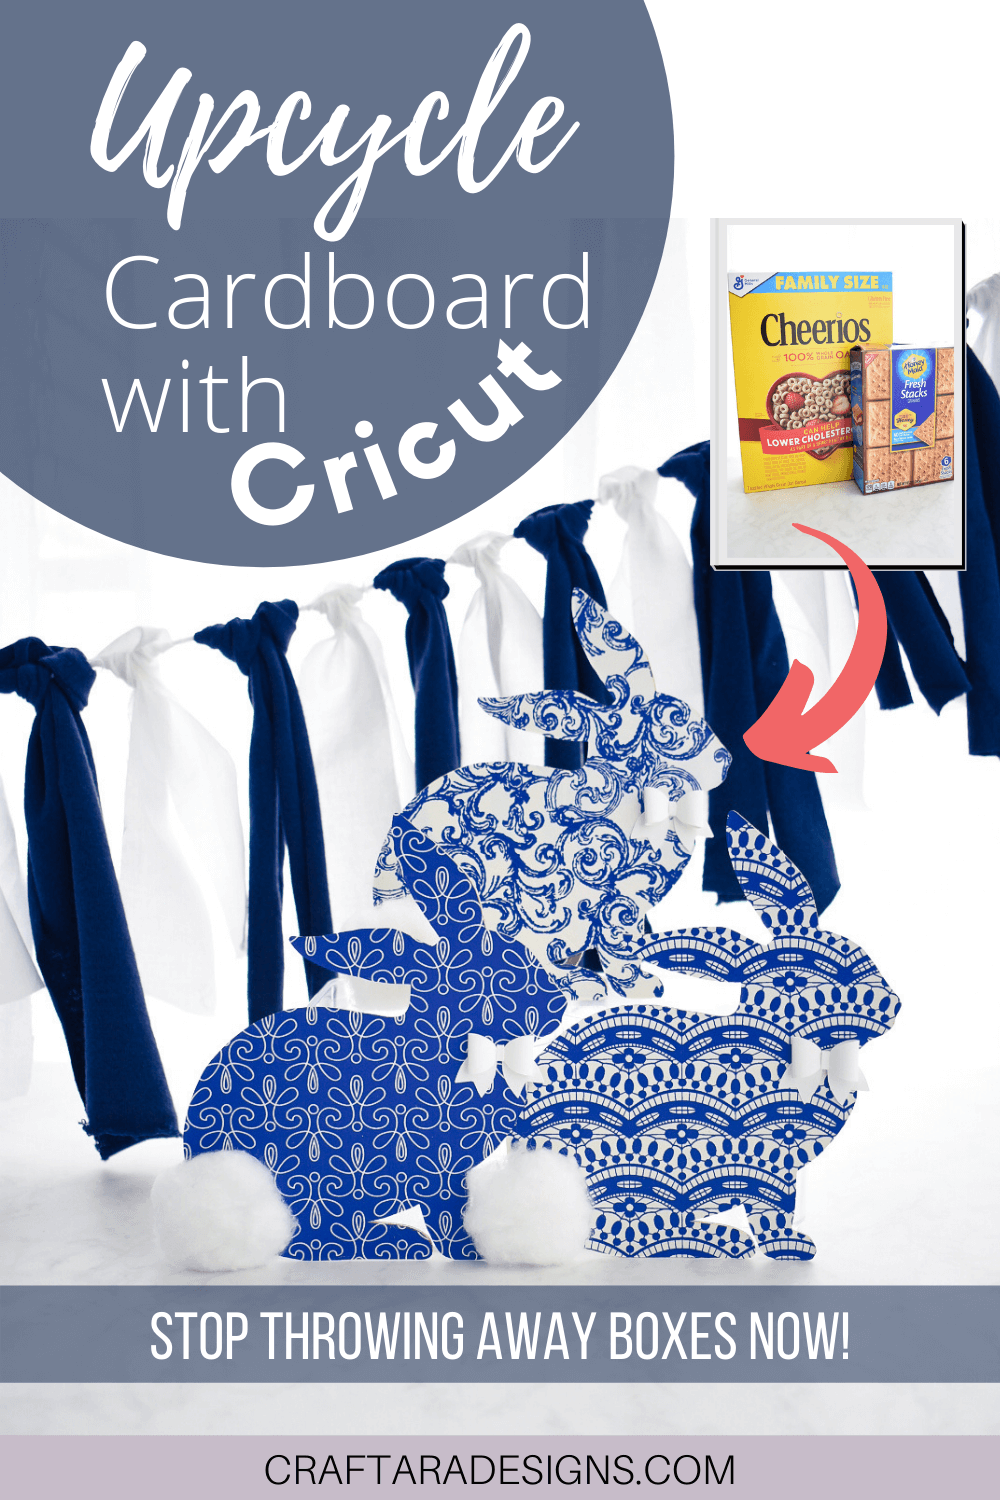
Dollar store crafts and blanks seem to be all the rage these days. Sadly, I do not have a dollar store nearby. So I decided to upcycle cardboard boxes into DIY shapes with my Cricut machine.
Table of Contents
JOIN THE CRAFTARA FAMILY
Let’s be craft besties and stay in touch. Join the Craftara family to gain access to my resource library full of free SVG cut files compatible with Cricut. Sign up below to unlock the resource library and learn about all my Cricut tips, tricks and tutorials.
You will be included in my email newsletter with helpful Cricut ideas, tips and resources. Unsubscribe anytime and your email will never be shared.
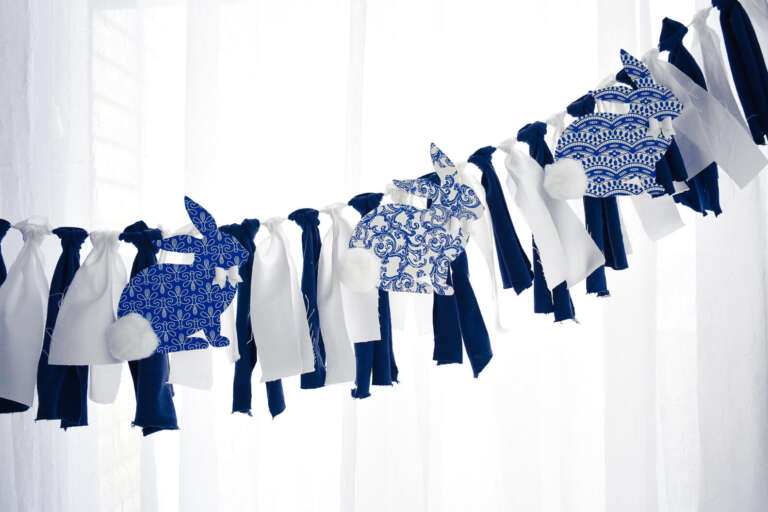
I can’t resist a good upcycle and DIY project. Upcycling is the creative reuse of unwanted things and you might be surprised how simple it is to DIY your own cardboard shapes using your Cricut machine. Cardboard shapes can be used in all sorts of ways such as for garland, signs, wreath add-ons and ornaments.
The standard fine point blade that comes with the Cricut is all you need. I cut flat cardboard successfully with my Cricut Maker and Cricut Explore Air 2.
This post may contain affiliate links, which means I’ll receive a commission if you purchase through my links, at no extra cost to you. Please read my full disclosure for more information.
Type of Cardboard cut on the Cricut Machine
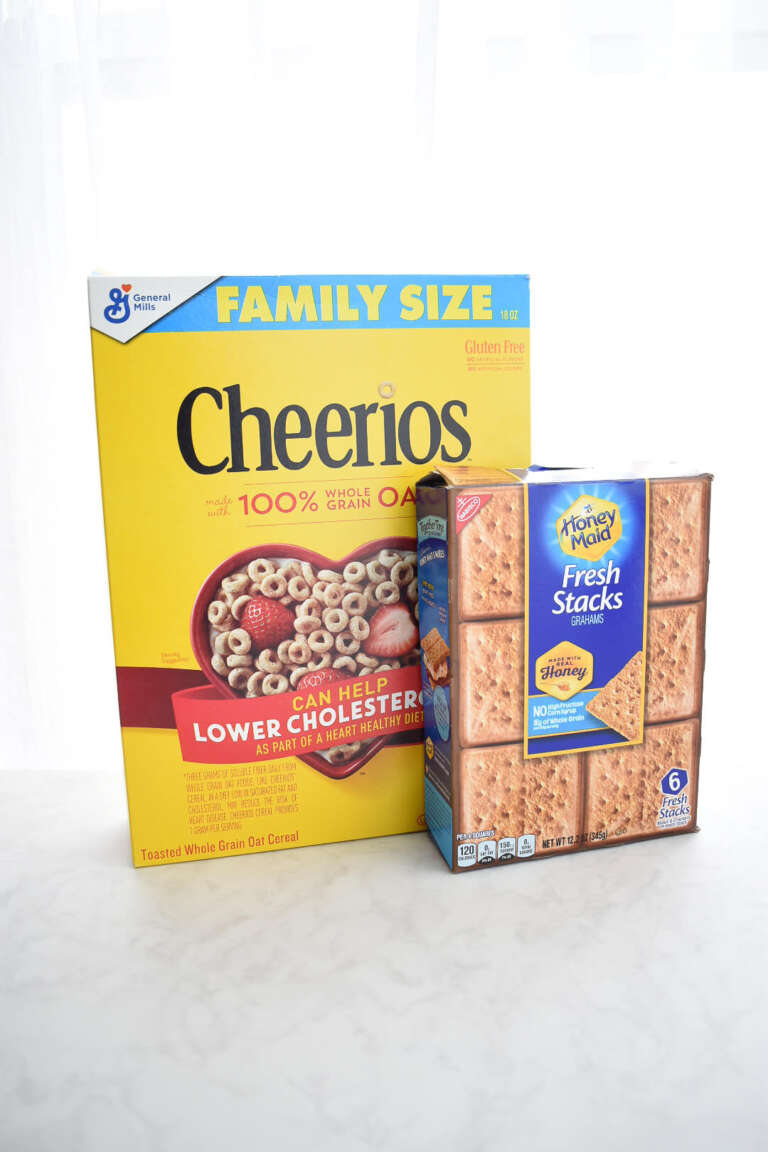
The type of cardboard easiest cut on Cricut is flat cardboard. This is the type of cardboard used for many food containers such as cereal boxes. Flat cardboard works great with the Cricut machine because the material is flat and firm but not too thick.
On the other hand, corrugated cardboard is the type of cardboard that is used for shipping boxes (i.e. Amazon). Corrugated is made up of three layers of paper that includes an inside liner, an outside liner, and a ruffled layer, which runs in between the two. Cricut recommends using the deep point blade with corrugated cardboard in this article.
Go raid the pantry for empty food boxes and let’s get started.
Here’s what you’ll need to make DIY cardboard shapes with Cricut
- Cricut Maker or Explore Air 2
- Cricut Mat
- Fine point blade (the standard blade that comes with Cricut machines)
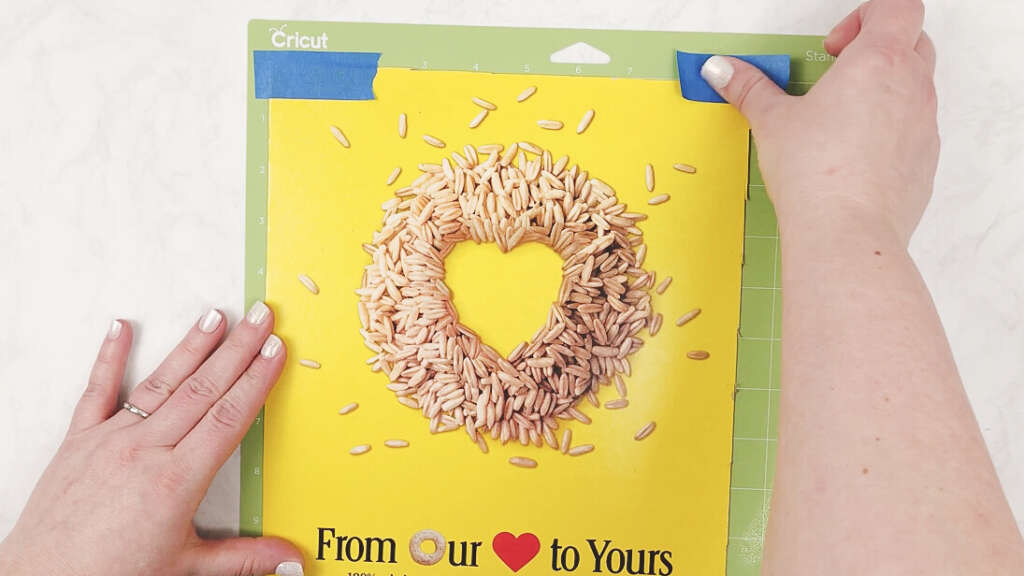
- Flat cardboard (such as a cereal, cracker or store bought pizza box)
- Painters Tape
DIY Cardboard shapes with Cricut Video
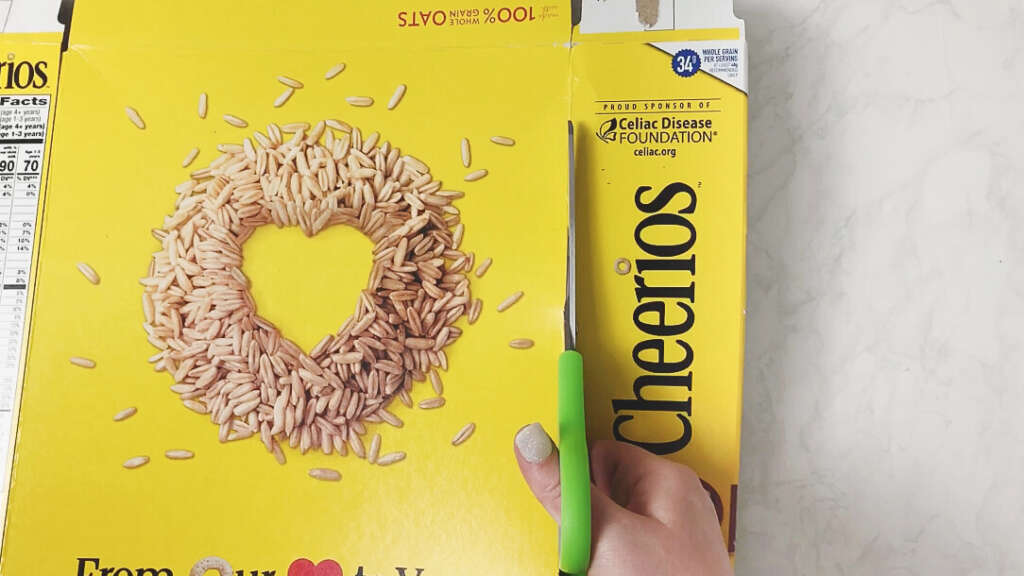
Prepare your flat cardboard for the Cricut Machine
Trim the food box to create a flat piece of cardboard that is no larger than the size of a Cricut mat (12 x 12).
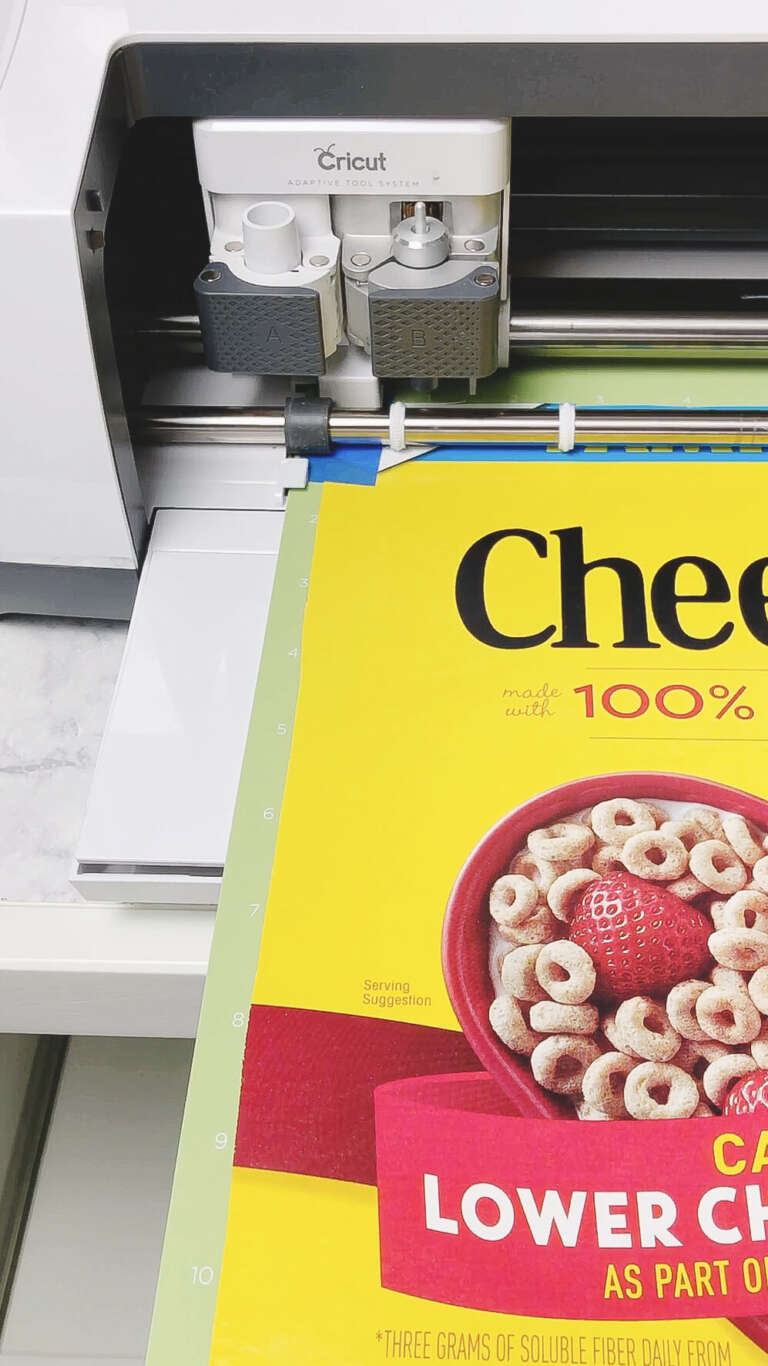
Grab a green, standard grip mat place the cardboard on the mat. Secure the flat cardboard in place with painters tape at the corners to be sure the material does not move.
Cricut Design Space Prep
I choose a design that is a simple bunny shape for Easter. You can use any shape as long as it fits on the piece of cardboard. I choose a simple shape because I plan to add a pattern of color later.
Size your design to make sure the cut will take place on the piece of cardboard positioned on the mat.
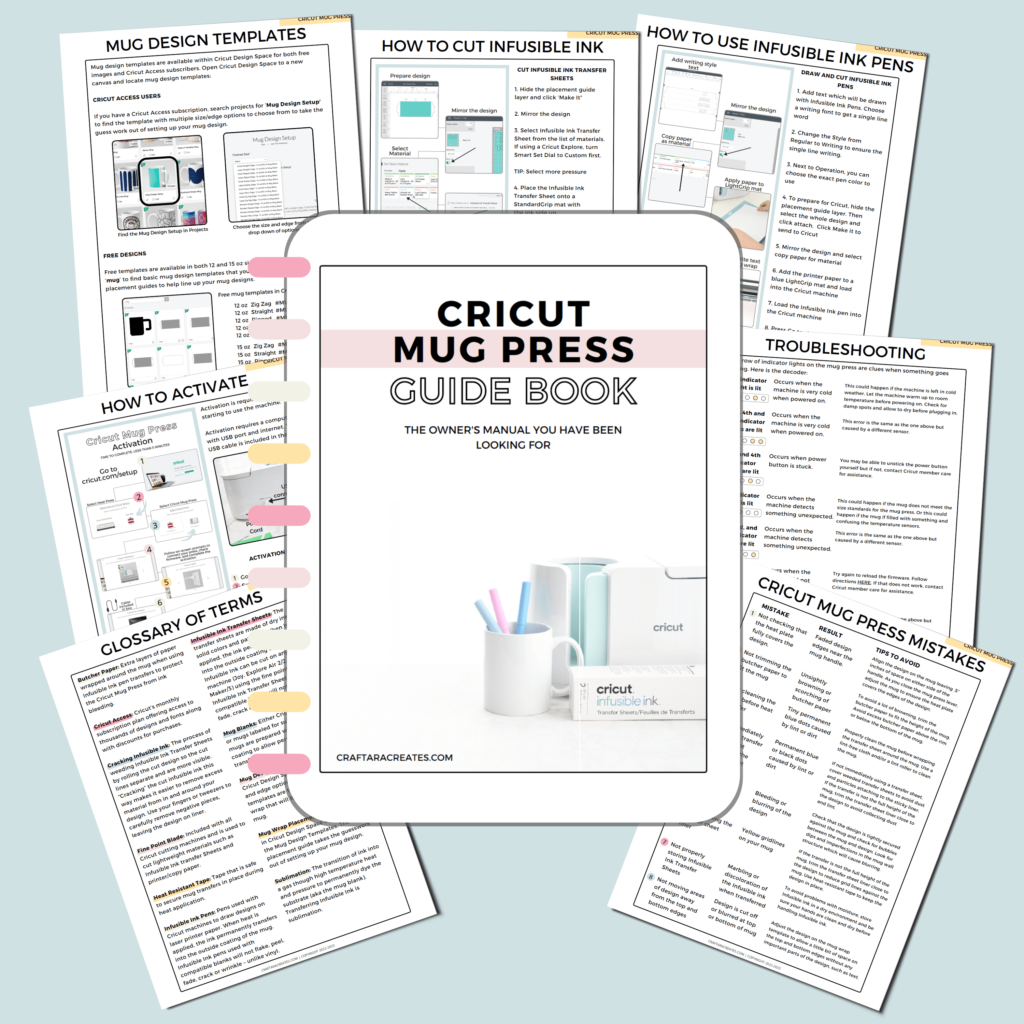
GRAB MY FREE CRICUT MUG PRESS GUIDE
This 13 page, printer friendly quick reference guide is the owner’s manual you wished came with the machine.
Cricut Machine cut settings for flat cardboard
Cardboard can come in a variety of thicknesses and the Cricut cut settings are very much trial and error. I will show you an easy way to make sure the cuts are all the way through the cardboard.
The cut settings I used for the Cricut Maker was Poster Board with more pressure. This setting performs two cut passes.
The cut settings I used for the Explore Air 2 was Flat Cardboard with more pressure.
Between the two Cricut machines, the Cricut Maker handled the cardboard better. With the Explore model, I had to repeat the cut three times and with each pass the cut got less and less precise. The lesson with the Explore is to use a sticky mat to ensure the material stays put for the repeat cuts.
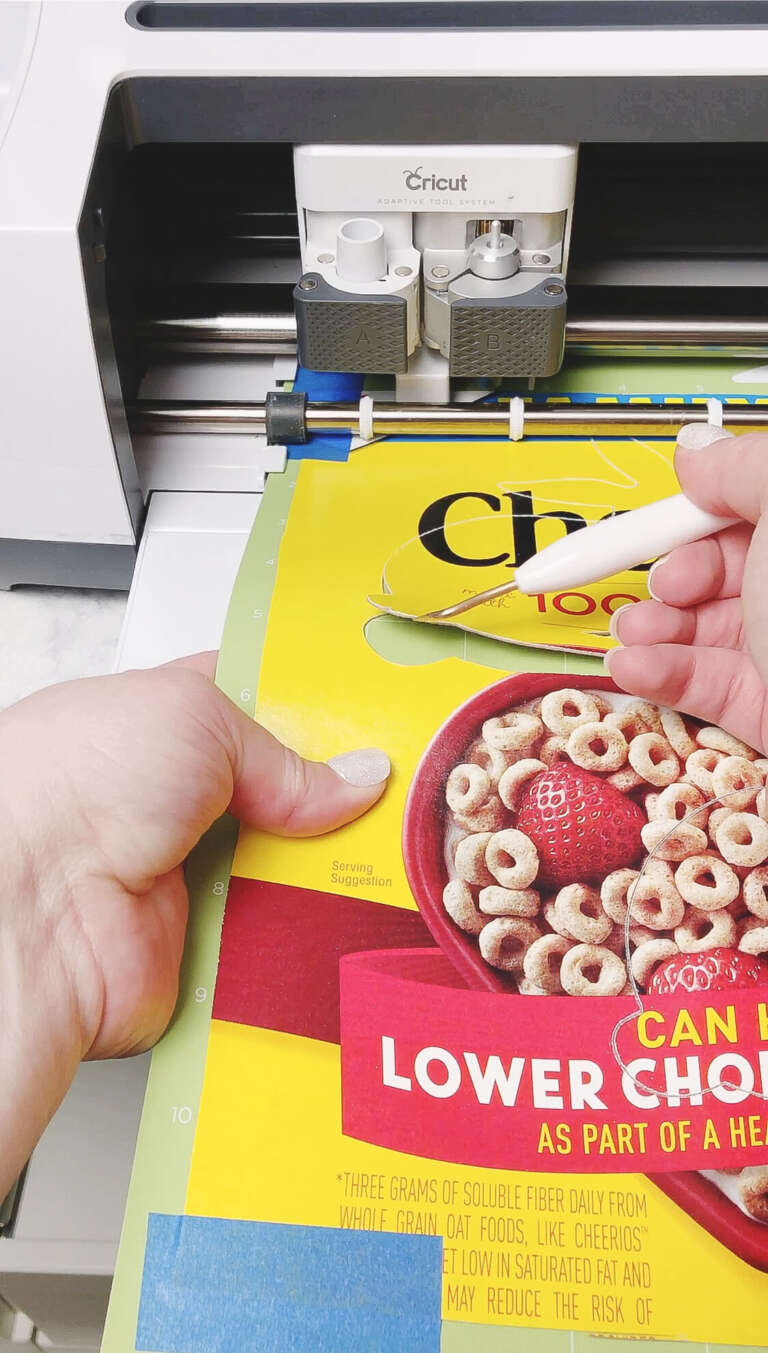
The first cut I sent to the Cricut machine with my flat cardboard did not cut all the way through.
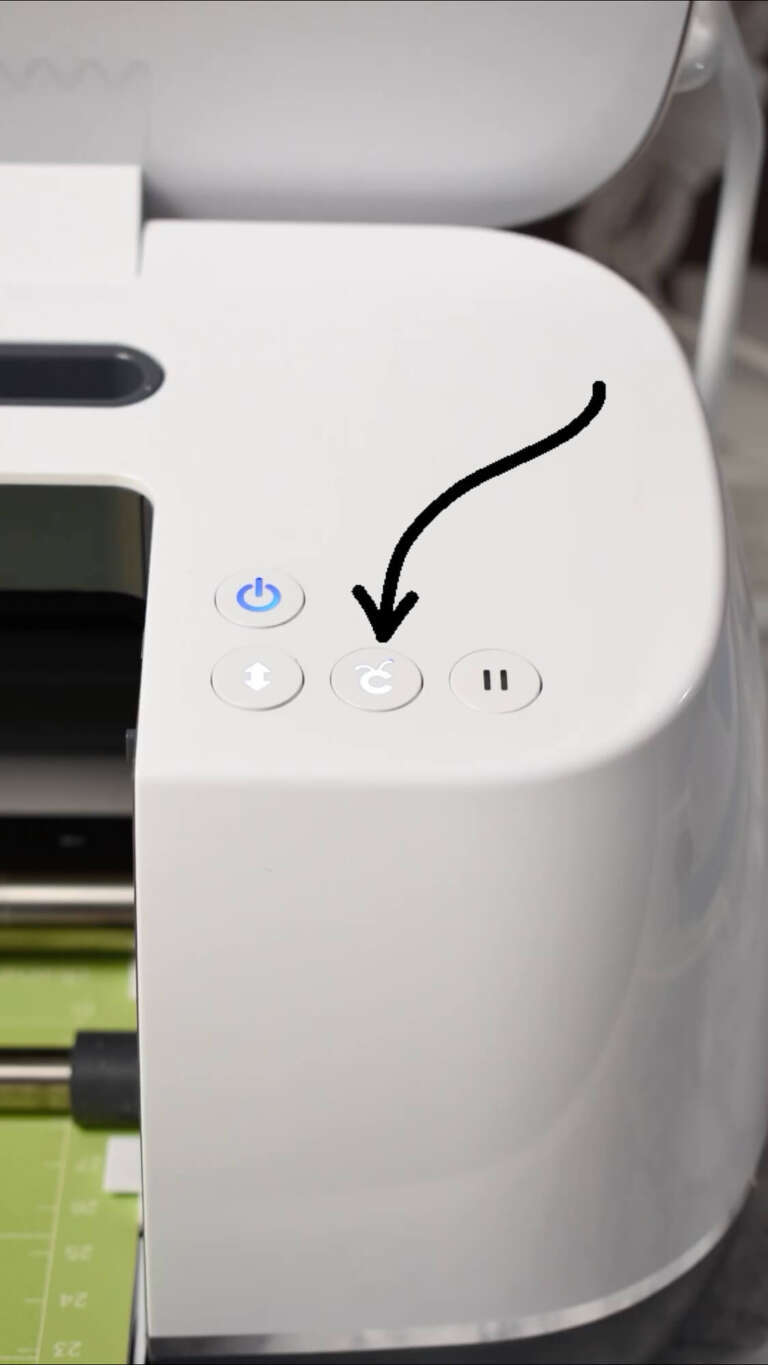
Before pushing the double arrow button to unload the mat after the cut, I checked the cut and realized it was not all the way through.
TIP: Before unloading the mat, you can repeat a cut by pressing the C button once.
The second cut sealed the deal and the Cricut successfully cut through the cardboard.
Remove your Cricut made upcycled DIY cardboard shapes the same way you would remove paper. Use a spatula to carefully pry up the shapes or flip the mat over and pull the mat away from the cardboard.
How to make your Cricut made DIY cardboard shapes pretty
Now that you have a shape cut, the possibilities are endless with what you can do with it.
Here are some ideas to add your own style to the Cricut made DIY cardboard shapes:
- Cut the same shape in adhesive vinyl, HTV or paper and apply to the cardboard shape for color
- Add embellishments like paper flowers, ribbon, gems, cotton balls.
- For added stability, cut a second shape and glue together for a stronger cardboard shape.
Here are some ideas on ways to use the Cricut made DIY cardboard shapes:
- Garland
- Sign
- Ornament
- Wreath Add-Ons
- Plaque
- Kid crafts

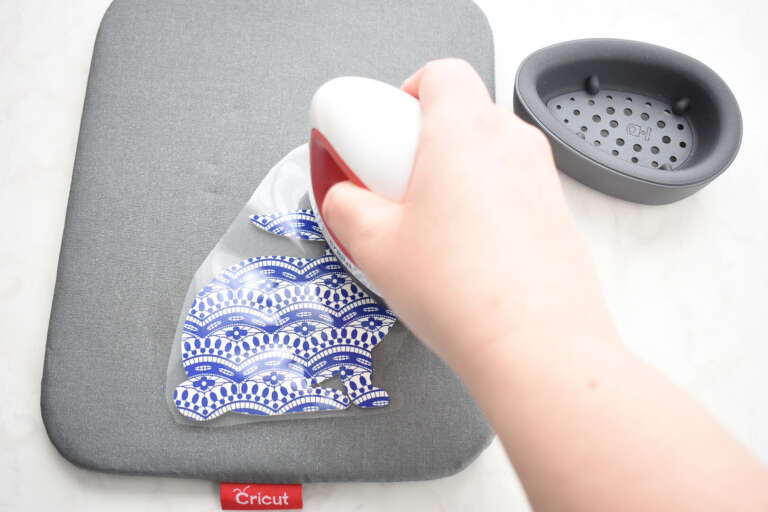
For these mini bunny shapes, I applied patterned Iron-on vinyl with a Cricut Easy Press Mini.
When using Iron-on over cardboard, apply the heat at the lowest setting for 20 seconds with light pressure. Carefully peel back the clear transfer sheet once the surface is cool.
To avoid the vinyl from moving, skip sliding around the Cricut Easy Press Mini when applying heat. Instead, pick up the easy press mini and move over the next area. I noticed if I slide the easy press around over the surface a lot, the vinyl had a tendency to shift and not line up perfectly with the cardboard shape.
If you enjoyed this upcycle cardboard project with Cricut, you might enjoy making yarn wrapped mini mittens as well.
WAS THIS TUTORIAL HELPFUL?
Did you find this tutorial how to upcycle cardboard with Cricut helpful? If so, please pin this idea and let me know your thoughts in the comments below!
10 Comments
Really needs to go through it 3 or 4 times and also small details don’t work at all. I’m working on detailed instructions on how to cut upcycles and how many blades it will eat up. Needs to be taught and discussed by Cricut. Missing a huge opportunity.
Thanks so much for this info. I am doing a projects for my grandson’s school and this will be a lifesaver!
Fantastic! Can’t be a free material like cardboard.
Such a great re-cycling project! Thanks so much for sharing it!
Thanks Cherie!
This is such a great idea. My husband questioned why I was holding onto a large Cherrios box and I told him “I can use it for a project for Cricut” although I had no idea of one in mind. Now I do! So glad I could take some of the free Cricut classes just recently offered and found your presentation on the Mug Press. You have provided lots of new ideas and how-tos I did not know. Thanks, Tara!
Hi PJ! I’m so glad you saved a Cheerios box so you can cut out something fun with your Cricut machine. I’m so glad you enjoyed my mug press workshop too!
What fun and nice ideas for recycled material….thank you.
Thanks for the comment Nadine! Glad you found this useful!