


I have spent some time creating faux leather projects with my Cricut machine and I want to share my favorite top 10 tips. But first, here are answers to the most common questions I see.
CAN THE CRICUT EXPLORE AIR 2 OR 3 CUT FAUX LEATHER?
Yes! Faux leather is compatible with the Cricut Maker or Maker 3, Cricut Explore Air 2 or 3 and Cricut Joy. Faux leather comes in so many colors and patterns much like vinyl. Also, I love to layer HTV (iron-on vinyl) over top of faux leather to add more dimension to my Cricut projects without any extra bulk.
WHICH CRICUT BLADE CUTS FAUX LEATHER?
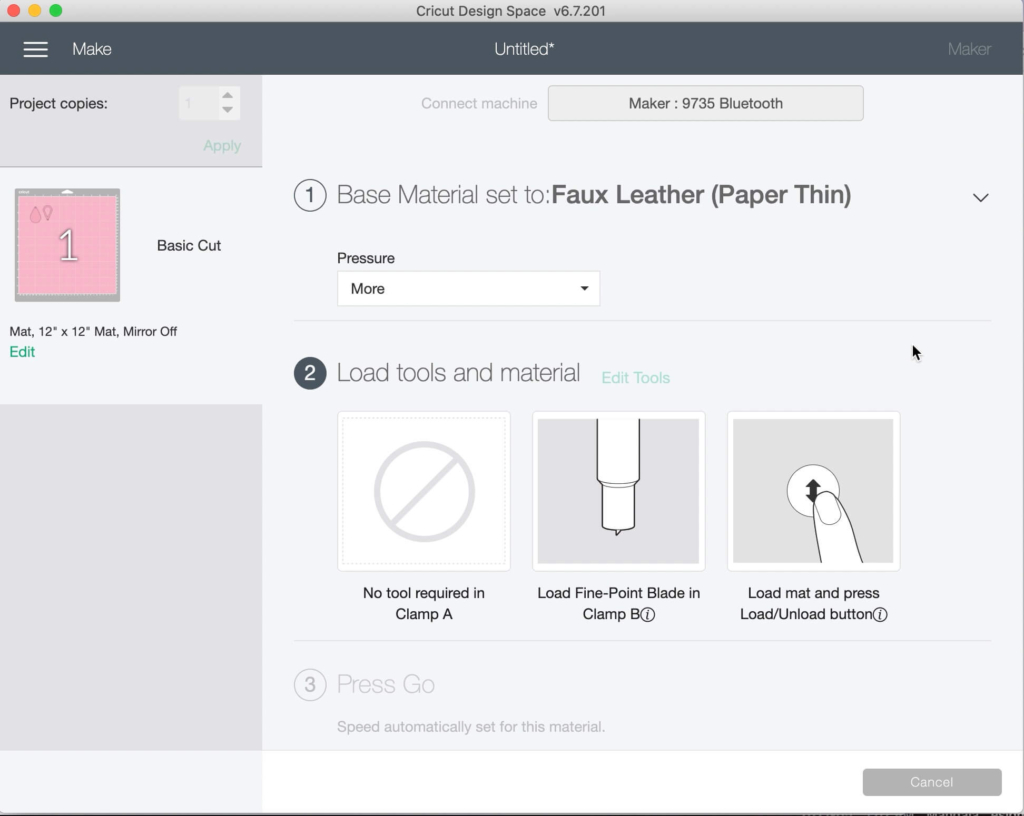
The standard fine point blade that comes with all Cricut machines will cut faux leather with amaterial setting of Faux Leather (paper thin).
Here are ten of my favorite faux leather Cricut craft tips that I found to be the most useful.
This post may contain affiliate links, which means I’ll receive a commission if you purchase through my links, at no extra cost to you. Please read my full disclosure for more information.

10 FAUX LEATHER CRICUT CRAFTING TIPS
1. Faux Leather Cricut Tip: Supplies
If you are US based, check out Faux Leather For You. This is a small, family owned business that promotes all kinds of fun and colorful designs including inclusive and diverse patterns. Check their shipping page for information about shipping outside the US.
They gave me a coupon code to share with you. Use CraftaraCreates10 to get 10% off your orders – no minimum order necessary.
The best faux leather to start out with is the kind without any special texture. For example, glitter faux leather is more difficult to cut with a Cricut machine.
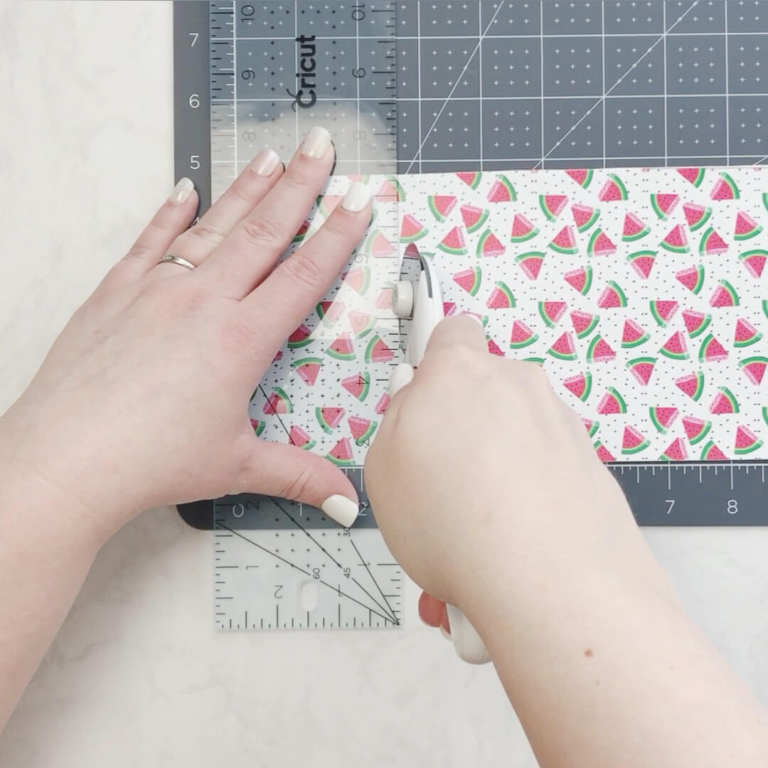
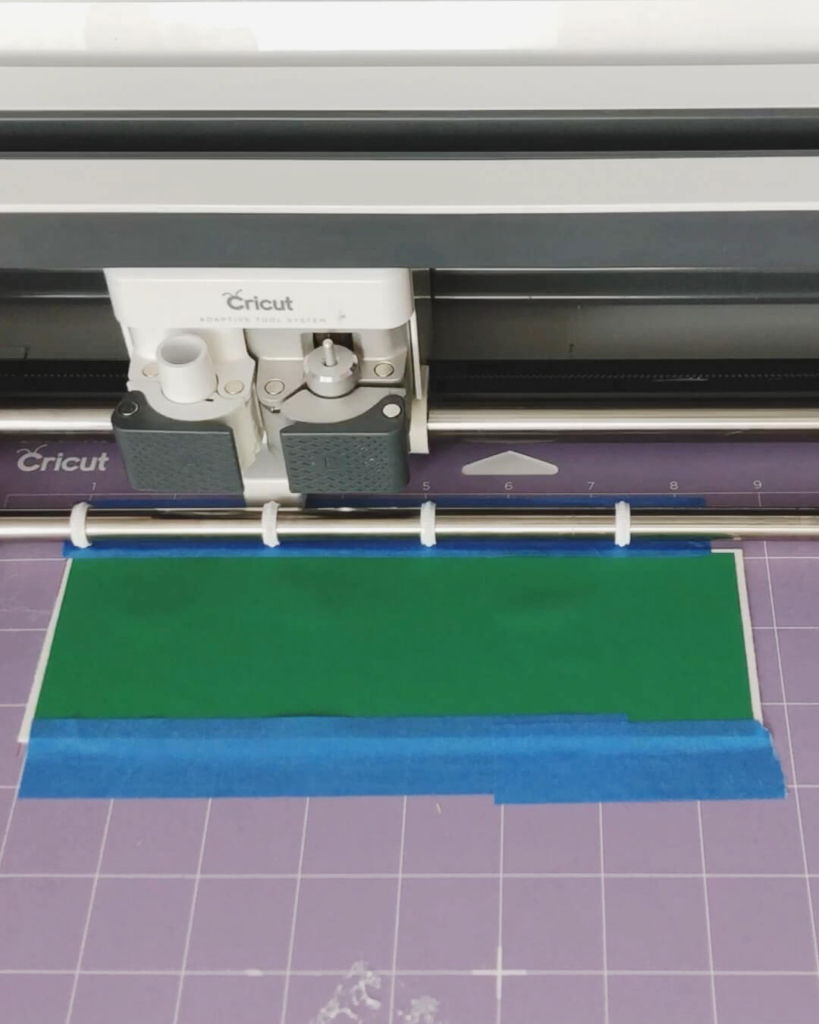
2. Faux Leather Cricut Tip: Trim the faux leather material
This will reduce the amount of transfer tape you need (see #3) and reduce the possibility of the material pulling up or shifting on the Cricut mat.
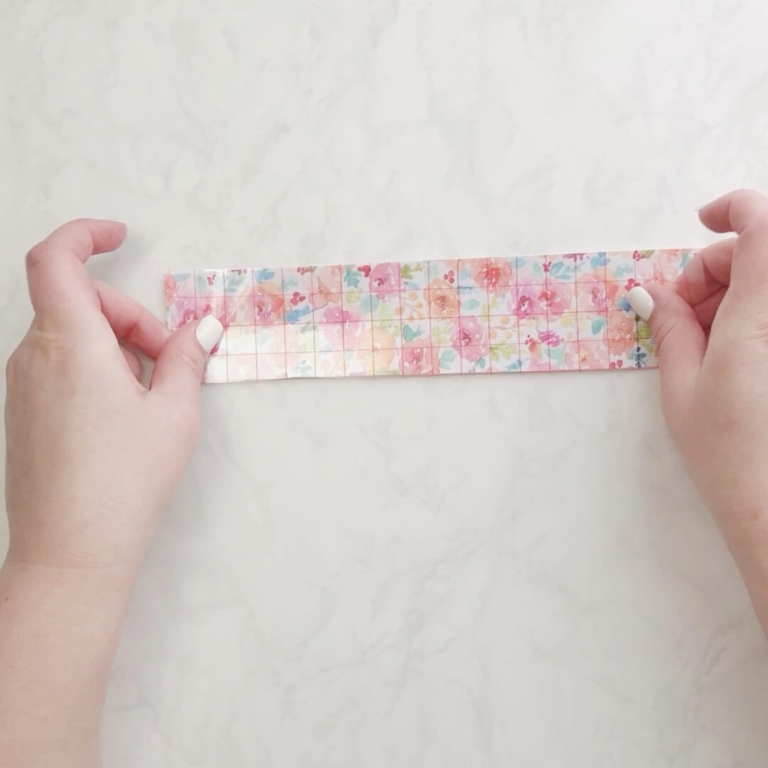
3. Faux Leather Cricut Tip: Protect your mat with transfer tape
A layer of transfer tape will help to protect your mat from little bits and debris left behind form the faux leather cuts. Further secure the faux leather by adding painters tape around the edges.
I have reused this transfer tape after the faux leather cut with my Cricut machine. Sometimes I leave the transfer tape on the Cricut mat and re-apply the next faux leather cut.
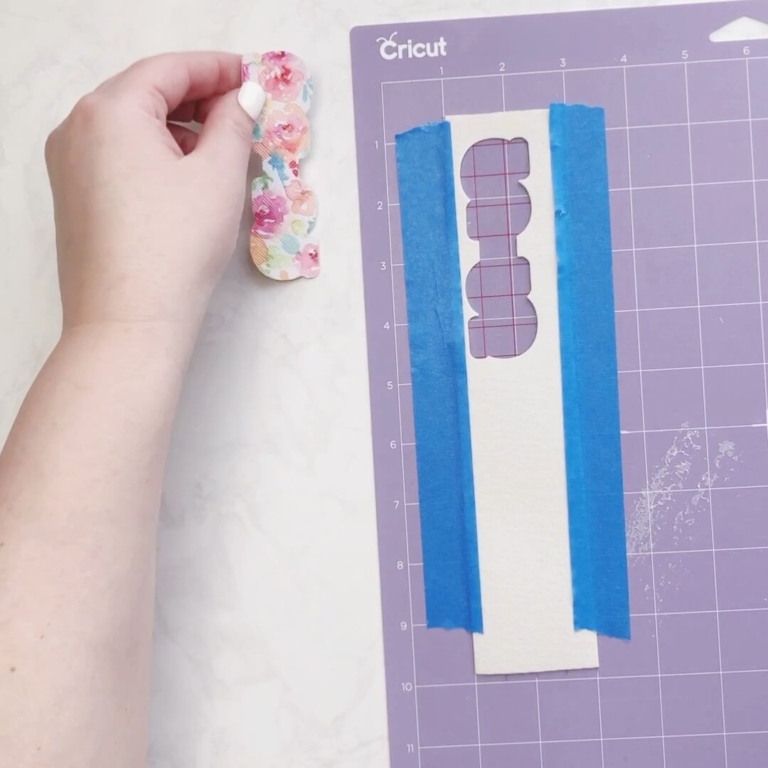
4. Faux Leather Cricut Tip: Prepare for a successful cut
Per Cricut’s website, faux leather goes pretty side down on the mat. This means you may need to mirror the cut. The mirrored cut is needed so the faux leather will be correct on the pattern side – much like iron-on vinyl. Here is how you mirror the mat. If the shape you are cutting is symmetrical, then you can skip mirroring the cut.
EXCEPTION: There are exceptions to every rule – am I right? Glitter faux leather may not stick well to any Cricut mat with the glitter side facing down. For Glitter faux leather, I prefer to cut with the unfinished backside applied to the Cricut mat.
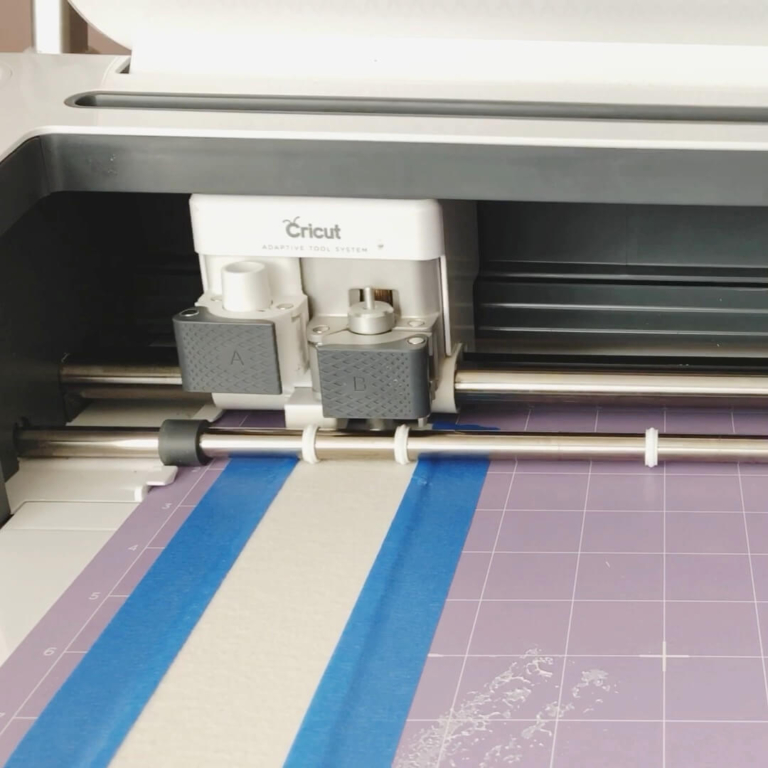
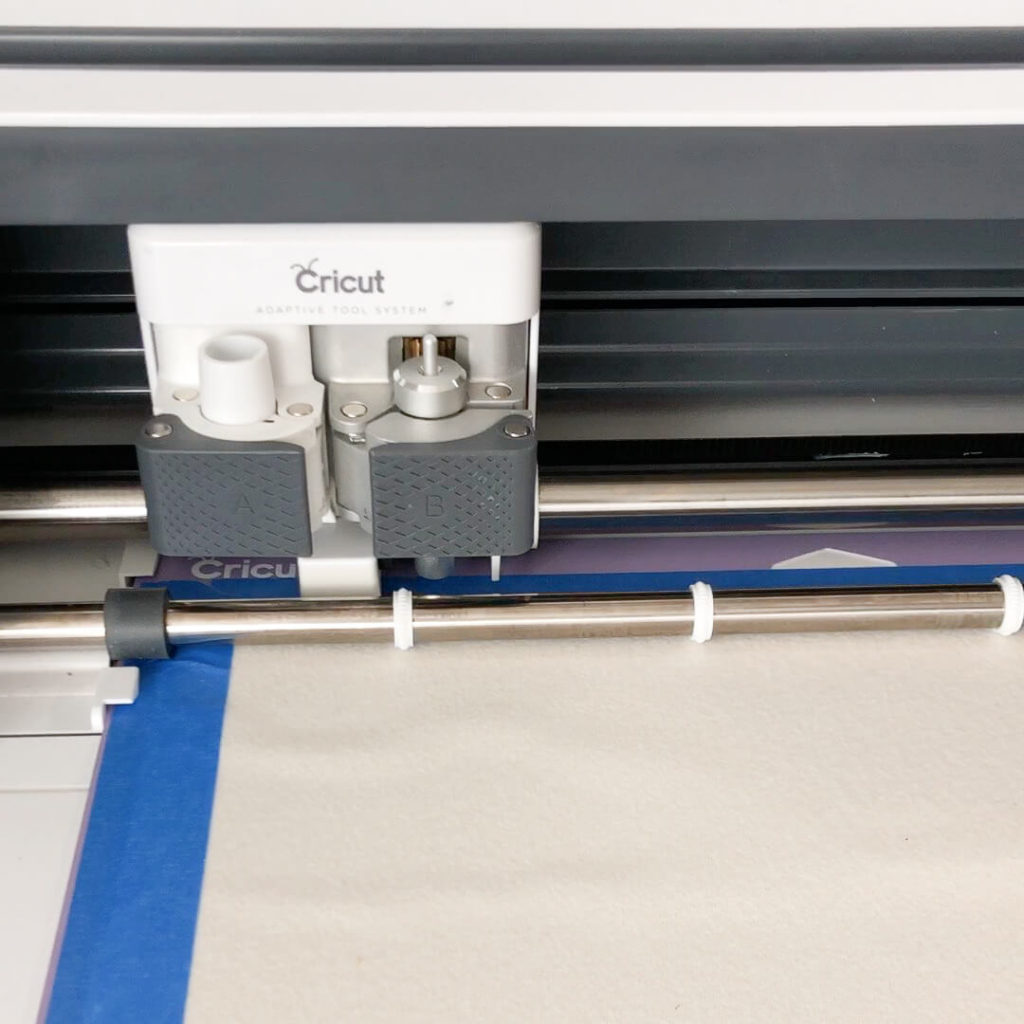
5. Faux Leather Cricut Tip: Keep the guide wheels in place
Unlike thicker materials, like real leather, with faux leather you do not need to move the guide wheels. The faux leather is thin enough to not be damaged by the guide wheels and the guide wheels help to keep the material in place.
6. Faux Leather Cricut Tip: Make faux leather double sided
There are a couple of ways to create a more finished look with faux leather. First, cut a mirrored version of the shape and glue to the back (If you mirrored the first cut, don’t mirror this second cut). For example, this folder over keychain includes faux leather on both sides. Secondly, apply HTV to the back side either before or after cutting. More on that next.
-
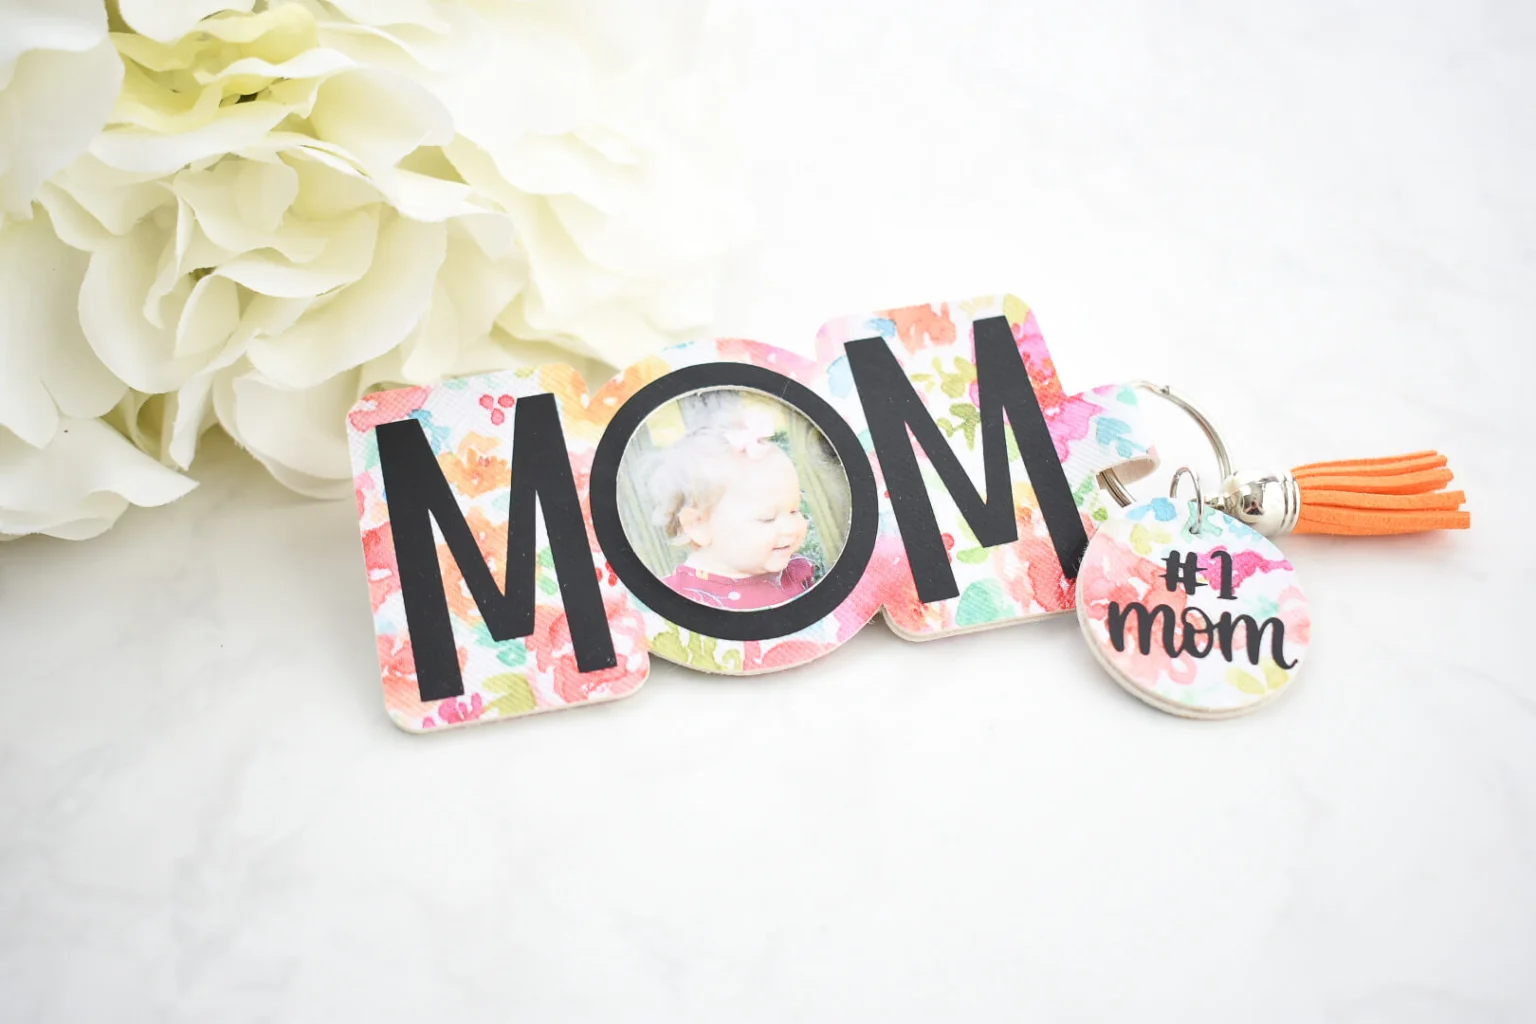
leather MOM picture keychain with Cricut -
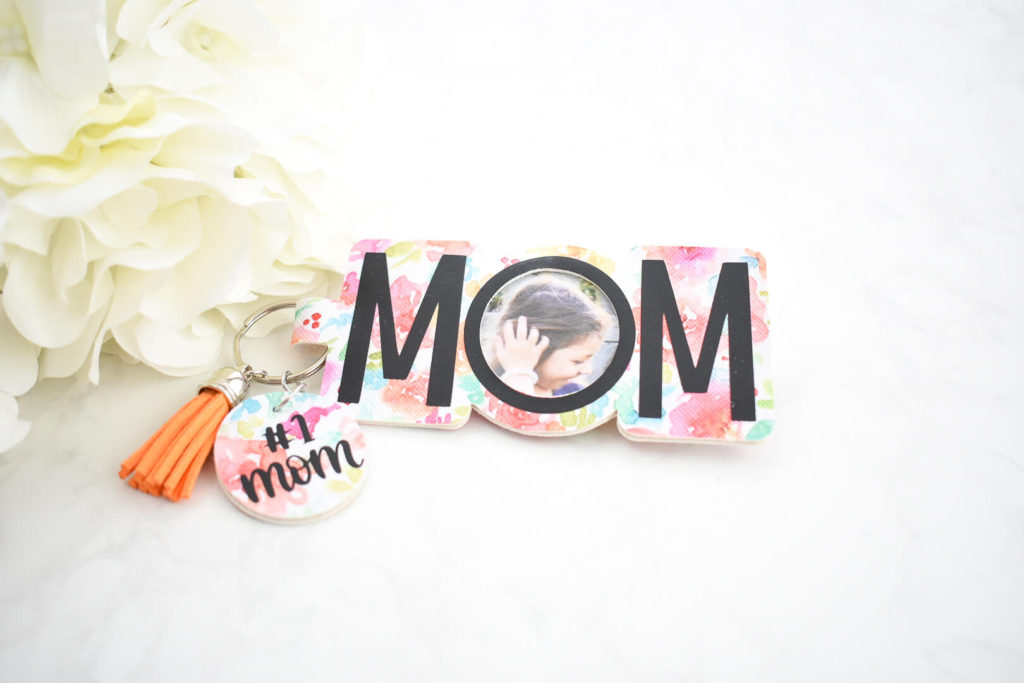
leather MOM picture keychain with Cricut
7. Faux Leather Cricut Tip: Add HTV to faux leather back side
Adding iron-on (or HTV) to the back for faux leather creates a finished look without any extra weight or bulk. This is perfect for Cricut made earrings or necklace pendants that you want to maintain a delicate and light weight look. My preference is to add HTV before cutting with my Cricut machine.
To apply HTV, use a lint roller to clean off the faux leather and use a Cricut EasyPress at 275 for 10 seconds or EasyPress Mini at the lowest setting for 10 seconds. The heat settings may differ depending on the HTV used but this is a good place to start.
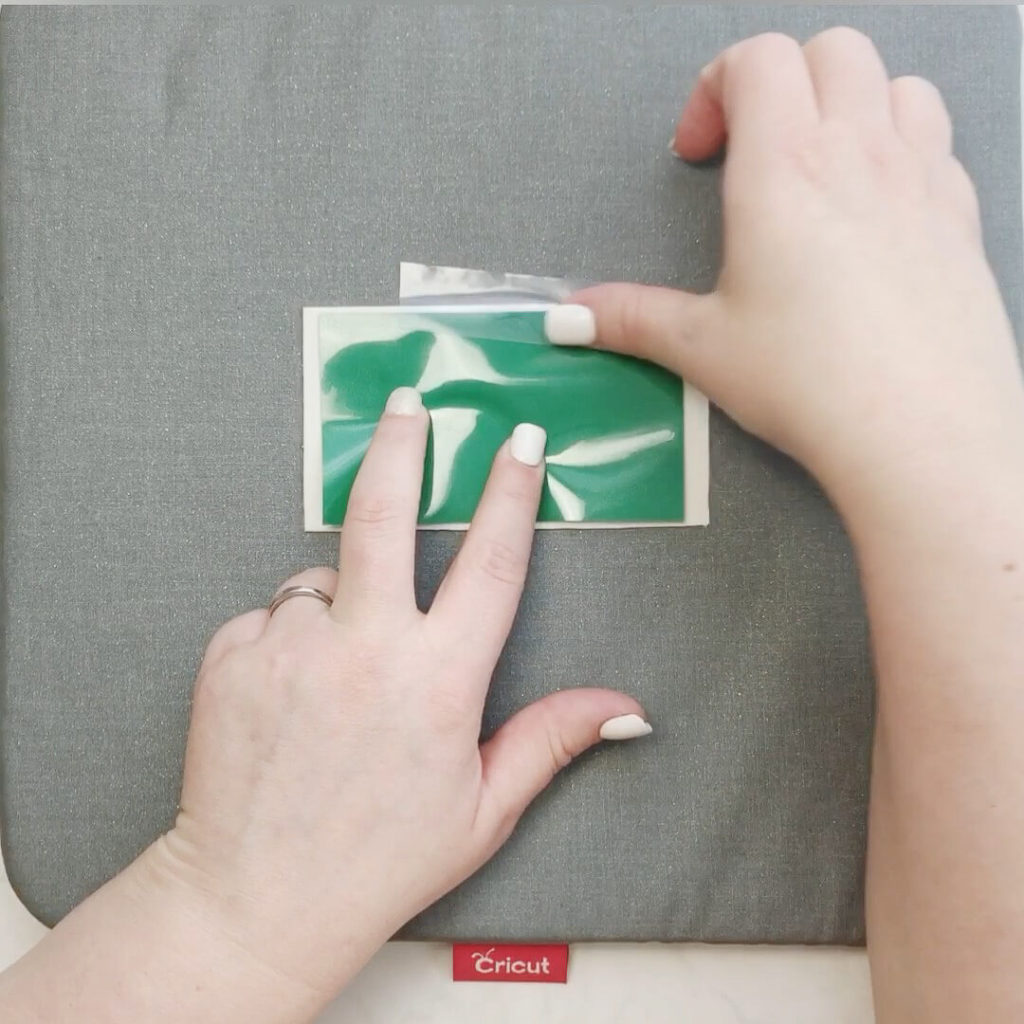
8. Faux Leather Cricut Tip: Add HTV to faux leather front side
Adding HTV to the front of faux leather is about the same as applying htv to the back. Faux leather is heat sensitive so make sure to use a Teflon sheet or heat resistant protective barrier (such as a previous used iron-on vinyl transfer sheet) to ensure the iron does not directly touch the faux leather. If so, the pretty pattern will likely melt and come off. Peel back the transfer sheet while the material is warm (but not hot).
Side note: I love using iron-on vinyl from heat transfer warehouse. The vinyl applies very smooth and fuses well with the faux leather. Love the matte finish of the WALAKut Express iron-on vinyl.

9. Faux Leather Cricut Tip: Cutting Faux Leather
Faux leather can be successfully cut on all Cricut cutting machines, including the Joy, with the standard fine point blade. For the Cricut Explore Air 2 or Cricut maker with the material setting of Faux Leather (Paper Thin).
Browse all materials for Faux Leather (paper thin) as the cut setting and use the standard fine point blade. This cut setting will have the Cricut machine go two passes over the Faux Leather. If using a Cricut Explore Air 2, turn the Smart Set Dial to Custom.
For the Cricut Joy, check out this post to learn how to cut faux leather on the Joy. Faux Leather is on the list of materials for the Cricut Joy.
10. Faux Leather Cricut Tip: Cutting Faux Leather with HTV
I like to add HTV to the back of my faux leather before cutting earrings. When cutting faux leather with HTV, I use the material setting Faux leather (Paper Thin) with More pressure. Additionally, I check my cut before unloading the mat and press the C button on my Cricut machine for a second cut. The second cut really helps.
The cut settings may depend on the type of HTV used. For example, super thick glitter iron-on, may even require the deep point blade for a successful cut. So far, I’ve used a standard iron-on vinyl with no extra texture for my faux leather Cricut projects.

GLUE OPTIONS FOR FAUX LEATHER
I am still in the process of testing out glue options for my faux leather Cricut projects. I will add my test results here:
- Super Glue: Works well. Avoid getting super glue on your fingers.
- Art Glitter Glue: Works well. Must hold for a few seconds for the glue to set.
- Bearly Arts Precision Craft Glue: Unsuccessful. To be fair, this glue is more of a paper crafting glue. I tried this glue on faux leather and gave it 24 hours to cure. Unfortunately, it was very easy to peel apart the faux leather.
- Hot Glue: Works well unless the faux leather has a special finish like a smooth plastic overlay. May warp mixed media projects with heat sensitive materials such as acetate for photo keychains.
CHECK OUT MY OTHER CRICUT LEATHER TUTORIALS
- Magnetic faux leather bookmarks
- Faux Leather MOM Photo keychain
- Leather bow keychain
- Leather bow charm
WAS THIS INFORMATION HELPFUL?
Did you find these 10 Cricut tips for faux leather helpful? If so, please pin this idea and let me know your thoughts in the comments below!

14 Comments
Working with faux leather is all new for me but I’m so excited to add it to my crafting skills so thank you for this – very helpful!❤️
Glad this tips helped!
Thank you so much. I am just starting to work with leather.
Glad you found this helpful Debbie!
I am just starting to make faux leather earrings & these tips will help greatly. Thank you.
That’s wonderful Susan! So glad this information is helpful for you.
Very useful info! Thanks for the heads up, Tara!
You are very welcome Diana! Happy Crafting!
I ordered my faux leather from faux leather for you and I’m having trouble getting my maker to cut through enough to not mess up the project. I put it face down and used the faux leather (paper thin) setting. I even double cut it and it’s not cutting well. Any suggestions?
Hey there Mikaylee, I’m sorry to hear you are having troubles with the faux leather. Does the faux leather you are using have a lot of texture like glitter? Sometimes for faux leather that has a lot of texture, I flip it over and cut the top side (no need to mirror if you do it this way). Oftentimes it is the faux leather not sticking well to the mat that is causing issues. Be sure to tape down on the sides and use a strongGrip mat. If you are still struggling – send me an email at [email protected] and we can work through it.
This info was super helpful! Thank your very much. I am a “detail” person & I believe that the details are what take a project to the next level, such as finishing the back of the earrings as you do with HTV. Thank you again did the tips!
Thank you so much for the feedback Amber! I’m so glad this information is helpful for you.